Before we continue to the WeatherStation project let’s have a closer look at what we just
accomplished:
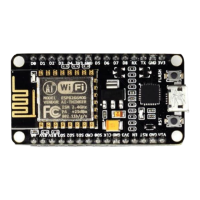
⚫ We installed a driver which lets us program the ESP8266 with custom code that we wrote.
Which driver needs to be installed depends on the Serial-to-USB converter we use. Some
ESP modules already have such a converter; others will need an additional one.
⚫ We downloaded and installed the Arduino IDE. In the IDE we write the code, compile it
and transfer it to the embedded device. If our code supports it we can even use the Serial
Monitor to communicate with the device.
⚫ We used an example project, called a Sketch, to test our setup. The sample project installs
firmware which uses the WiFi module to scan for available WiFi access points. It
repeatedly writes this data to the serial line, and we can display it by opening the Serial
Monitor tool. Remember, in a serial communication both parties need to agree on the
speed the characters are getting transmitted. The example sets this to 115200 baud.