7.
Collecting and Displaying Local Data
So far we have created a device which connects to the internet and uses an API to fetch
weather data. But this is not really an Internet-of-Things application; after all we are just
displaying data. In this chapter, we will change that.
A.
The Climate Node Setup
This project will enable you to collect humidity and temperature in one room of your house
or apartment and display the values in another room on the WeatherStation. In order to do
so you will need additional hardware which is not included in the basic WeatherStation Starter
Kit:
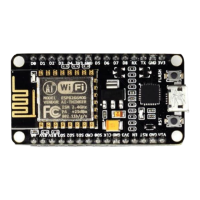
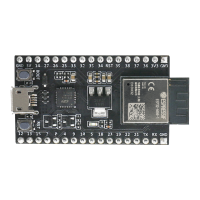
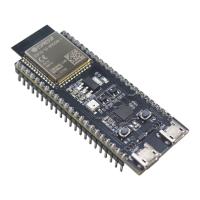
⚫ An additional ESP8266 module, ideally a NodeMCU
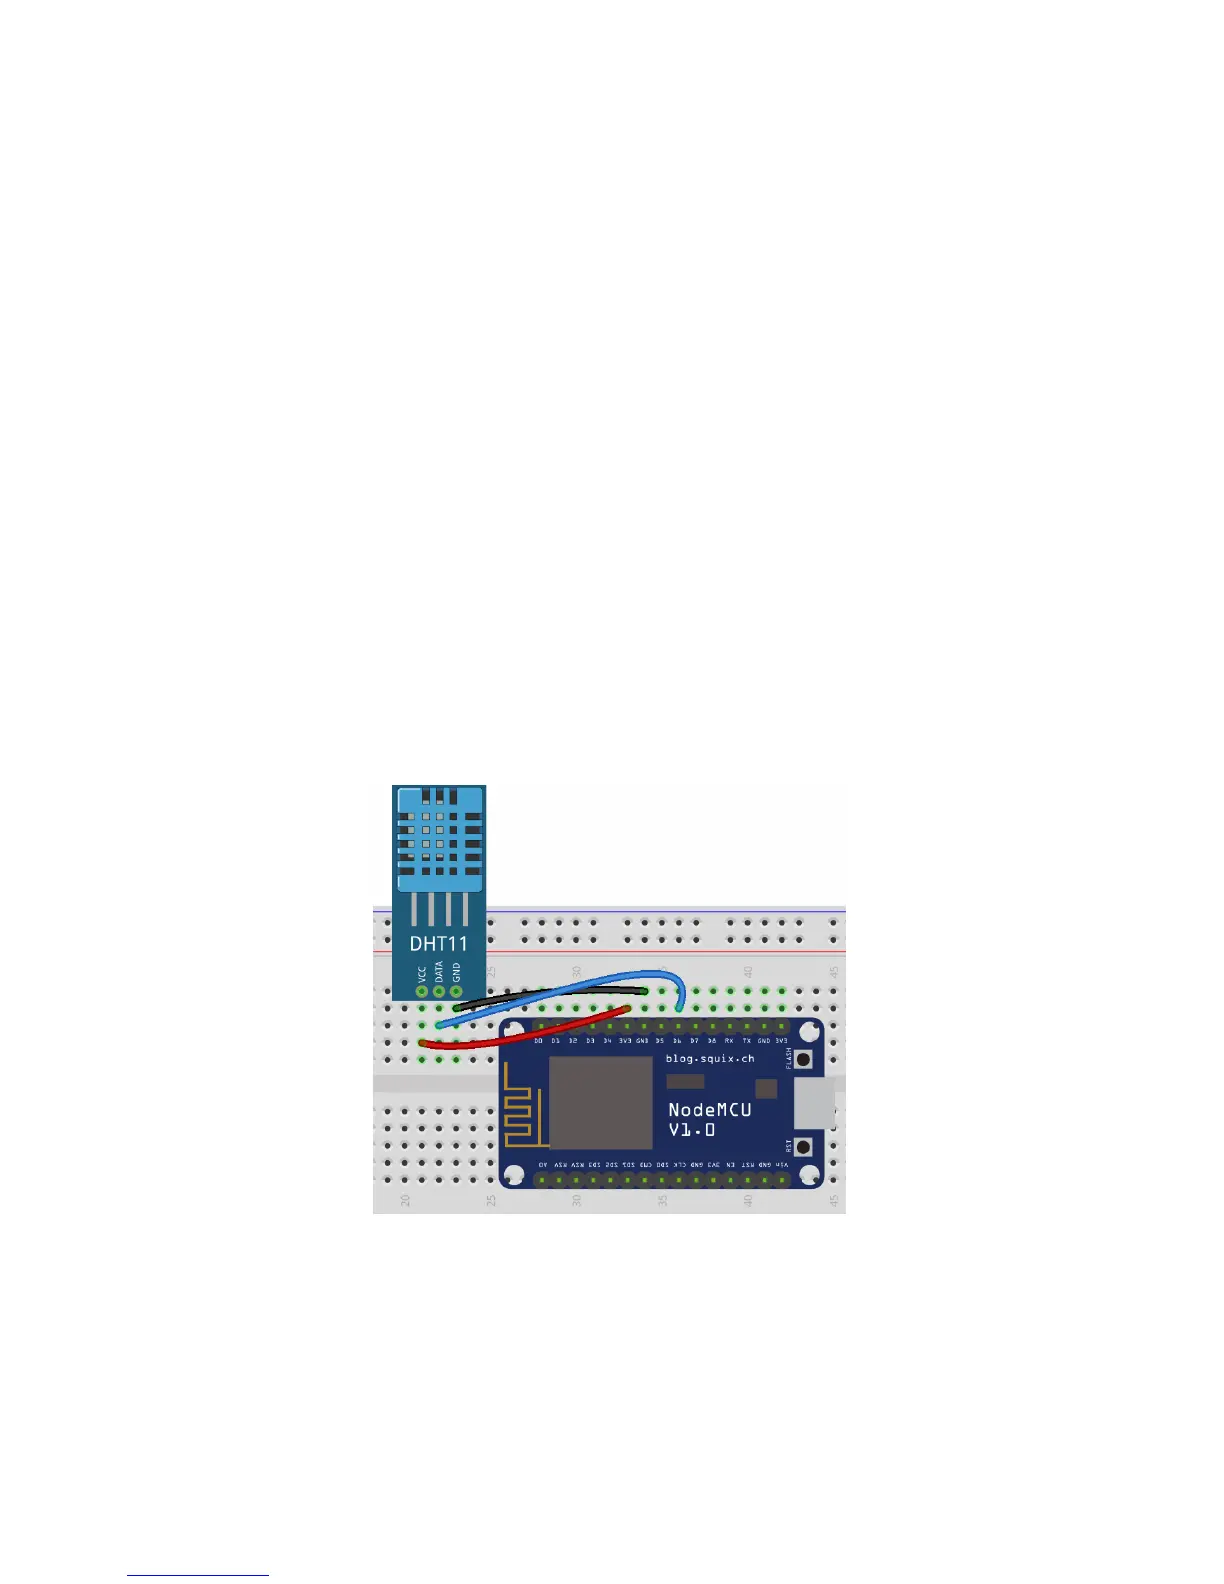
⚫ A DHT11 or DHT22 humidity and temperature breakout module
I will call this combo “The Climate Node”. Now use the female-to-female jumpers to connect
them like this:
Wiring for the Climate Node