17
2537376-01-04/21 (translation of the original operating instructions)
Operating Instructions
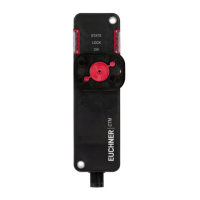
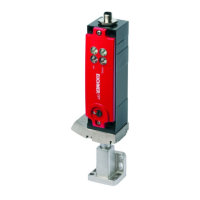
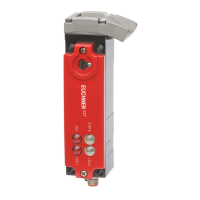
Transponder-Coded Safety Switch CTP/CTA-L1/2-BR
EN
9. Mounting
CAUTION
Safety switches must not be bypassed (bridging of contacts), turned away, removed or otherwise
rendered ineffective.
Ì Observe ENISO14119:2013, section 7, for information about reducing the possibilities for by-
passing an interlocking device.
CAUTION
Risk of damage to equipment and malfunctions as a result of incorrect installation.
Ì Safety switches and actuators must not be used as an end stop.
Ì Observe EN ISO 14119:2014, sections 5.2 and 5.3, for information about mounting the safety
switch and the actuator. The following specications must be observed:
- Mounting with screws of property class 8.8 or higher.
- The minimum screw diameter for CTP devices is 4mm, for CTA devices 5mm.
- Secure the xing material against loosening (e.g. by means of medium-strength positive screw
locking).
Ì Protect the switch head against damage, as well as penetrating foreign objects such as swarf,
sand and blasting shot, etc.
Ì Observe the min. door radii (see chapter 14.5.1. Dimension drawing for actuator CTP/CTA-… on
page 45).
Ì Observe the tightening torque for mounting the switch:
- For CTP devices: max. 1.4Nm
- For CTA devices: max. 6Nm
CAUTION
Device damage or malfunctions caused by material changes due to the environment.
Ì In accordance with section 6.3 of ENISO14119:2014, the environmental inuences (e.g. direct
UV radiation or corrosion) must be checked before a guard locking device is used.
Ì Contact the manufacturer if you have any questions about environmental inuences or about use in
aggressive environments.
A clearance of 12mm must be maintained around the actuator head (see Figure 2).
min. 12
min. 12
Figure 2: Actuator head clearance