10
Property damage caused by hot exhaust gases.
Damages may be caused to the rack or bicycle if the exhaust outlet is close by.
• Use an exhaust deector if necessary.
Personal injury or property damage possible due to a damaged bicycle rack.
Damage to the rack, e.g. bent parts, cracks or scratches, prevents the safe operation of the rack.
• Do not mount the bicycle rack if it is damaged in any way.
• Proceed as described in the chapter on Maintenance.
Personal injury or property damage due to loss of the bicycle rack while driving.
A loose or faulty connection between the bicycle rack and trailer tow bar can lead to the detachment of the bicycle rack.
• Replace a defective trailer tow bar.
• Clean the trailer tow bar of dirt, dust and grease.
Personal injury or property damage possible due to loss of bicycle parts while driving.
Damaged may be caused by parts that can be lost if they come away from the bicycle during the journey.
• Remove all parts that may be lost before starting your journey, these include air pumps, batteries of electric bikes, battery-powered lamps, navigation
systems, bicycle computer, tool bags or baskets.
Personal injury or property damages caused by increased wind loads
The bicycle rack and trailer tow bar may be damaged by too high a wind load.
• Remove all bags from the bicycle before starting your journey.
• Do not use protective covers for the bicycle during the journey.
• Do not travel with the bicycle rack empty. Store it in the boot of your vehicle. This prevents increased fuel consumption and protects the rack.
• The driver is always responsible for ensuring that the load and the load securing meet the regulations.
The bicycle rack must be nished. Take all of the components out of the packaging and set them out clearly. Every stage is described and you are shown which
components are required for the assembly of the rack.
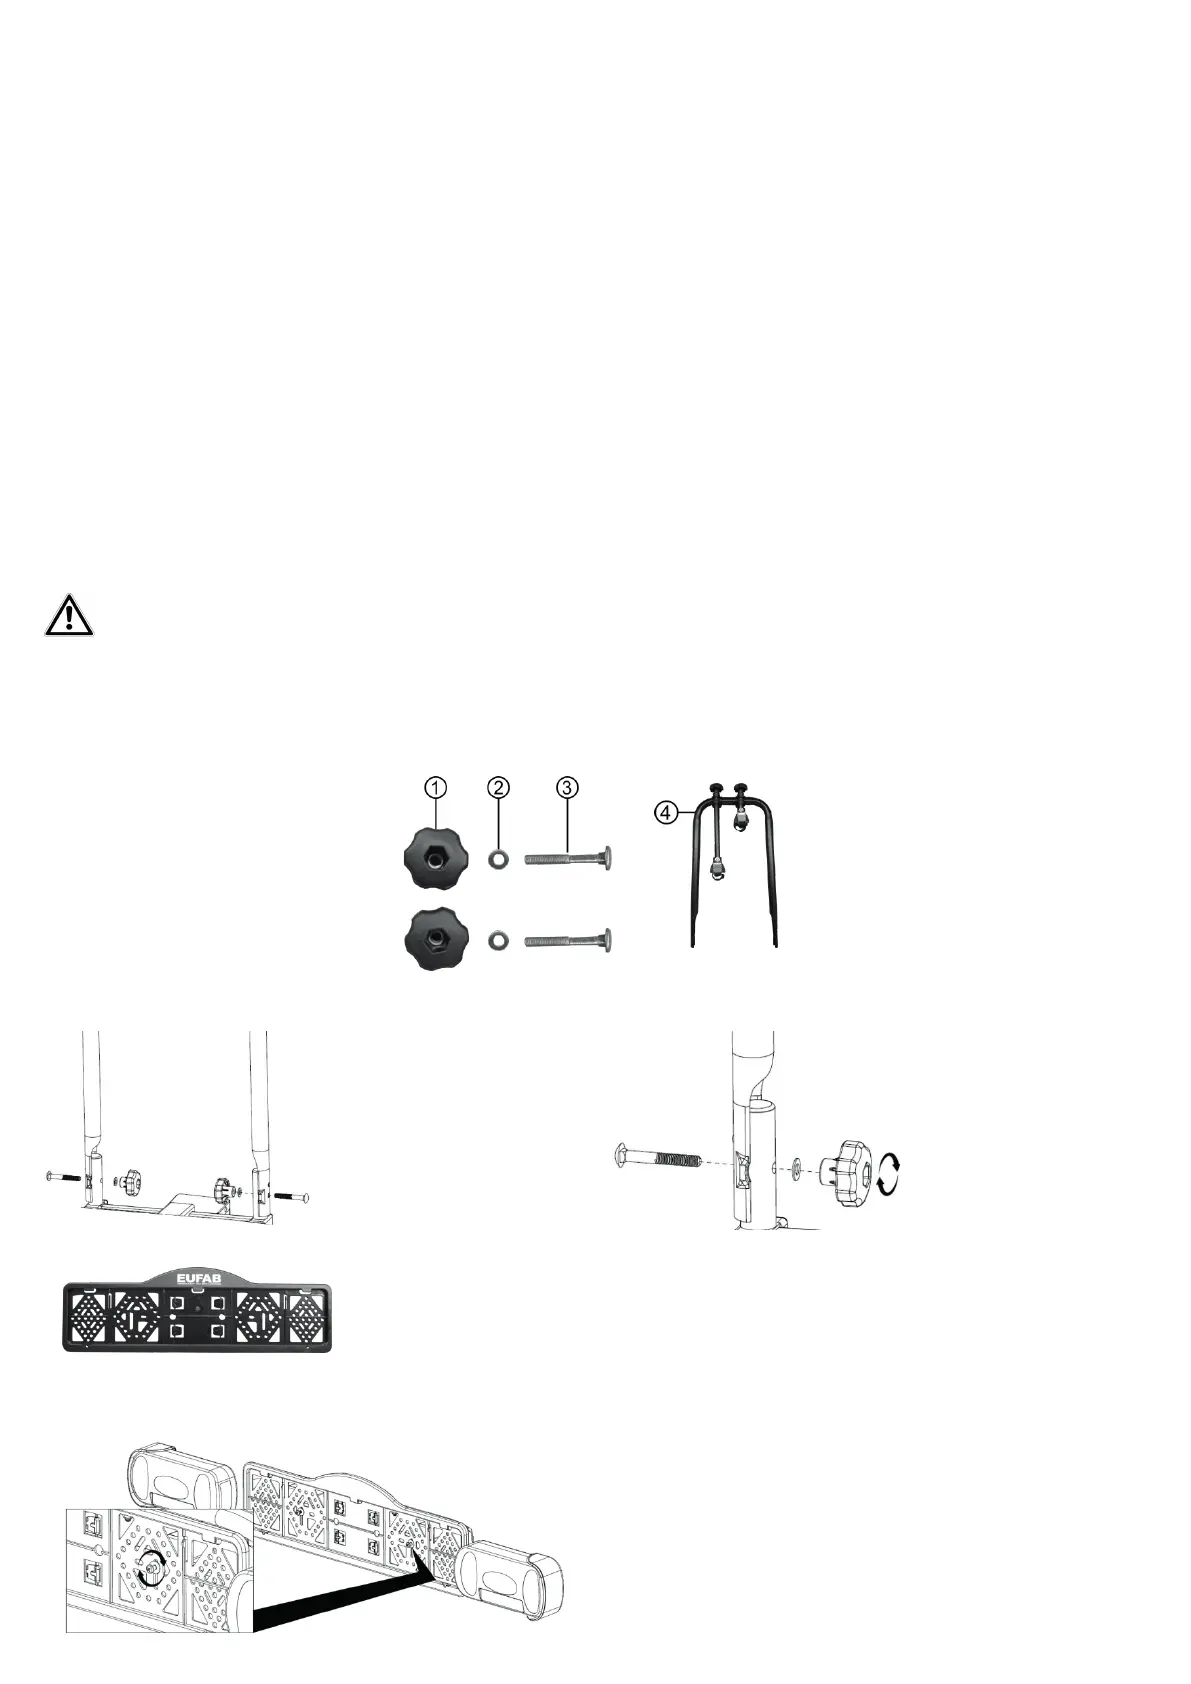
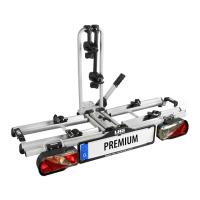
Remove both cross-headed screws from the rear cross-bracket of the bicycle rack.
Insert the screws into the license plate holder and screw rmly to be bicycle rack as shown in Figure 5. Ensure that the license plate is centred and at the same
height as the lights for the license plate.
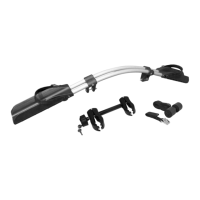
Place the U-shaped bracket (4) on the xture sleeves of the bicycle rack and screw rmly into place, using the lock screws (3), washers (2) and knob nuts (1) as
shown on Figures 2 and 3.
1 Knob nut M8
2 Washer M8
3 Lock screw M8 x 60
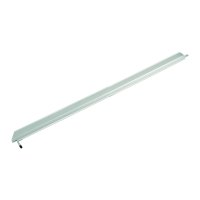
4 U-shaped bracket with frameholder
Figure 2: Assembly of U-shaped bracket Figure 3: Screwing the U-shaped
bracket into place
Figure 4: License plate holder
5.1 Completing the bicycle rack
5.1.2 Mounting the license plate holder
5.1.1 Mounting the U-shaped bracket
5. Operating instructions
The general operating permit must be carried in the vehicle when the rack is mounted.
Figure 5: Mounting the license plate holder