11
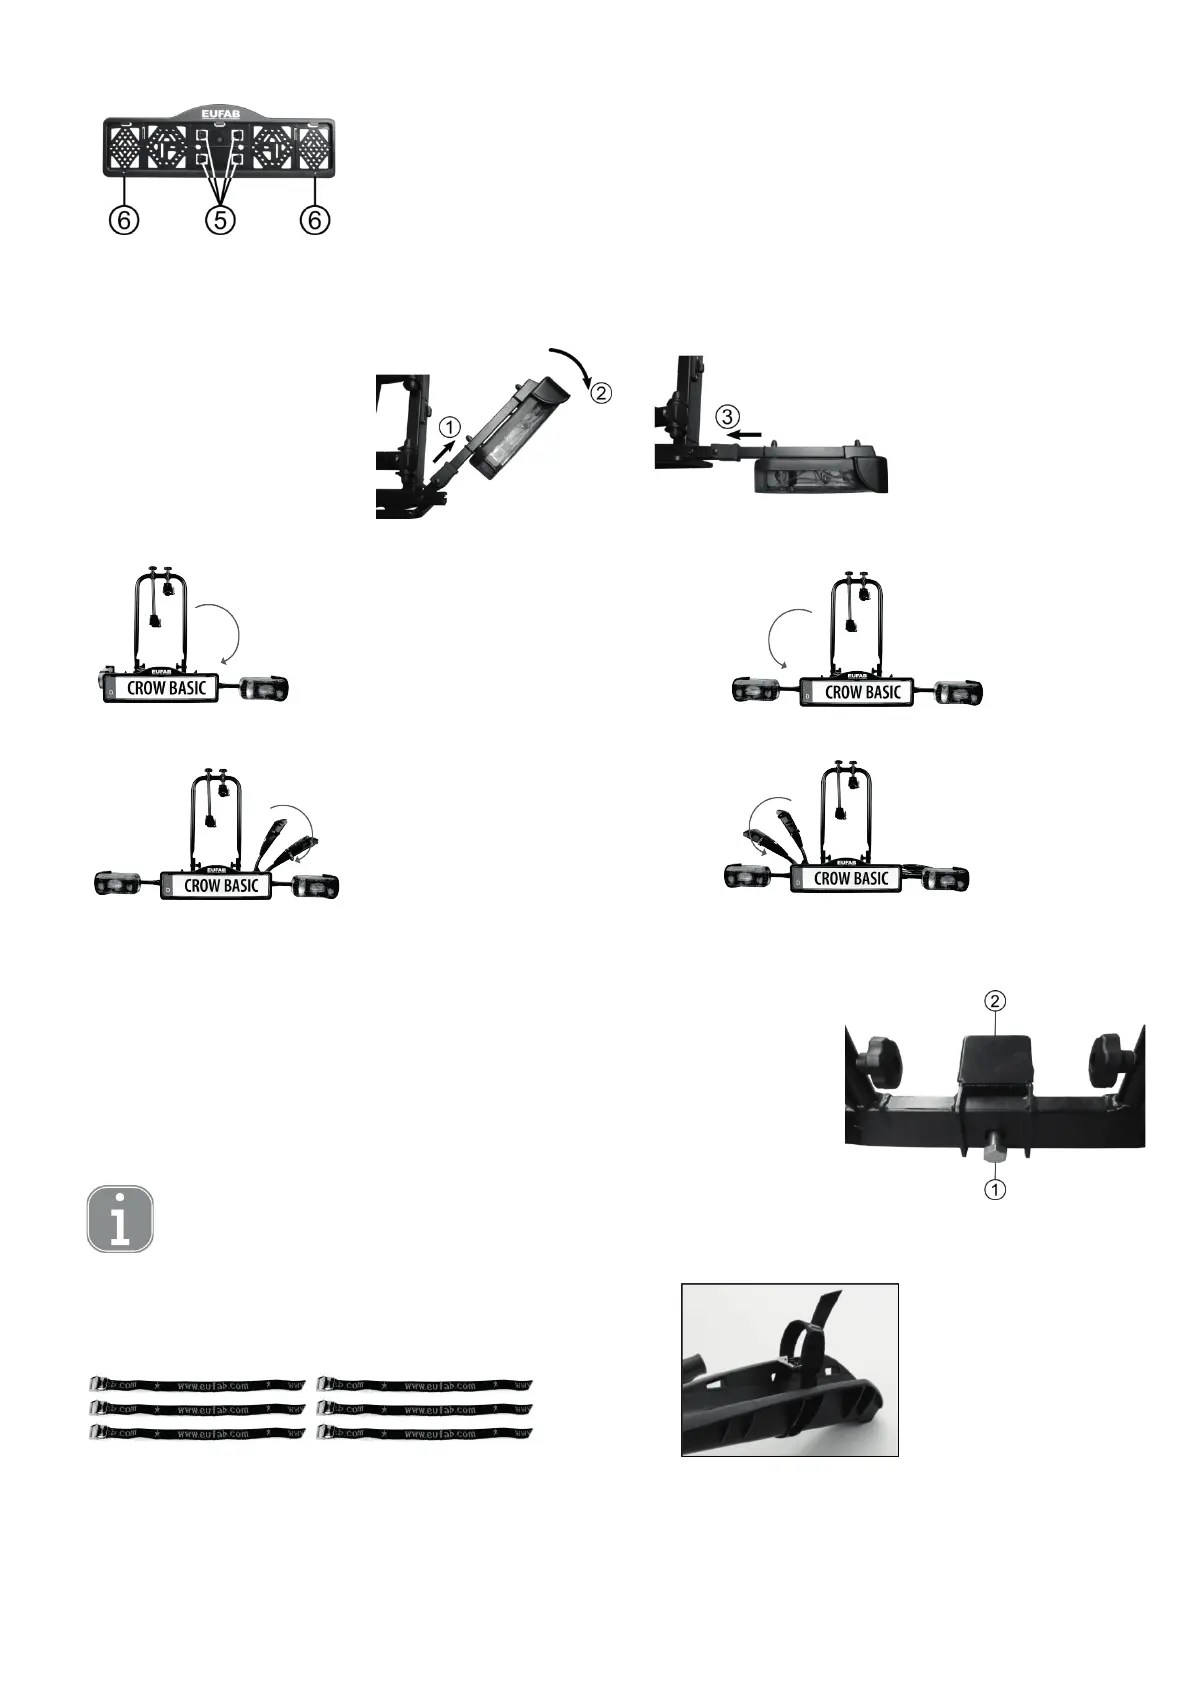
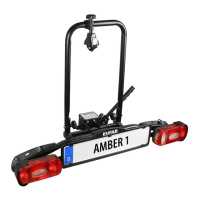
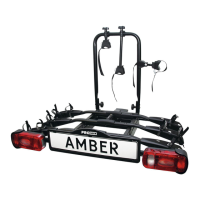
The mounting clips (5) for securing the license plate are push-out parts in the holder. Break out two of the clips. Slide the license plate into the holder, then
push the clips into the cut-outs (6) to secure the license plate.
Figure 6: Mounting the license plate
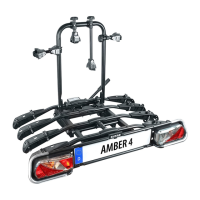
Fold open the bicycle rack as shown in the following Figures.
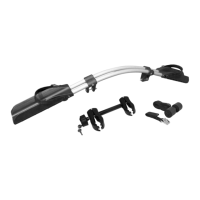
In order to unfold the bicycle rack, start by swivelling the rear lights outwards. The light mounts are clipped onto the rack table. Pull the light mounts out of
the clips. Pull the locking mechanism back (Position 1 in Figure 12). Hold the locking mechanism in this position. Swivel the light mount out fully (Position 2 in
Figure 12). Now release the locking mechanism (Position 3 in Figure 12), the light mount is now secured to prevent it from folding back in.
5.2 Dismantling the bicycle rack
1. Fold out the right rear light
3. Fold out the right wheel rail
2. Fold out the left rear light
Figure 12: Locking the light mounts
4. Fold out the left wheel rail
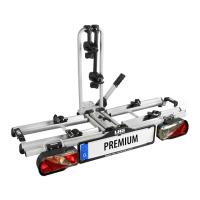
Slight signs of pressure on the tow bar ball are normal and do not inuence the functionality.
Figure 13: Screw base
Ensure that the trailer tow bar is undamaged, clean and free of grease. Remove any paint from the coupling ball.
The bicycle rack is placed with the base horizontally on the trailer tow bar from above. Insert the screw
M16 (Position 1 in Figure 13) into the base (Position 2 in Figure 13). Tighten the M16 screw slightly and
align the bicycle rack parallel to the rear of the vehicle. Now tighten the M16 screw with the installation
wrench in such a way to ensure that the rack is securely attached and can no longer be rotated.
Regularly check the rm seating of the rack on the trailer tow bar as well as the functionality of the
lighting systems.
5.3 Mounting the bicycle rack on the trailer tow bar
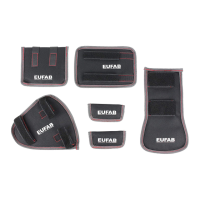
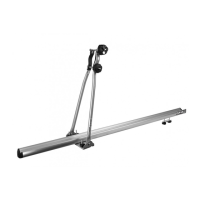
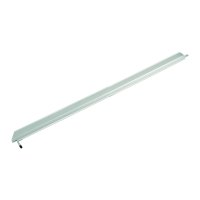
Insert the short tensioning strap from the inside to the outside below the bike holder and then from the outside to the inside through the slots of the bike
holder (Figure 15). For the rear wheel of the bicycle, use the centre slot of the wheel holder, for the front wheel, use the two outer slots (two tensioning straps
to prevent the front wheel from turning).
5.4 Mounting the short tensioning straps
Figure 14: 6 x short tensioning strap Figure 15: Mounting the tensioning straps