10 EN EN 11
3
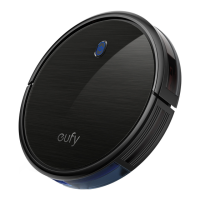
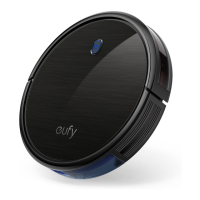
Turn on the main power switch at the right side of RoboVac.
ON
4
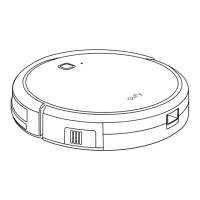
Place the Charging Base on a level surface and against a wall.
5
Remove objects within 1.6ft / 0.5m to the left and right sides and
within 4.9ft / 1.5m of the front of the Charging Base.
6
Connect the round connector of the adapter into the power socket
on the Charging Base and the other end into a wall outlet.
• When the Charging Base connects to AC power, the LED
indicator on the Charging Base is SOLID WHITE.
• Install the Charging Base in a location that RoboVac can easily
access. It is recommended to place the Charging Base against a
wall, and on a hard-level surface rather than on rugs or carpets.
• Always keep the Charging Base plugged in, otherwise RoboVac
will not automatically return to it.
Charge Your RoboVac
• Make sure RoboVac is fully charged before use.
• RoboVac returns to the Charging Base at the end of a cleaning
cycle or when its battery is running low.
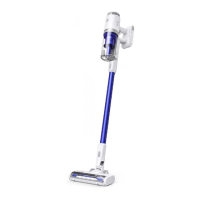
1
Attach RoboVac to the Charging Base by aligning its charging pins
with the charging pins on the base.
2
Press to return RoboVac to the Charging Base.
• Turn off the main power switch if RoboVac will not be used
for a long period of time. To preserve the battery’s lifespan,
recharge at least once every 6 months.
D E
F
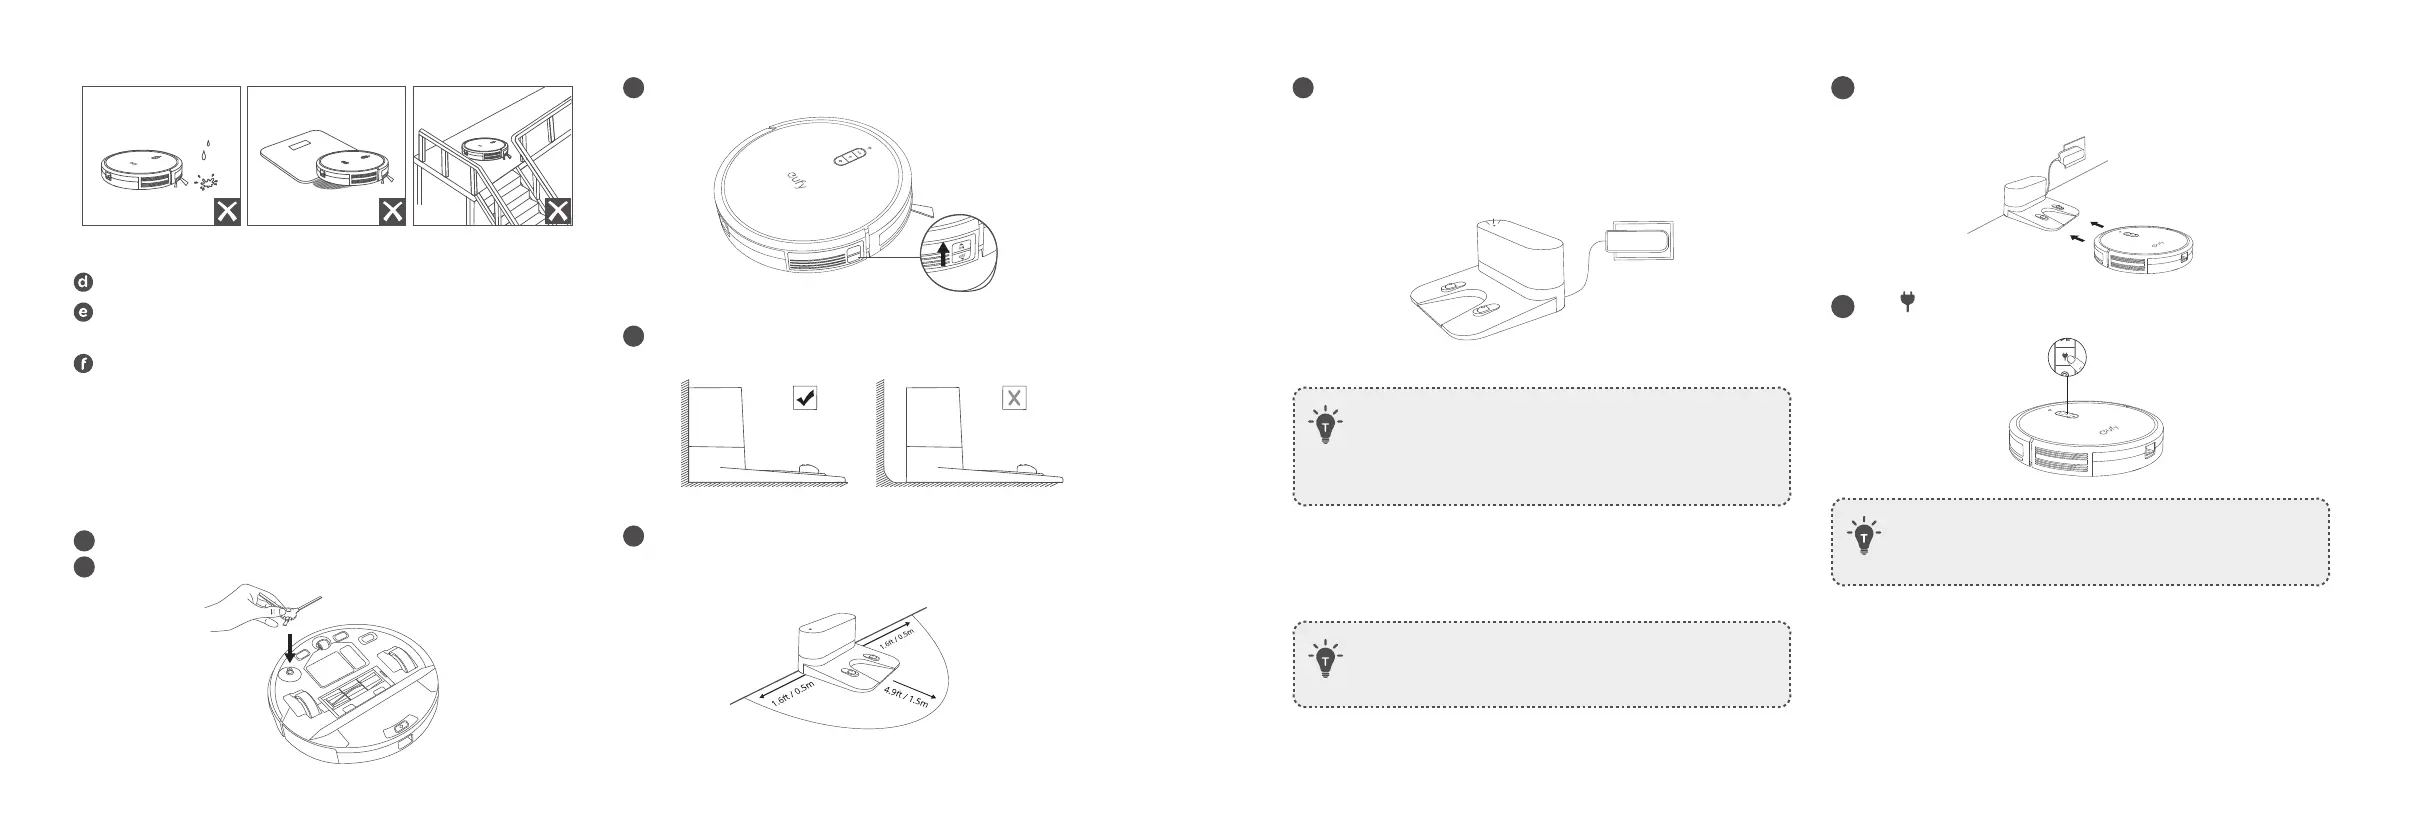
Keep RoboVac away from wet areas during cleaning.
RoboVac may climb on top of objects less than 0.63in / 16mm in
height. Remove these objects if possible.
Anti-drop sensors will prevent RoboVac from tumbling downstairs
and steep drops in most cases. Sensors are less effective if dirty
or used on carpeted/reflective/very dark-colored floors. It is
recommended to place physical barriers to block off areas where
RoboVac may fall.
Preparation
1
Remove the foam blocks beside the bumper before use.
2
Install the side brush before use.