1. Remove all packaging from the UV bulb (C).
2. Slide the UV bulb (C) carefully through the quartz sleeve (D) that you have
just fitted, as per the instructions on page 6.
3. While holding one of the black end caps (B) gently push the cable through the
end cap which will make it easier to fit the bulb socket (F) in step 5.
IMPORTANT: Do not pull the cable by holding just the bulb socket.
4. Fit the End Cap Sealing Ring (I) over the bulb socket and locate it into the end
cap so it is seated on the inside lip of the end cap.
IMPORTANT: Ensure the end cap sealing ring is not twisted and it remains in
this location throughout the installation.
5. In no particular order,
align the UV bulb
pins with the holes in
the bulb socket and
carefully push the bulb
socket firmly onto the
UV bulb pins. You may
need to hold the other
end of the UV bulb to
help you fit the socket.
6. Ensure the UV bulb socket is firmly connected to the UV bulb.
7. Repeat steps 3 to 6 at the other end of the unit.
8. Now at one end of the unit, slide the black end cap (checking that the sealing ring
in position) over the bulb socket while carefully holding the cable to prevent the
bulb connector disconnecting from the UV bulb.
9. Screw this end cap onto the thread on the white locking nut (H) already
connected to the UV body. HAND TIGHTEN ONLY.
10. Repeat steps 8 and 9 at the other end of the unit.
11. Check that all of the fittings are hand tightened. No tools are needed.
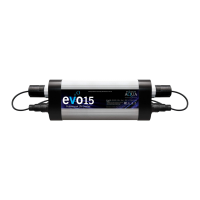
INSTALLING THE UV BULB
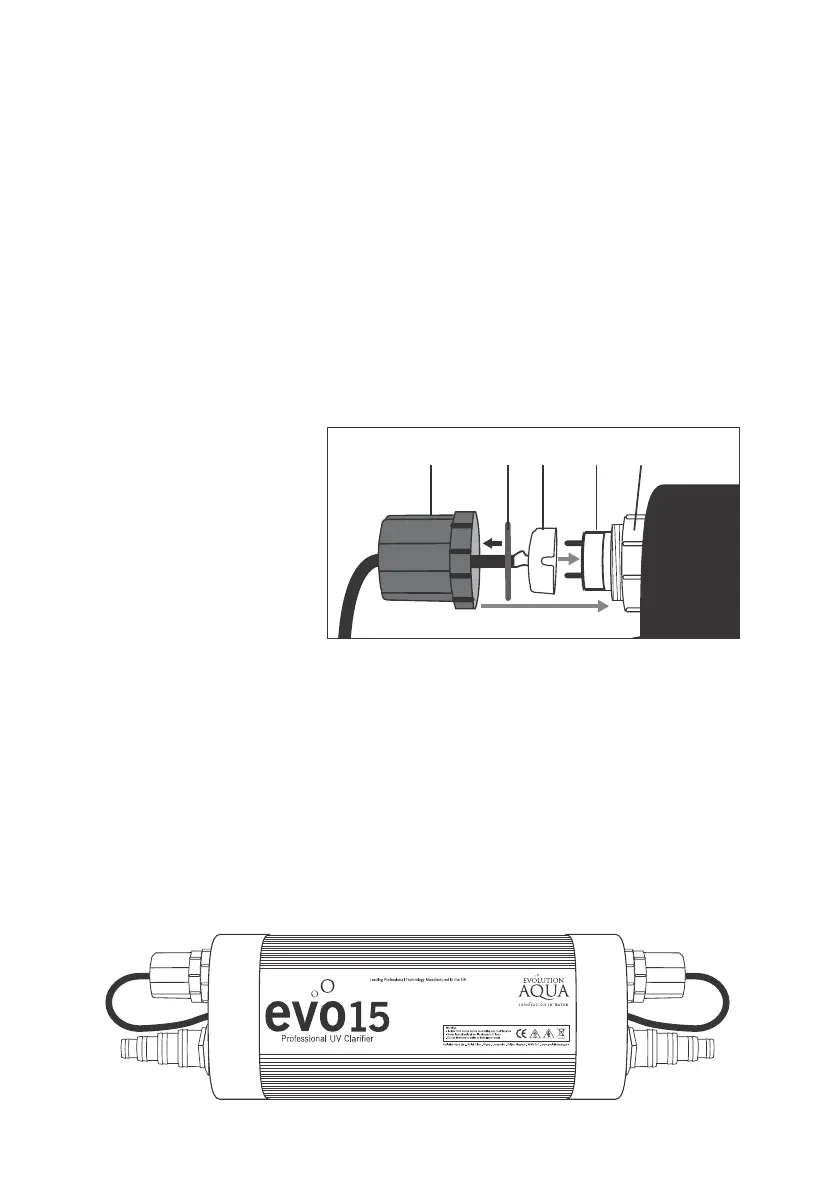
(B) (I) (F) (C) (H)
Illustration shows a finished evoUV set-up
8