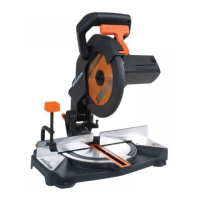
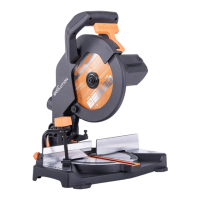
pointer attached to the rotary table indicates
the angle selected.
If necessary, the pointer can be repositioned by
loosening its fastening screw using a #2 Phillips
screwdriver. Adjust as necessary, and then
securely tighten the fixing screw. (Fig. 32)
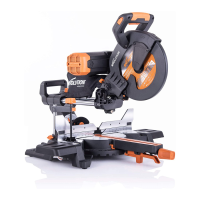
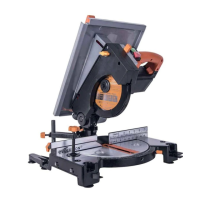
UNLATCHING AND RAISING THE CUTTING
HEAD (Fig. 33)
WARNING: To avoid serious injury, NEVER
perform the locking or unlocking procedure
unless the saw is OFF and the blade stationary.
To release the cutting head from the locked
down position:
• Gently press down on the Cutting
Head Handle.
• Pull out the head latching pin (Step 1)
allow the cutting head to rise to its upper
position. (Step 2)
Note: The cutting head will automatically rise
to the upper position once it is released from
the locked down position.
• It will automatically lock in the upper position.
If release is difficult:
• Gently rock the cutting head up and down.
• At the same time twist the Head Latching
Pin clockwise and pull outwards.
Note: We recommend that when the machine
is not in use the cutting head is locked in
its down position with the latching pin fully
engaged in the open half socket which is
machined into the cutting head upper surface
near to the pivot point. (Fig. 34).
INSTALLING OR REMOVING A BLADE
WARNING: Only carry out this operation
with the machine disconnected from the
mains supply.
WARNING: Only use genuine Evolution
blades or those blades specifically
recommended by Evolution Power Tools
and which are designed for this machine.
Ensure that the maximum speed of the
blade is higher than the speed of the motor.
Note: It is recommended that the operator
considers wearing protective gloves when
handling the blade during installation or
when changing the blade.
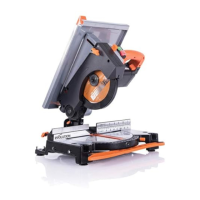
• Ensure the cutting head is in its upper
position. (Fig. 35)
• Press the lower blade guard locking trigger
(Step 1) and rotate the lower blade guard
(Step 2) up and into the upper blade guard.
Note: Lowering the cutting head slightly will
allow the lower blade guard to rotate fully
into the upper blade guard giving maximum
access for the operator.
• Press the black arbor lock button to lock the
arbor. (Fig. 36)
• Using the supplied Hex Key, release the
arbor screw and remove the washer and
outer blade flange and the blade from the
arbor. (Fig. 37)
Note: The arbor screw has a LH thread. Turn
clockwise to loosen. Turn counterclockwise
to tighten.
Ensure that the blade and blade flanges are
clean and free from any contamination.
• The inner blade flange should be left in
place, but if it is removed for cleaning it
must be replaced the same way round as it
was removed from the machine.
Note: Some machines may be supplied
with dual sided inner blade flange. Installed
correctly this blade flange will safely
accommodate Evolution blades which have a
25.4mm diametre central arbor bore.
If the blade flange is reversed, blades with a
different diametre central arbor bore may be
installed.
WARNING: To safely install Evolution
Multipurpose blades the inner blade flange
must be installed with the 25.4mm boss
facing to the outside. (Fig. 38)
• Install the new blade. Make sure the rotation
arrow on the blade matches the clockwise
rotation arrow on the upper guard.