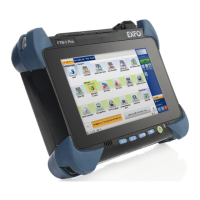
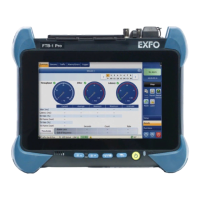
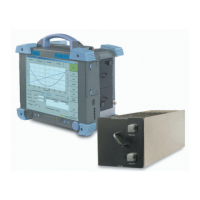
Mating connector
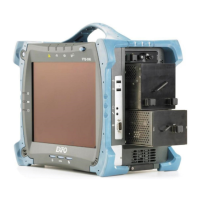
Replacing the Battery
1
2
Turn off the unit (shutdown) and disconnect it from AC power.
Using a flat screwdriver, turn the screws
counterclockwise until the module is loose.
Charging the Battery
Connect your unit to AC power with the
provided AC adapter/charger.
Pull on the battery’s tab to free it from its socket.
Slide in the new battery (poles facing down and
pointing to the same side of the case as
the mating connector).
7
8
Battery status LED
Green: Fully charged
Green, blinking: Charging
Yellow: Battery level is low
Position the unit so that its front panel rests on a flat surface such as a table.
6
Mating connector
Battery poles
Using a flat screwdriver, turn the screws clockwise until they are tighten.
10
3
4
While holding the front panel and the module firmly together, turn the unit over, and position it so that the
module rests on a flat surface such as a table.
5
Hold the front panel by its sides and pull it up.
Connection slot for the
module
Place the front panel on the module making sure that
the mating connector of the module is well aligned
with the corresponding slot on the front panel.
9
While holding the front panel and the module firmly together, turn the unit over, and position it so that its
front panel rests on a flat surface such as a table.
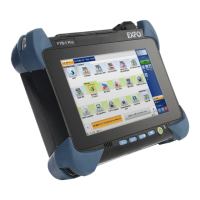
refer to the user guide.