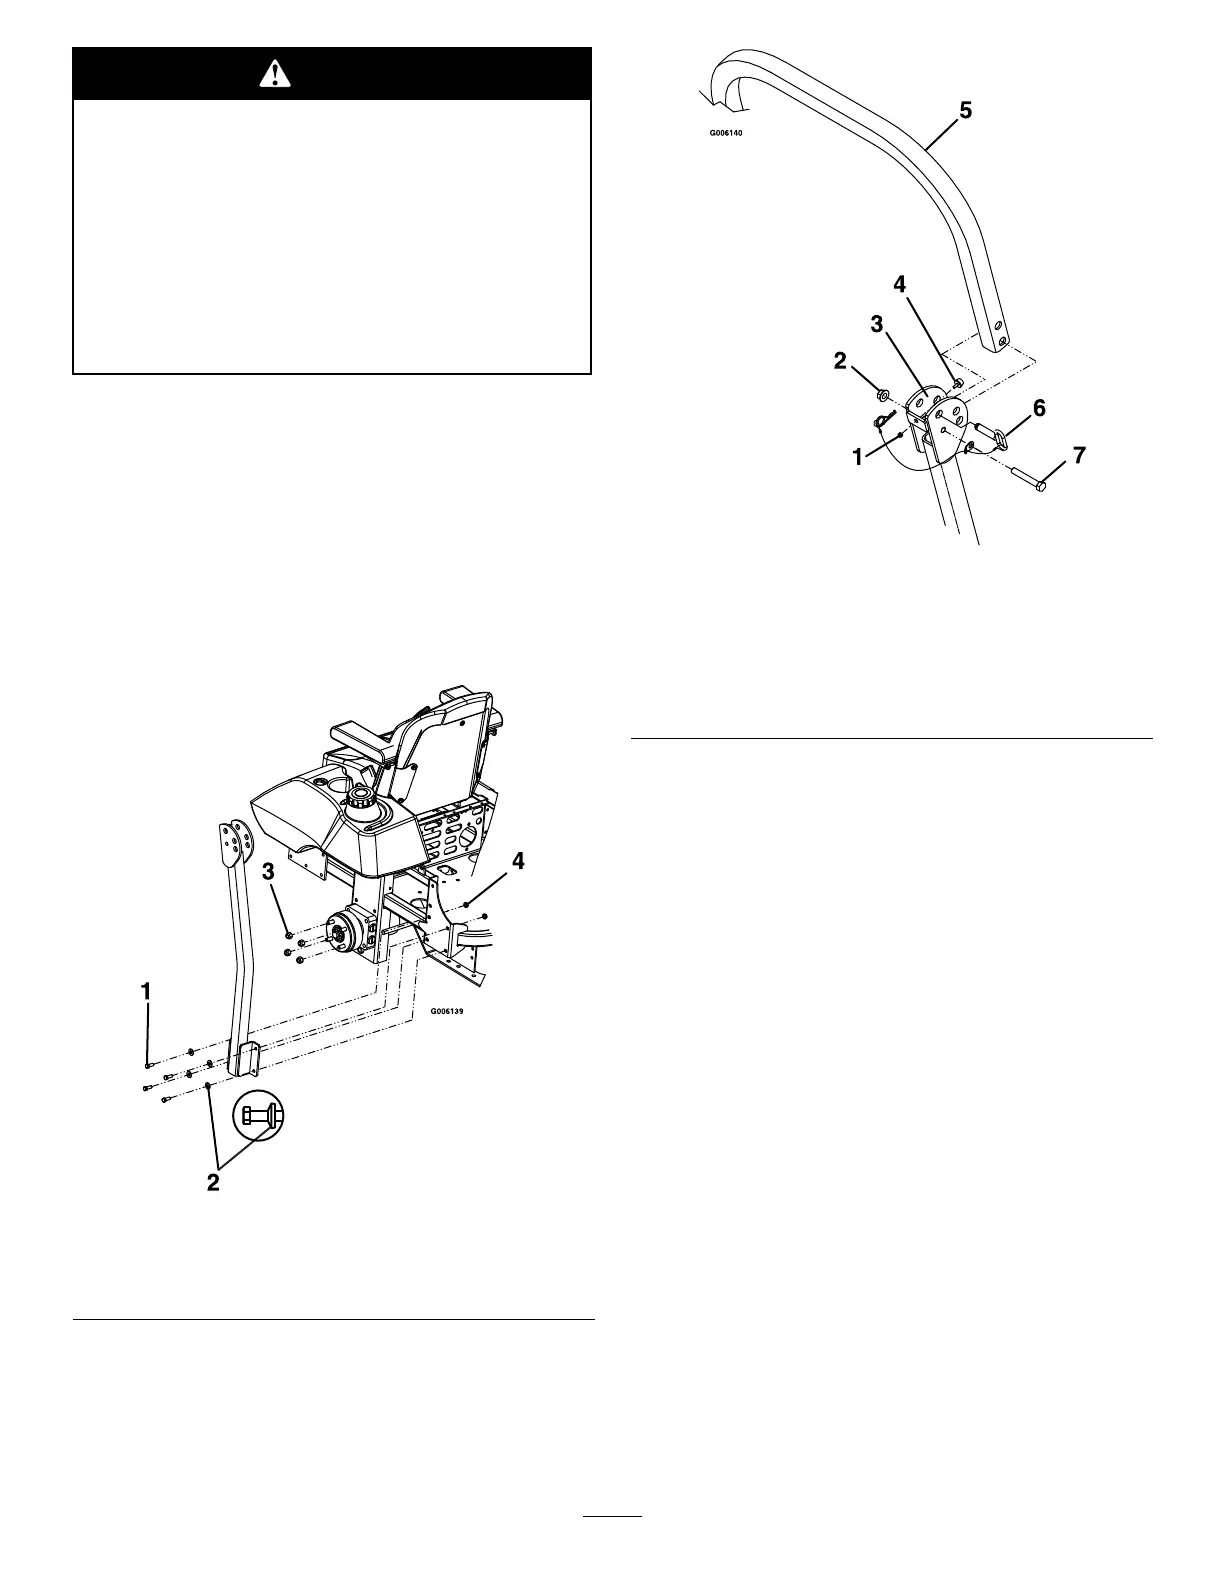
Caution
Raisingtherearoftheunitforassemblyrelying
solelyonmechanicalorhydraulicjackscouldbe
dangerous.Themechanicalorhydraulicjacks
maynotbeenoughsupportormaymalfunction
allowingtheunittofall,whichcouldcause
injury.
DoNotrelysolelyonmechanicalorhydraulic
jacksforsupport.Useadequatejackstandsor
equivalentsupport
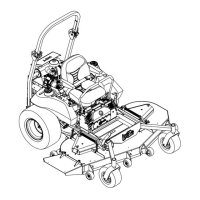
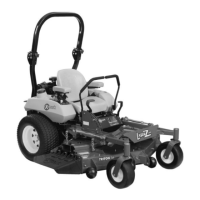
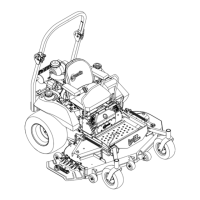
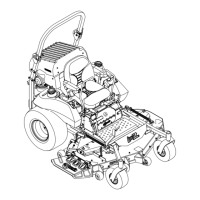
8.Locatetheleftandrightlowerrollbartubes.
9.Alignlowerrollbartubesalongrearengineframe
(Figure2).
10.Looselyinstalllowerrollbarhardware(four3/8-16
x1inchcapscrews,fourspringdiscwashersand
four3/8-16inchwhizlocknuts)tothetubesoneach
side(Figure2).
Note:Besurethespringdiscwasherconeis
installedtowardstheheadofthecapscrew.
Figure2
1.3/8-16x1inchcapscrews
3.Wheelnuts
2.Springdiscwasher(cone
towardscapscrewhead)
4.3/8-16inchwhizlocknuts
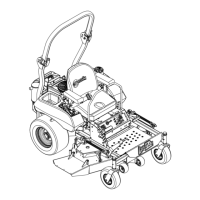
Figure3
1.1/4-20inchnylocnut
5.Upperrollbartube
2.1/2-13inchhexangelock
nuts
6.Latchpinassembly
3.Applyoiltoinsidesurface
ofearshapedholes
7.1/2-13x31/4inch
capscrew
4.Bumper
11.Locatethelatchpinassemblies(pinandhairpin
connectedwithalanyard).
12.Inserta1/2-13x31/4inchcapscrew(removedin
step5)intothebenttabwasheronthelanyardof
eachpinassembly(Figure3).
Note:Makesurethebenttabinthewasheris
towardstheheadofthebolt.
13.Lightlyoiltheinsidesurfacesoftheear-shaped
platesattheupperendofthelowerrollbartubes
(Figure3).
14.Locatetheupperu-shapedsectionoftherollbar.
Installtheupperrollbarsectionusingthetwo1/2-13
x31/4inchcapscrewsandtwo1/2-13inchhex
angelocknuts(removedinstep5).Donotover
tighten.Makesureupperrollbarcanpivotfreely.
Note:Makesurethecapscrewandnutsareinstalled
withthenuttotheinsideoftherollbar.
Note:Makesurethetabonthelanyardwasheris
installedasshownandpointstowardthefrontof
theunit.
15.Raisetherollbarintotheuprightpositionandsecure
withthelatchpinassembliesoneachside.Install
2

 Loading...