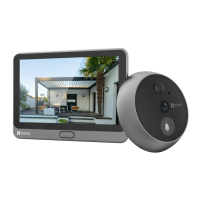
EasyManuals Logo

Ezviz H1c User Manual

Ezviz H1c
13 pages
To Next Page IconTo Next Page
To Previous Page IconTo Previous Page
Page #5 background imageLoading...
Page #5 background image
3
2� Power-on
Connect the camera to power outlet with the power adapter (5V 1A) to power on.
Power Outlet
Power Cable
It is recommended to use the power cable and power adapter included in the package.
3� Add camera to EZVIZ
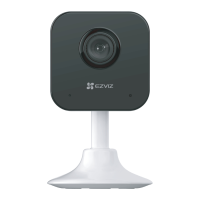
1. When the LED indicator ashes blue quickly, indicates that the camera is ready for Wi-Fi conguration.
LED Indicator
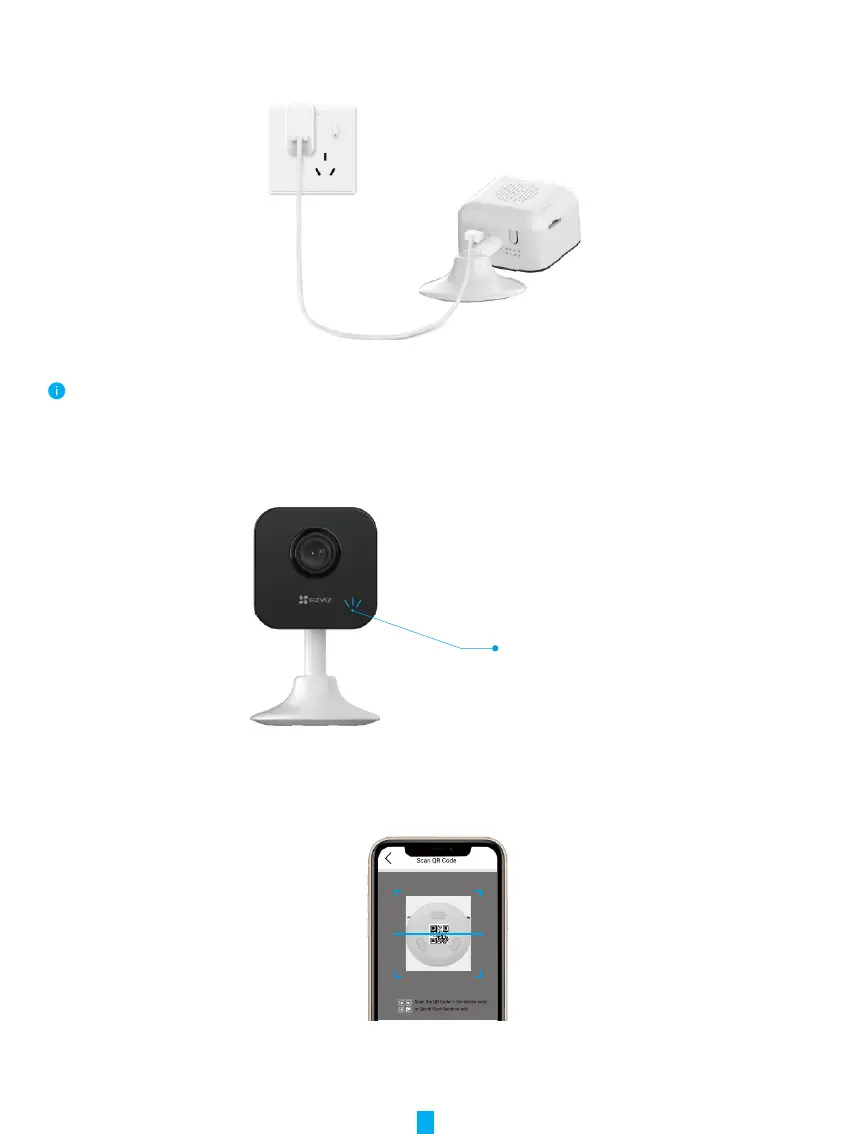
2. Log in to your account using the EZVIZ app.
3. On the Home screen, tap “+” on the upper-right corner to go to the Scan QR Code interface.
4. Scan the QR code on the Quick Start Guide cover or on the body of the camera.
5. Follow the EZVIZ app wizard to nish Wi-Fi conguration.

Questions and Answers:

Question and Answer IconNeed help?

Do you have a question about the Ezviz H1c and is the answer not in the manual?

Ezviz H1c Specifications

General IconGeneral
Lens2.8mm fixed lens
Audio InputBuilt-in microphone
Audio OutputBuilt-in speaker
Operating Temperature-10 °C to 45 °C (14 °F to 113 °F)
IR RangeUp to 10m (32.8ft)
Max. Resolution1920 × 1080
Video CompressionH.264
Wi-Fi StandardIEEE 802.11b/g/n
Frequency Range2.4GHz
Local StorageMicroSD card
Power SupplyDC 5V / 1A
Sensor1/2.7" Progressive Scan CMOS
ConnectivityWi-Fi
StorageMicroSD card

Related product manuals