5
2� Installation Steps
1� Install Micro SD Card (Optional)
- Insert the Micro SD card (sold separately) into the card slot as shown in the gure below.
After installing the Micro SD card, you should initialize the card in the EZVIZ app before using it.
- In the EZVIZ app, tap the Storage Status in the Device Settings interface to check the Micro SD card status.
- If the memory card status displays as Uninitialized, tap to initialize it.
The status will then change to Normal and it can store videos.
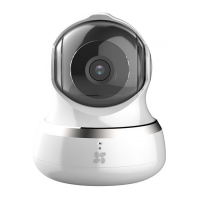
2� Install Camera
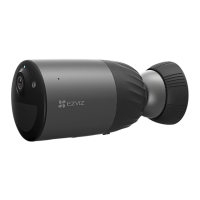
The camera can be placed horizontally or mounted on the ceiling. Here we take ceiling mounting as an example.
Secure the metal plate with foam sticker
1. Pick a clean and at surface.
2. Secure the metal plate with the foam sticker.
3. Mount the camera to the metal plate or attach it directly to a magnetic surface.
2
1
3
Foam Sticker
Metal Plate Camera
Fig.1 Mount by Foam Sticker
 Loading...