Chapter 5
5 - 2
4. Slide the new fan tray and filter into the fan tray and filter slot.
The tray is automatically turned on when you slide the tray
completely into the chassis.
5. Tighten the knurled fastener into place by turning it clockwise.
6. Close the front panel of the unit.
You should not leave the unit running longer than 90 seconds without the
fan tray installed.
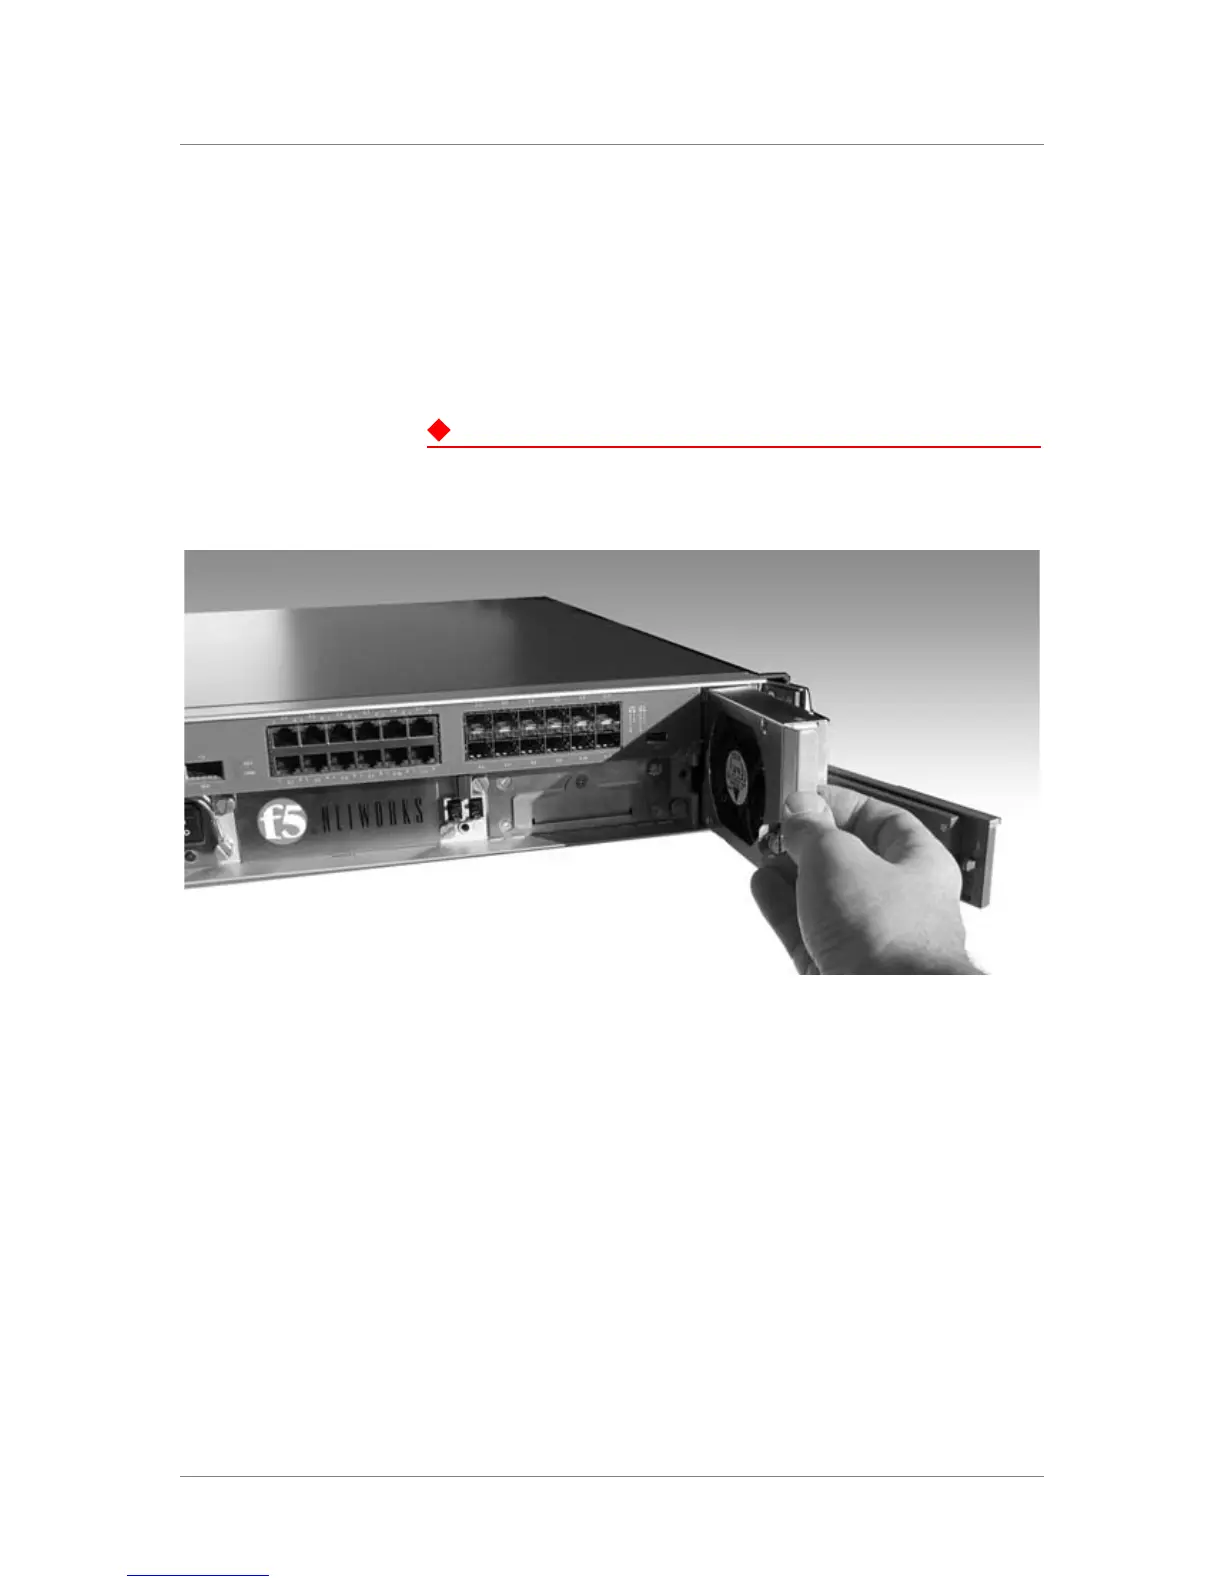
Figure 5.1 The removable fan and filter tray
Figure 5.1 shows an example of the fan and filter tray assembly partially
removed from the BIG-IP system. You can also replace the filter without
replacing the fan tray. This requires you to remove the fan tray, and take out
the old filter, and insert a new one.
To replace the filter only
1. Start by opening the front panel of the BIG-IP unit running in
standby mode.
2. The fan tray is held on the chassis by a knurled fastener. Loosen the
knurled fastener by turning it counter-clockwise.
3. Pull the old fan tray and filter out of the system.
4. Slide the old filter out of the fan tray filter slot. Slide the new filter
into the filter slot.