Installing an IP Application Switch Using an Optional Rail-Mount Kit
Platform Guide: 8400 and 8800 A - 1
Installing the optional rail-mount kit
When you received your IP Application Switch, the unit included
rack-mount ears, suited for a standard type of mount. With rack-mount ears,
the unit is bolted directly to the rack.
As an option, you can use an alternative type of mount, called a rail mount,
which allows you to slide the unit in and out of the rack at will. To install
this rail-mount kit and install the unit into the rack, you need to perform the
following tasks:
• Remove some standard mount hardware from the unit
• Install the rail-mount kit hardware
• Install the unit into the rack
• Connect cables and other hardware
To perform these tasks, follow the instructions in the following sections.
Removing standard mount hardware from the unit
The first step in installing a rail-mount kit is to remove some
standard-mount hardware from the unit itself. Commonly referred to as
rack-mount ears, this hardware must be removed before you can install a
rail-mount kit.
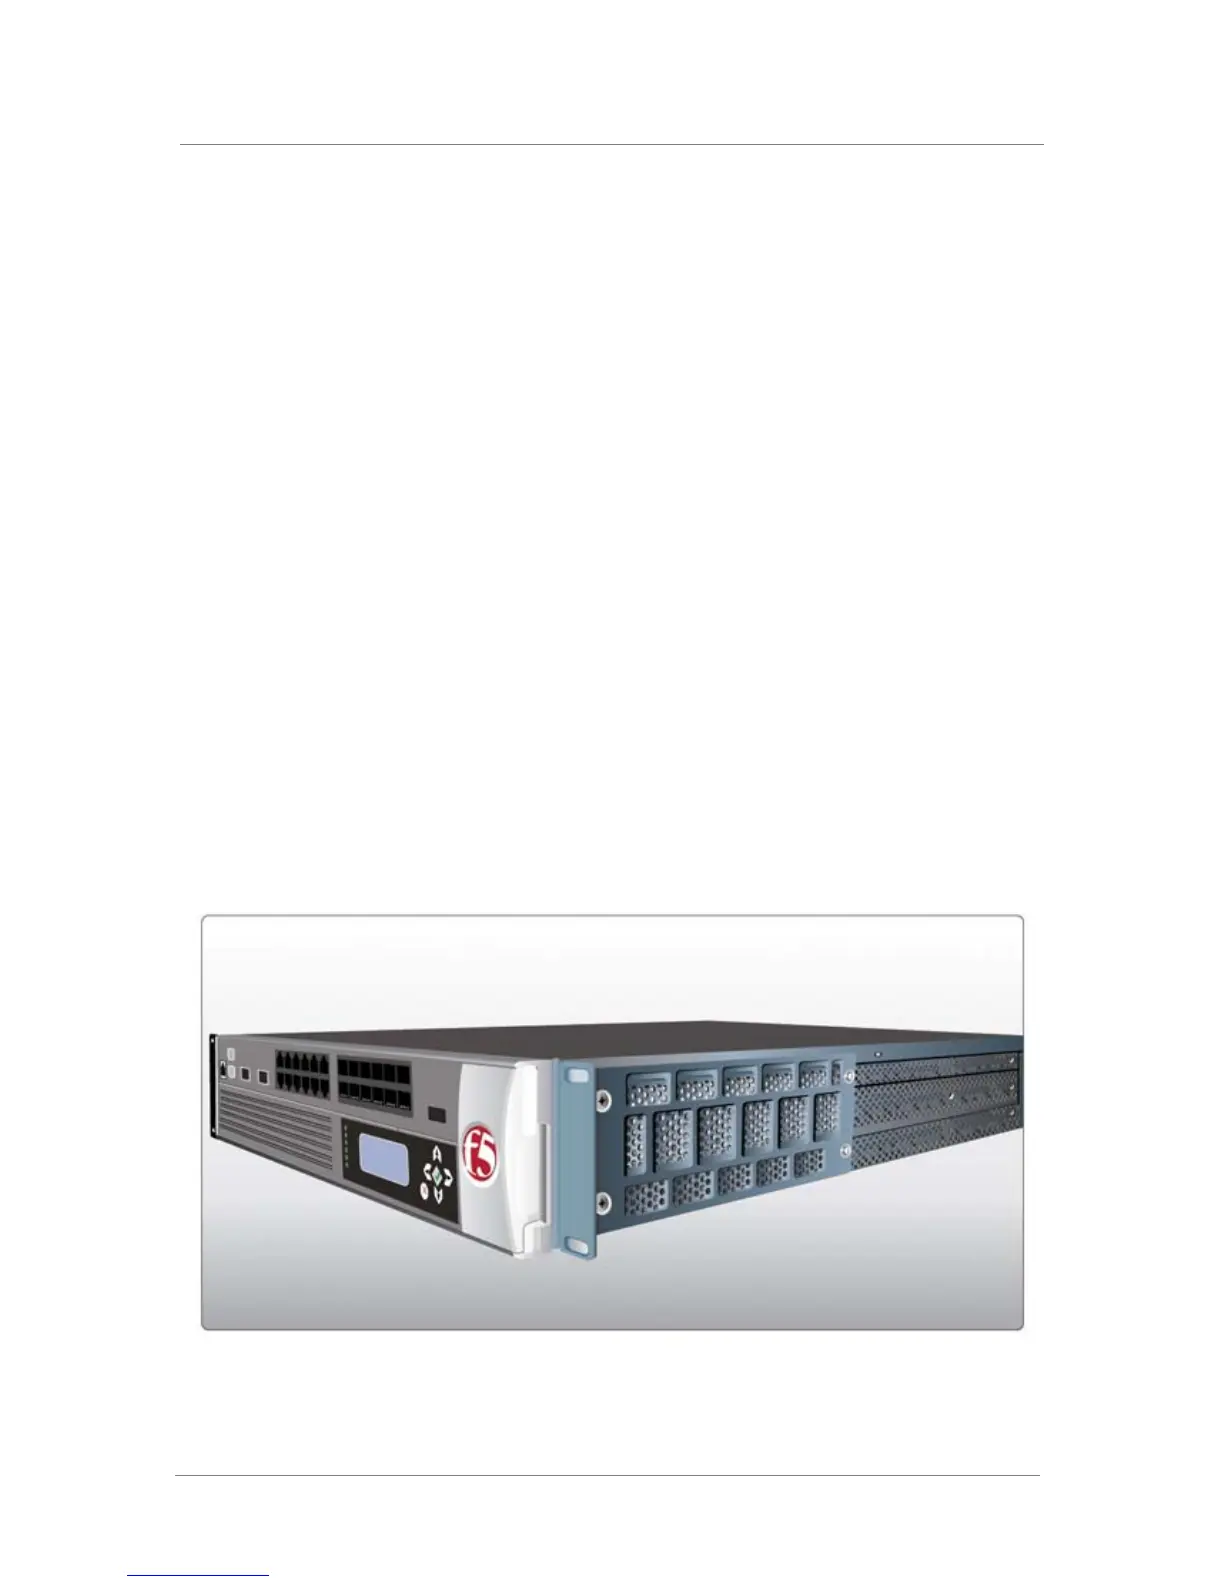
Figure A.1 shows one of the rack-mount ears on an IP Application Switch.
Figure A.1 A rack-mount ear on an IP Application Switch