Example of a Hostname: tftp://voip.bicomsystems.com
Example of an IP Address: tftp://192.168.1.10
Make sure the Update Mode is set to Update After Reboot.
■
Click Apply.
■
Click Tools in the navigation tab.
■
Click Reboot.
■
A pop-up window will show up, click OK to confirm the action.
■
You will have to wait for a couple of seconds for the configuration to be updated. NOTE: Do
■
not power off the phone.
The auto-provisioning process will start during the phone's reboot process. the phone will pick
■
up the appropriate configuration file from PBXware. If everything is done as described above,
you should have successfully registered your phone to PBXware.
Dial *123 to verify the registration.
Configure BLF
Extension Settings
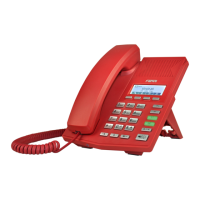
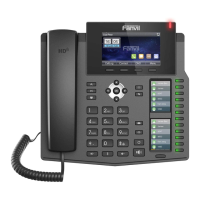
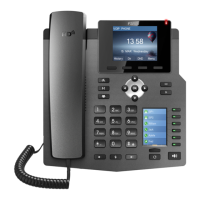
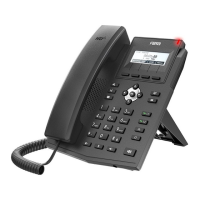
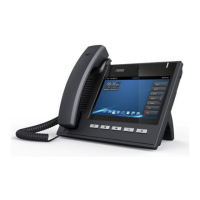
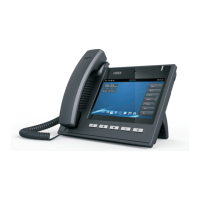
This section describes how to configure BLF (Busy Lamp Field) for Fanvil X4U.
Log in to the PBXware's web administration interface.
Open a new browser window and enter the IP address in order to access the PBXware's web
■
administration login page. Example: http://192.168.1.10.
Log in to PBXware with the e-mail address and password.
■
Edit an Extension
On the Extensions page, click the Edit icon corresponding to the Extension.
■
Click Advanced Options.
■
Navigate down to the Auto Provisioning and Presence group of settings.
■
Make sure Auto Provisioning is set to Yes.
■
Make sure Presence is set to "Yes".
■
 Loading...