Assembly - Teleswing
26
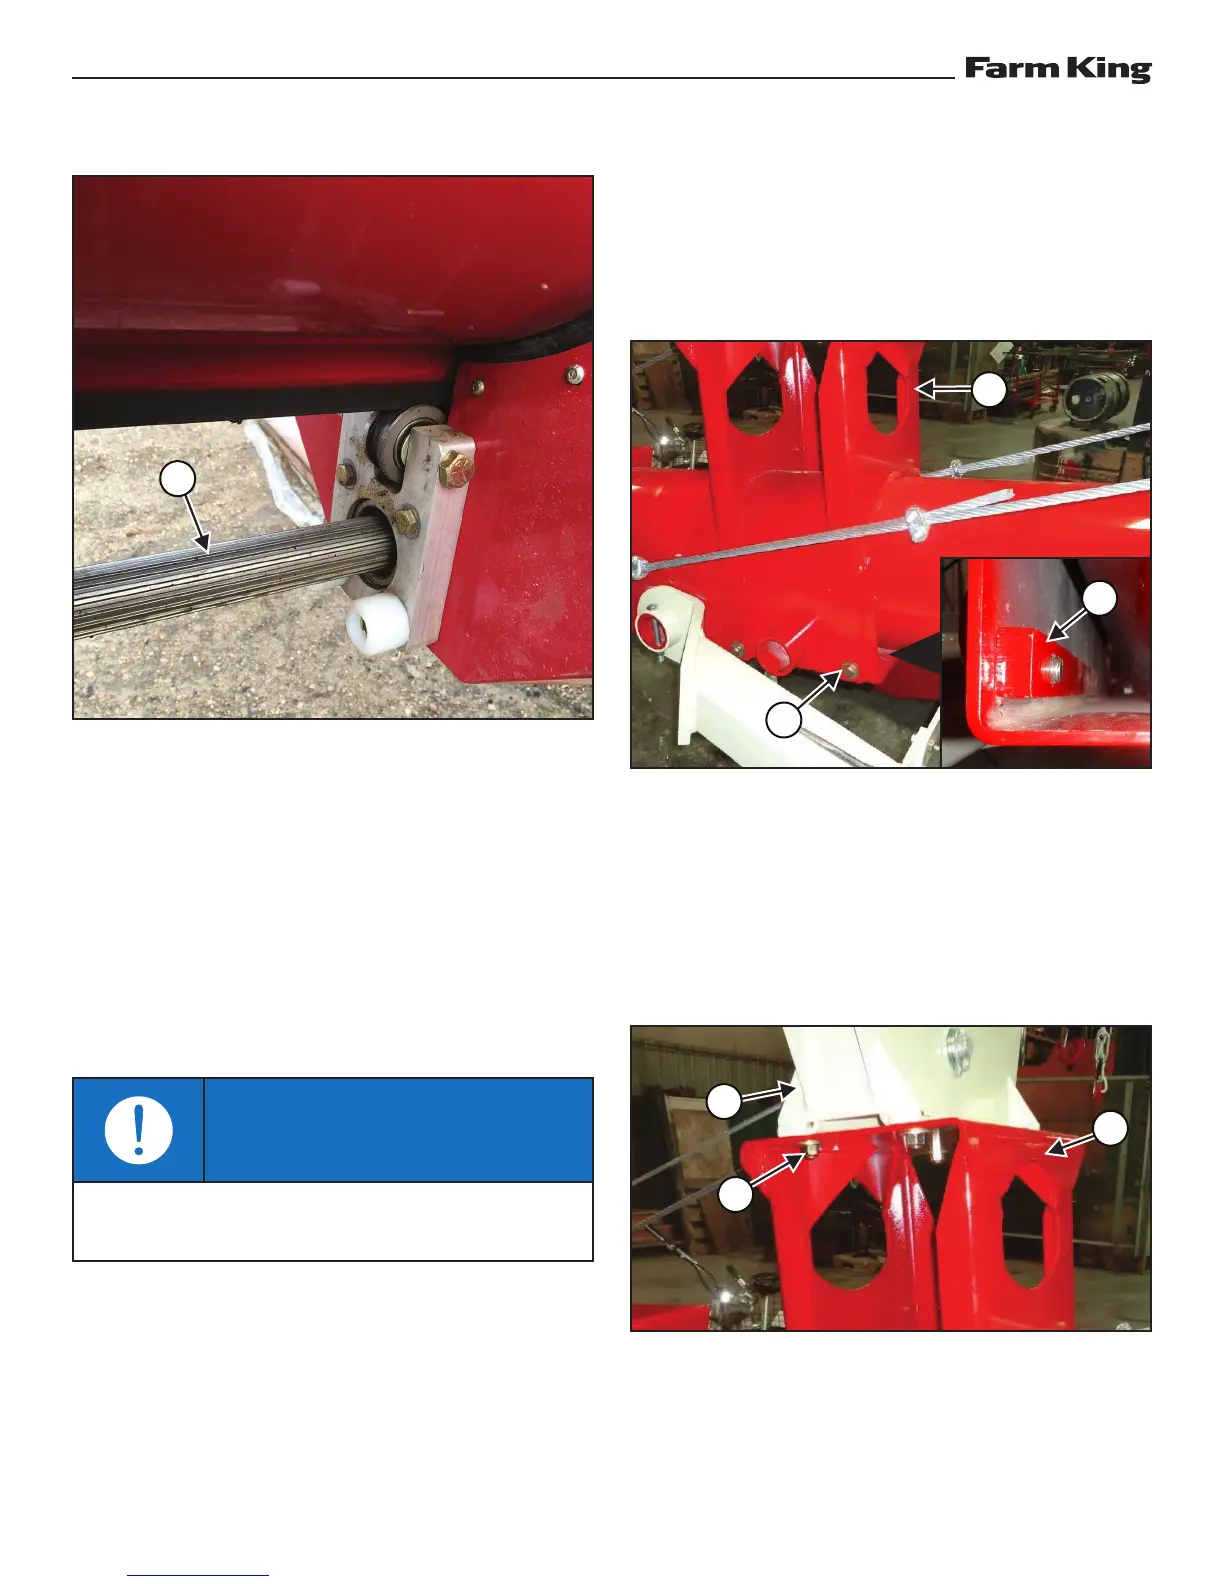
Figure 8
Insert half the length of the splined shaft (Item 1)
into the bearing housing on the collector [Figure
8].
Tighten the eight nuts (Item 2, 3) on the chainbox
[Figure 7].
Extend and retract the shaft multiple times to check
the alignment. The shaft must remain centered in
the housing.
Install the access plate once adjustments are
complete.
IMPORTANT
The splined shaft may become offset if inserted
into the housing without adjustment.
WINCH BOOM ASSEMBLY
13” Teleswing
Remove the old winch boom and hardware from
the mount on auger tube.
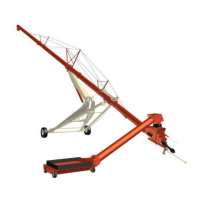
Figure 9
Position the new winch platform (Item 1) on the
tube. Align the platform legs with the mounts
forward of the undercarriage pivots [Figure 9].
Place brackets (Item 2) behind the mounts and
attach using 9/16” flat washers and 9/16” x 1-1/4”
hex bolts (Item 3) [Figure 9].
Figure 10
Place the winch boom (Item 1) on top of the
platform (Item 2) facing the hopper. Attach using
1/2” x 1-1/4” hex bolts (Item 3), 1/2” flat washers,
and 1/2” lock nuts [Figure 10].
1
3
2
1
3
2
1