32
Using the Insight Teacher Toolbar
Toolbar Conguration
Insight provides a toolbar that can be customized as per your needs. You can add or remove icons or
separators from the toolbar, and rearrange the icons. To rearrange the icons, press the ALT key and
drag any icon across the toolbar.
To add or remove icons and separators, go to View>Configure Toolbar. In the Customize Toolbar dialog,
add or remove the desired icons. If there are many icons on the toolbar and they are not visible at once,
click the >> icon on the right of the toolbar to access the rest of the icons.
Show Teacher’s Screen Full Screen or Windowed
e teacher’s screen can be shown to all students on the same teacher channel.
Select between a full screen or a windowed show mode. In full screen mode, the teacher’s screen takes
over the entire student’s screen and disables each student’s mouse and keyboard.
In Windowed mode, the teacher’s screen appears in a window on the student’s machine. e students
can re-size the window and follow along with the teacher.
Show a Student’s Screen Full Screen or Windowed
To show a student’s screen to other students, select that student and click the Show Student button.
While the button is enabled, the selected student controls their machine and their screen will be shown
to rest of the students in the class in Full Screen or Windowed mode.
Student Voting
Ask yes/no and multiple choice questions from the Insight console and view in real-time how many
students have responded and how they responded.
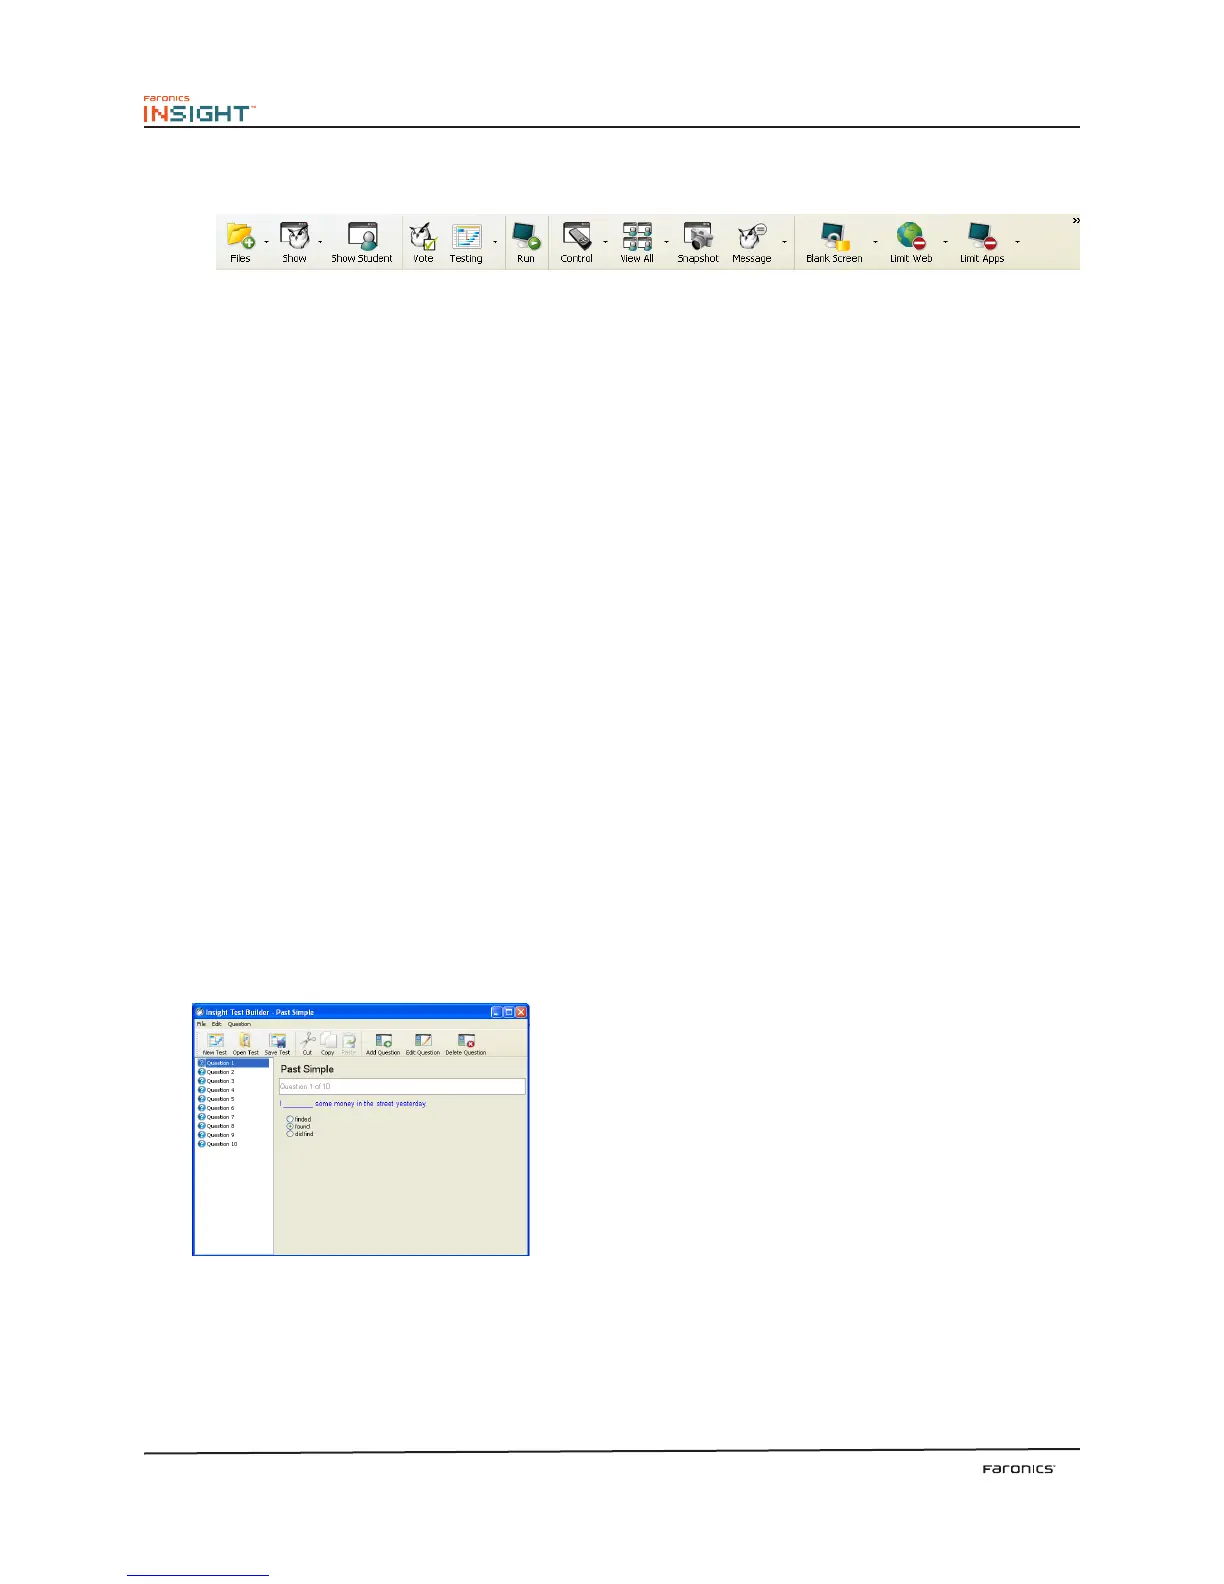
Student Testing
Teachers can create tests with a maximum of 100 questions. e questions can be of True/False or
Multiple Choice. Teachers can add graphics in .jpg, .png, .gif and .bmp format.
To access the Test Builder, click Demonstrate>Create Test or by clicking the drop-down on the Tes ting
icon on the toolbar. When the Test Builder is displayed, click New and specify a unique name for the
test. Specify the questions in True/False format or Multiple Choice format as required. Click Browse
to select the graphic to be displayed to the student. You can cut, copy and paste questions in a test by
using the Cut, Copy and Paste options. A newly created test can be saved by clicking Save. You can also
open an existing by clicking Open.