Page 35
Chapter 9: Functional Test
10 Minutes
In order to make sure all motors, sensors and LCD panel are connected properly, the following tests need to be performed
Z-sensor
The z-sensor can be tested by holding a metal object underneath the sensor. Check if the z-sensor LED turns o.
When the z-sensor indication LED on the main board switches o, the sensor is activated.
Y-sensor
Manually move the bed to its end position to activate the y-sensor. Check if the y-sensor LED turns o.
When the y-sensor indication LED on the main board switches o, the sensor is activated.
X-sensor
Manually move the extruder to its end position to activate the x-sensor. Check if the x-sensor LED turns o.
When the x-sensor indication LED on the main board switches o, the sensor is activated.
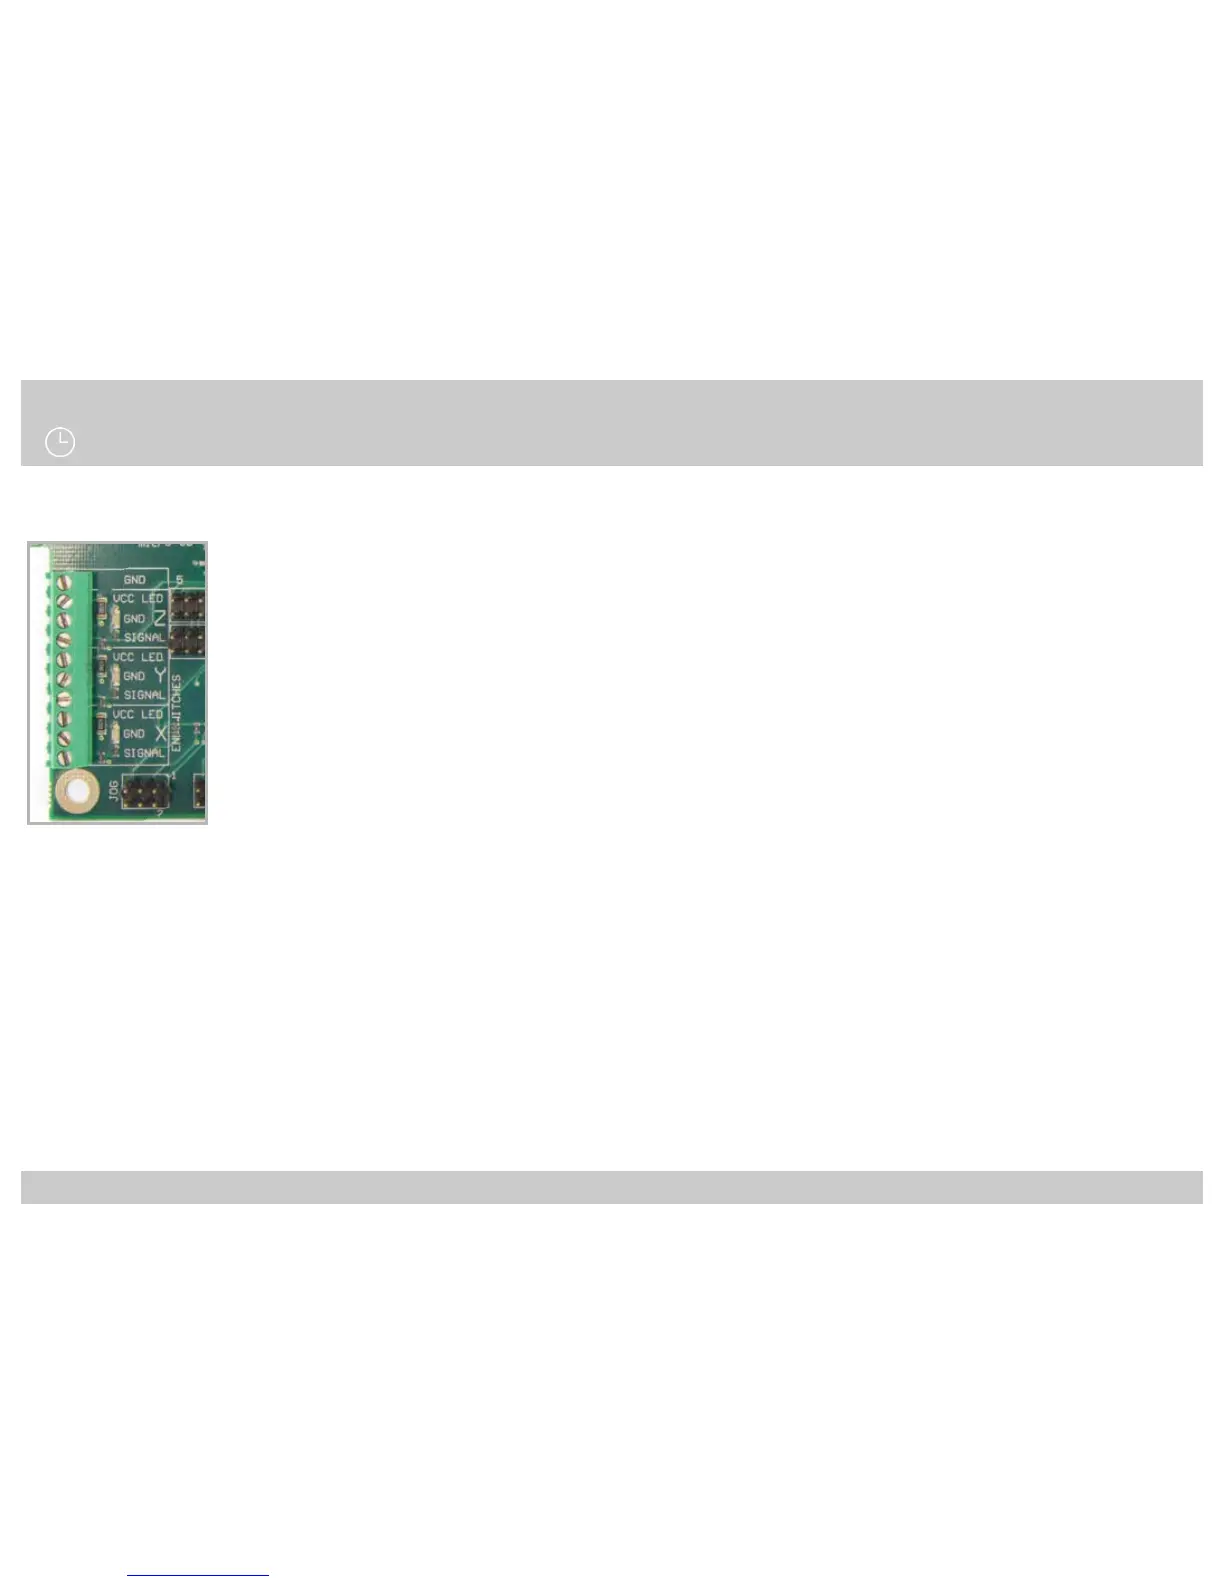
Check Sensor Connections:
Main board Tec 4
IMPORTANT: Keep hand near ON/OFF switch of printer, in case things go wrong.
Warm up left extruder (E1).
Note: The hot-ends might smell a bit the rst time heating. This is because of a small amount of oil within certain parts.
Click rotary button to enter the main menu --> Control --> scroll down to heater --> Click on E1 and rotate until setpoint
temperature increases to about 100 degC. Then check if temperature for that heater goes up.
Repeat these steps for the right extruder (E2) and for the Bed (55degC).
Check heaters: