Do you have a question about the Ferlux FLORA 7 and is the answer not in the manual?
Explains symbols used in the manual for information and attention.
Details compliance with EEC Directive 1994/44EC for legal warranty.
FERLUX provides solutions for technical problems regarding use and maintenance.
Recommends using original spare parts and replacing worn components.
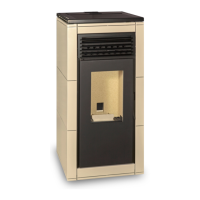
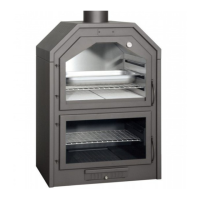
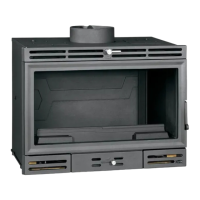
Provides detailed technical specifications for various FERLUX heater models.
Explains the composition and characteristics of wood pellets.
Details the main requirements for DINplus and ENplus certified wood pellets.
Provides guidelines for storing wood pellets to ensure optimal combustion and performance.
Steps for unpacking the FERLUX wood pellet heater and connecting the power cable.
Guidelines to prevent fires, including clearances and material safety.
Requirements for a fire-resistant floor protection layer under the heater.
Specifies minimum clearance distances from flammable and non-flammable materials.
Hole sizes and insulation for smoke ducting passing through walls or ceilings.
Guidelines for installing smoke ducting and chimneys for gas venting.
General points to consider for smoke ducting installation, including path and uniformity.
Instructions and limitations for calculating the length and diameter of smoke ducting.
Guidance on using existing traditional chimneys for smoke evacuation.
Requirements for the exterior part of the chimney, including materials and access.
Requirements for chimney caps to prevent rain, snow, and foreign bodies.
Ensuring adequate air supply for combustion and optimal living conditions.
Requirements for the mains power outlet and grounding for heater installation.
Identifies control panel buttons (P1-P4) and their basic functions.
Explains display readouts (D1-D3) and LED indicators (L1-L7).
Details functions accessible from Menu Level 1: Information, Power, and Temperature.
Procedures for resetting errors and loading the pellet screw for the first time.
Accesses advanced functions like fan regulation, programming, clock, and remote control.
Setting daily, weekly, or weekend heating schedules (ON/OFF times).
Setting the clock and activating/deactivating remote control functionality.
Important safety advice and precautions before and during heater operation.
Step-by-step guide for the initial start-up and operation of the heater.
Describes the different operational states: Lighting, Normal Operation, Modulation, Standby, and Off.
Steps for removing crusts and ash from the brazier and its holder.
Procedure for emptying and cleaning the ash collection drawer.
How to clean the heat exchanger using the grate to remove combustion residues.
Advice on checking installation, fuel, and maintenance before lighting.
Explanation of messages (Sond, Hi, CLr, OFF dEL, PCLr) and their solutions.
Detailed list of alarm codes (Er01-Er42), causes, and corrective actions.
Procedure to reset alarms after an issue has been found and corrected.
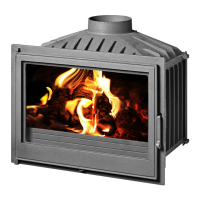
| Model | FLORA 7 |
|---|---|
| Type | Indoor Fireplace |
| Nominal heat output | 7 kW |
| Weight | 85 kg |
| Smoke outlet diameter | 150 mm |
| Dimensions (Width) | 600 mm |
| Dimensions (Height) | 500 mm |
| Dimensions (Depth) | 400 mm |
| Fuel | Wood |
| Body material | Steel |
| Fuel Type | Wood |
| Heat Output | 7 kW |
| Dimensions | 600 x 500 x 400 mm |
| Material | Steel |
| Color | Black |