1
2 3
4
5
4544
4
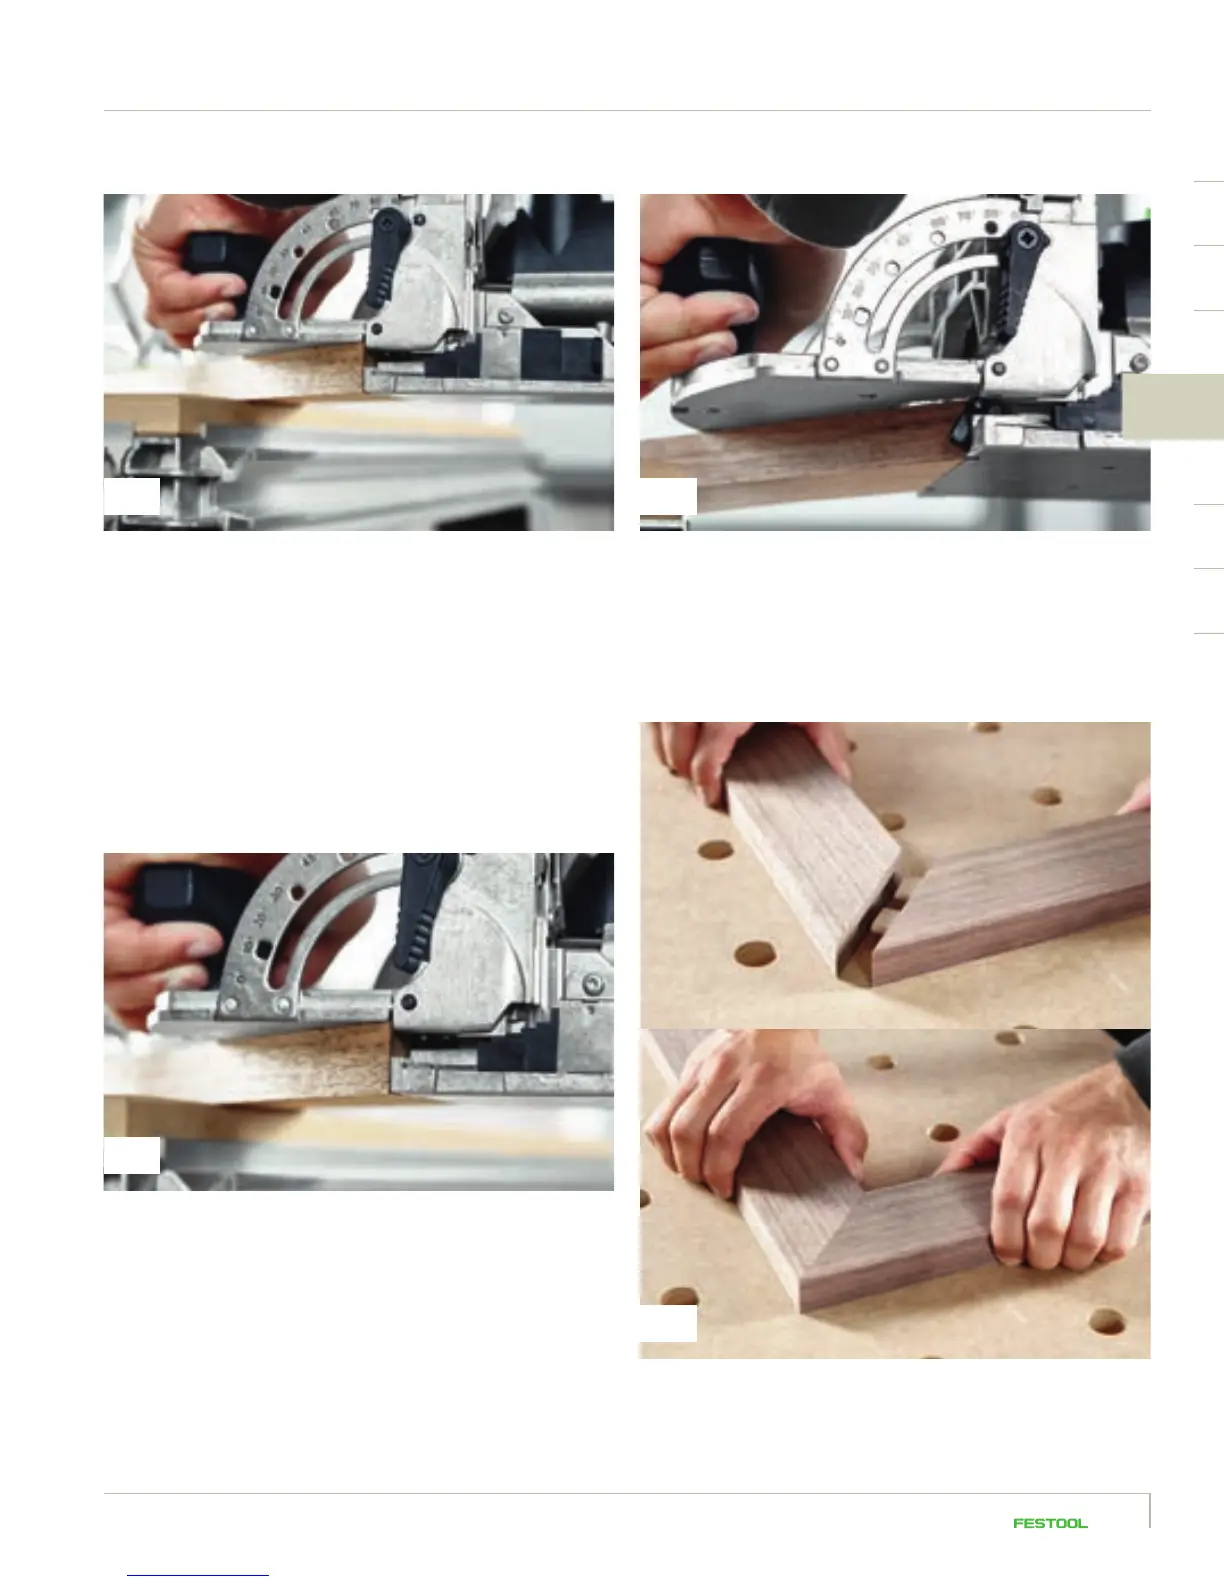
For the second routed hole, either mark out the position or
run the machine flush along the outside tip of the mitre. This
routed hole can either be precisely routed like the first hole –
which increases the stability of the joint but requires more
precision – or it can be routed with clearance – but then you
must use a sufficient amount of glue for the joint.
Use this method to route the holes in all four frame rails.
Insert the dominos, using a sufficient amount of glue, join the
frame rails and brace them with clamps.
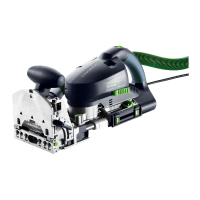
Select the routing height based on the workpiece; in this
example, the frame is 20 mm thick. Set the routing height
on the DF 500 to 20 mm in this case. The width of the frame
in this example is 60 mm.
We are using two dominos per corner connector for maximum
stability. Place the routing machine on the mitre cross section
and carefully work with the stop catch at the side against the
tip of the mitre. Route the first hole with precision.
2016_FES_DOMINO_Book_GB-en.indb 45 03.03.16 12:13