1 2
3 4
4948
4
In the lengthwise rail, set the routed holes with a 70 mm
routing depth as well, but route the first hole with precision
and the second as a slot with clearance. Proceed likewise
for the additional lengthwise and crosswise rails.
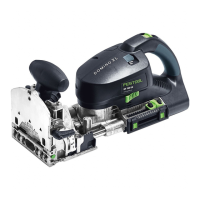
Then drive the dominos all the way into the routed holes
in the end grain, adding glue to the joint.
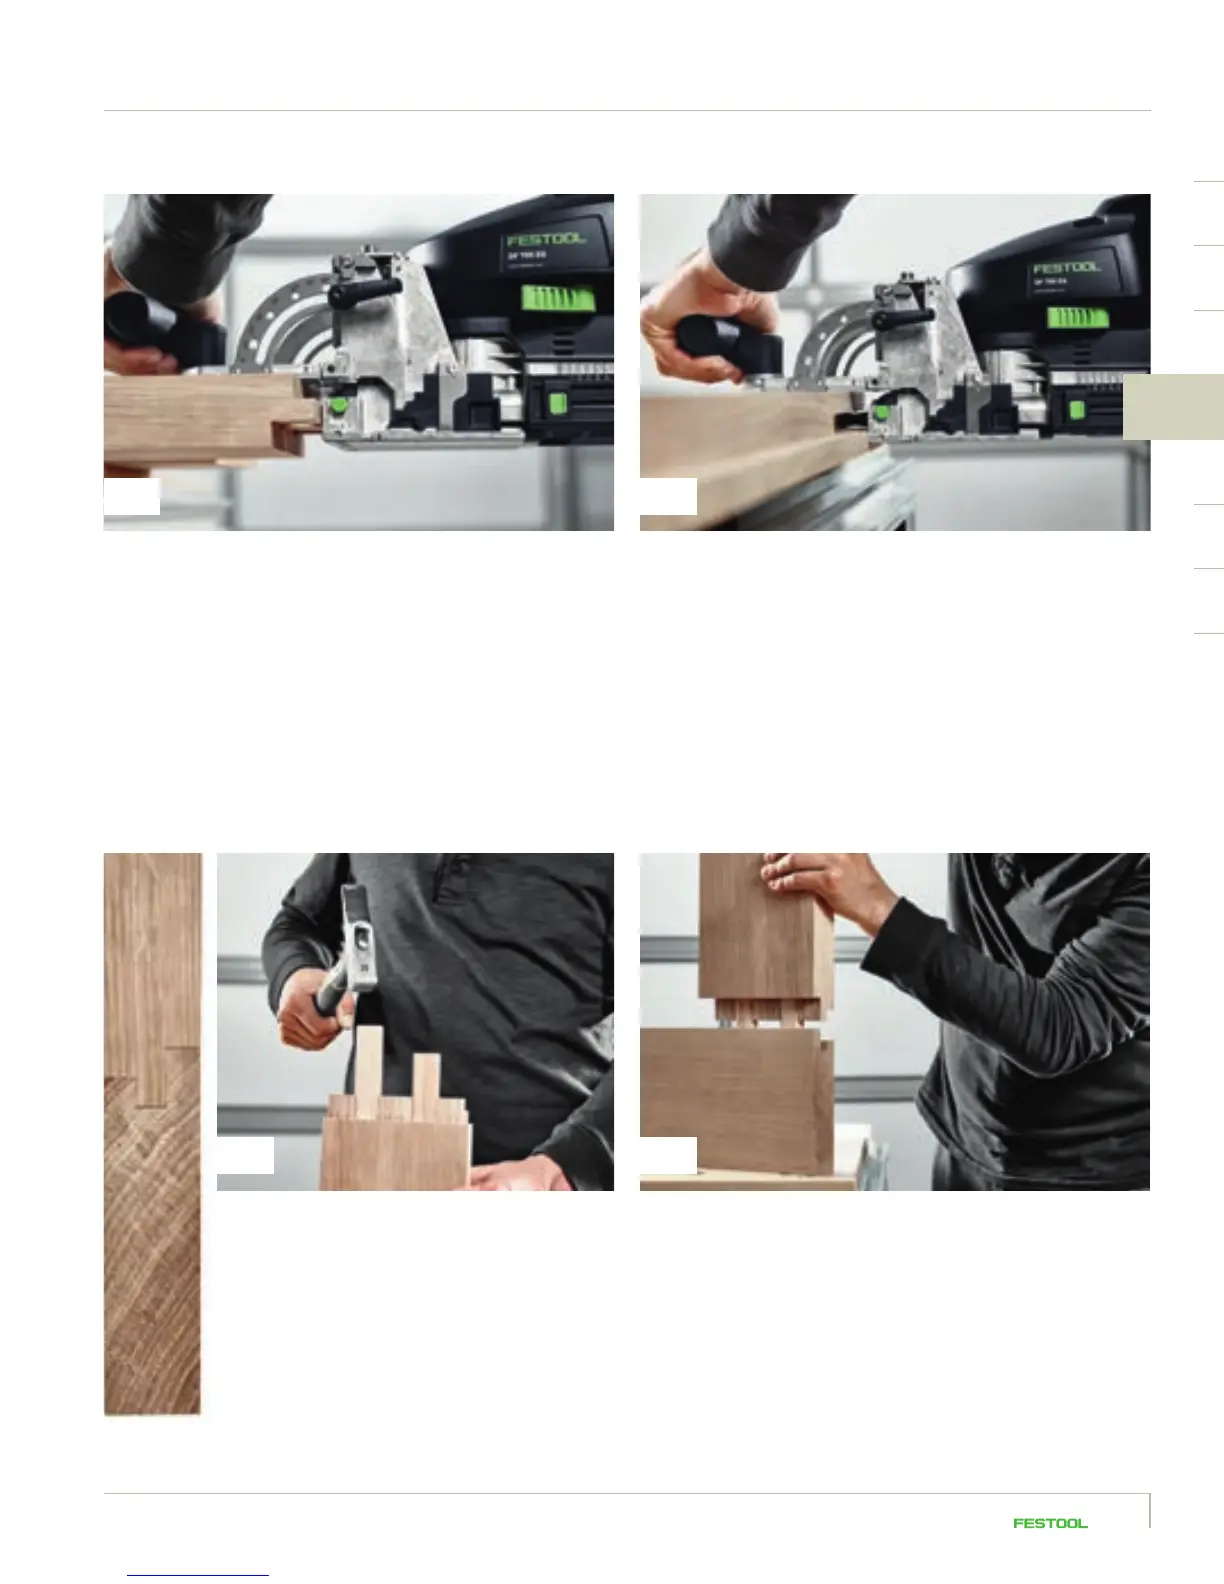
Join the lengthwise and crosswise rails using fastening
clamps and glue the joint.
Then cut the dominos to fit the ready-made
holes. In this example, the nominal domino
length is 115 mm, which is calculated by
doubling the routing depth of 70 mm = 140 mm
and subtracting the pinned joint of 25 mm =
115 mm. Cut the domino a few millimetres
shorter (so that later the glue has enough
space), down to 112 mm. Chamfer the cut
domino at the edges using a sanding block.
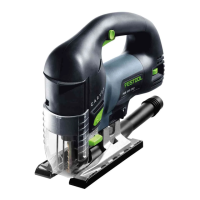
Mark out the desired position of the domino and work using
the viewing window. Route into both parts of the workpiece
at the maximum routing depth (70 mm each) with the 14 mm
router.
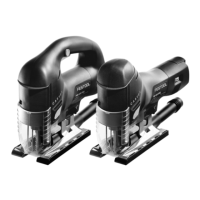
In the end grain, set both routed holes with the correct hole
width – in this case the dominos are later glued and then fit in
precisely. The routing height is half of the workpiece thickness
(which is 40 mm in this example, so the routing height setting
is 20 mm).
2016_FES_DOMINO_Book_GB-en.indb 49 03.03.16 12:13
 Loading...