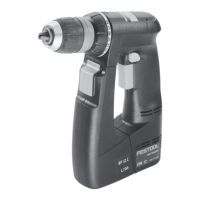
16
Inserting collated screw strips
Pull the collated screws
[12-3]
through the bot-
tom guiding of the attachment, then push the
strip through the second guiding until it engag-
es in the working position.
Pull the belt slightly to make sure that it is safe-
ly fitted.
Make sure that the first screw is in the screwing
axes – see figure
[12]
.
Use the wheel
[12-1]
to set the required screw-
ing depth.
Turn to the right for inserting the screws deeper,
and to the left to screw to lower depth. The ac-
tual setting position is visible on the presetting
indicator
[12-2]
.
Upon setting, set some screws for testing and use
the wheel
[12-1]
to adjust the depth, if required.
Each setting change complies with the stop shift o
± 0.1 mm.
We recommend to screw in automatic mode –
see point b).
Removing the collated screws
Pull upwards to remove the belt (figure
[13]
)
or press the transport lever and concurrently
pull the belt downwards (figure
[13]
).
Working instructions
– The magazine attachment must not be held in the
depth stop area as there are moving parts!
– Each screw adjustment must be completed. In-
terrupted fastening or releasing of the pressure
during adjustment can result in unsatisfactory
machine function.
– The collated screws and the magazine attach-
ment can only be replaced when the power tool is
turned off.
– Never use the magazine attachment in any other
way than specified in this instruction manual.
– Use only original screwing bits.
– Use only original collated screws.
– Always store the collated screws in original
packaging.
– Always work in right angle against the attached
board.

 Loading...