Go to fetco.com for the latest versions of all information Page 4 P167 March 2018
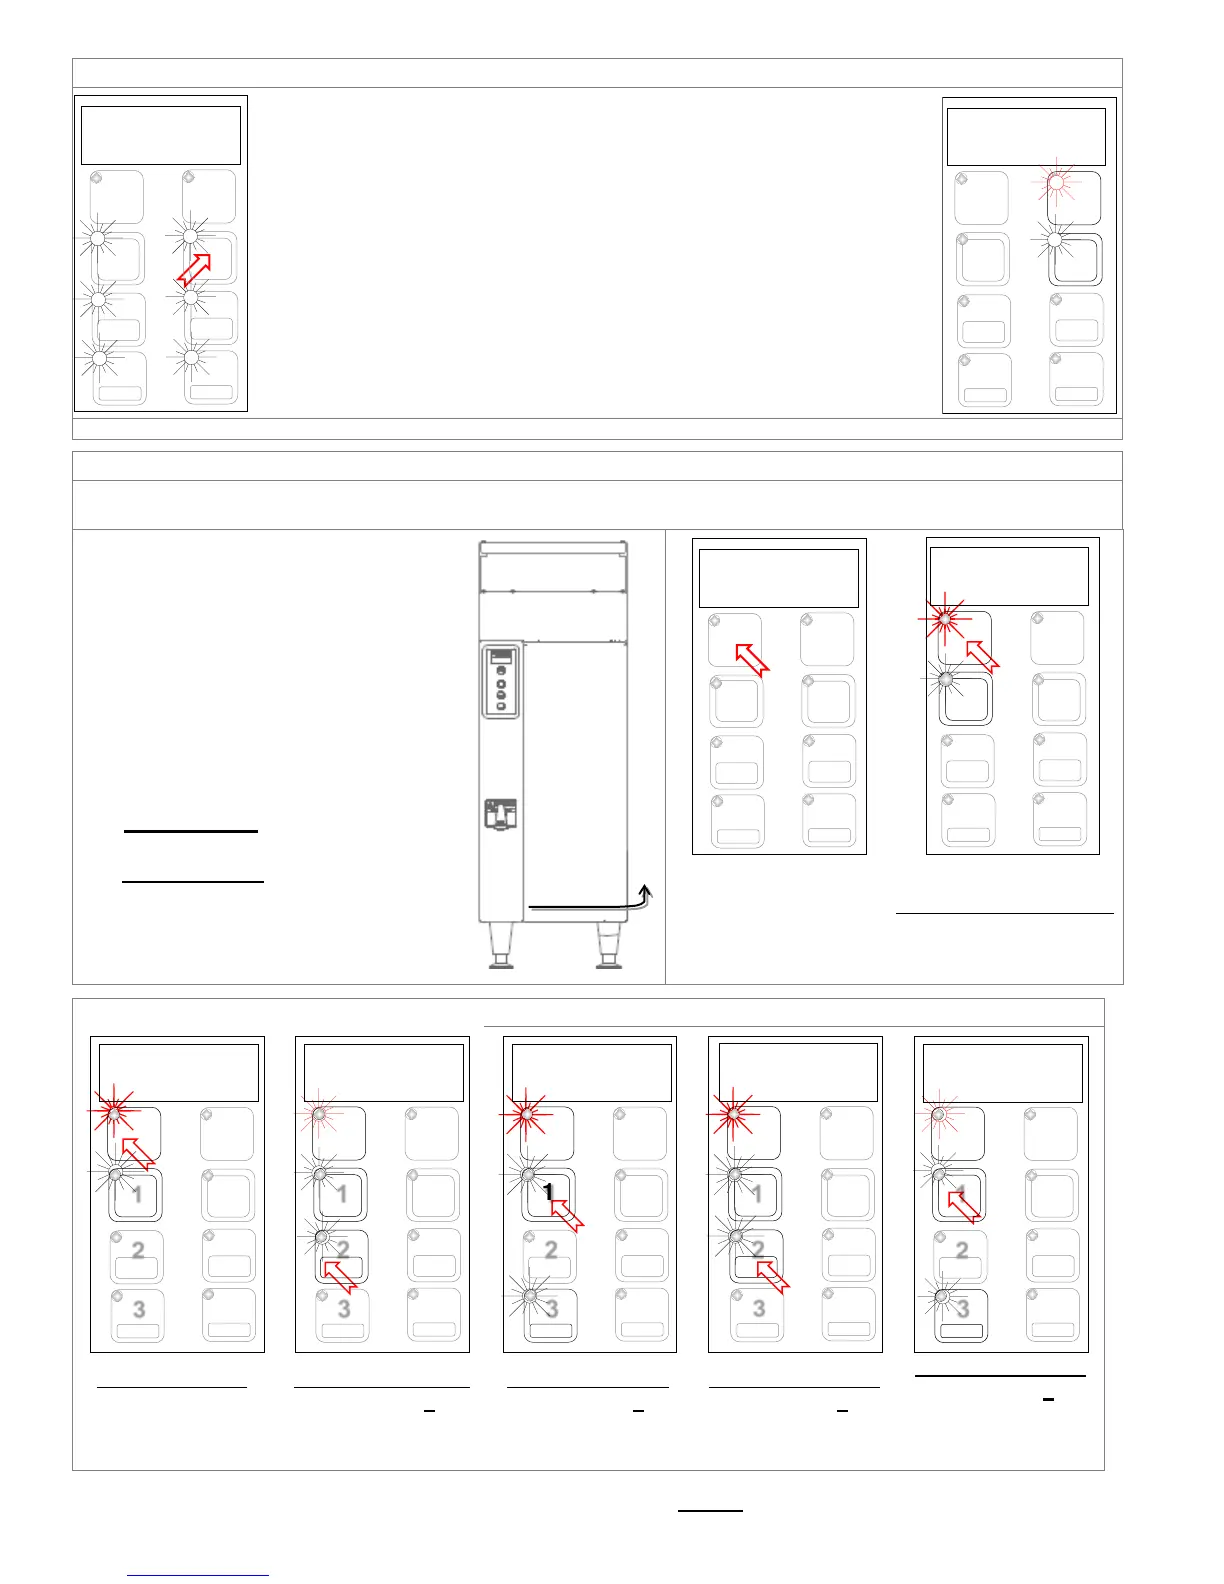
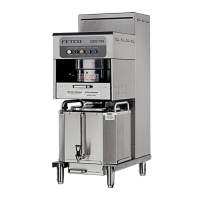
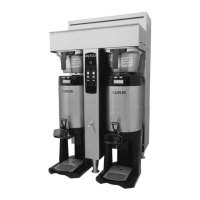
1. Turn the power switch “ON”. (Twin Shown)
2. Prepare a brew basket with the correct size filter and appropriate amount of coffee.
3. Slide the brew basket completely into the rails.
4. Place a clean, empty, preheated dispenser under the brew basket.
5. Select a batch & hold the corresponding BREW button in for 1 second to start
6. -STOP button will illuminate,
-Countdown time will display,
-Selected BREW button will flash to indicate brew is in progress.
-All other BREW buttons for that brew head will extinguish.
7. When the brew cycle is finished,
STOP button will extinguish and the BREW button will
continue to flash for the amount
of time programmed into the DRIP DELAY setting.
This indicates that coffee may still be dripping from the brew basket
For safety- do not remove brew basket until drip-out is complete.
Twin Brewer ready to brew. Pressing top right brew position
Screens shown are for twin brewer. Single brewer will not have menu A4-A6.
There are five menu groups-A-E . See the following pages for the batch parameter definitions and all settings for the brewer
TO ENTER PROGAMMING
1-Turn brewer “OFF” from power switch
2-Turn power switch to “ON”
…Screen will initialize and then
display digital process notifications
3-After Initialization-Red “STOP” Lamp turns on
4-Quickly hold down “STOP” button for 5 seconds
When brewer is In PROGRAMMING MODE
-the screen will display:
|BATCH PRG|
|A (or B-E) |
-Illuminated LED indicates active keypad positions
See the following pages for batch parameter
definitions and all settings for the brewer
Turn power OFF
Turn power ON
Wait for red LED
PRESS STOP BUTTON
First screen will display
Batch PROGAMMING-A
topics A-F by pressing
From any screen-
Press STOP button
until the EXIT (“F”)
screen appears
From the “F” screen
Press button 2 to
toggle to the EXIT-
YES screen
From EXIT screen
Press button 1 to
toggle to the SAVE
screen
From SAVE screen
Press button 2 to
toggle to the SAVE-
YES screen
Press button 1 to
SAVE your changes
and EXIT to
05:30
ON/OFF switch
is located on
lower right on
back of brewer
A - F
STOP
STOP
F YES -