TECHNICAL NEWS
Data: 25.09.2015
Doc: 10057343
Pag: 4
• Microinterruttore pronto per il montaggio.
• Microswitch ready for assembly.
• Microinterruptor listo para el montaje.
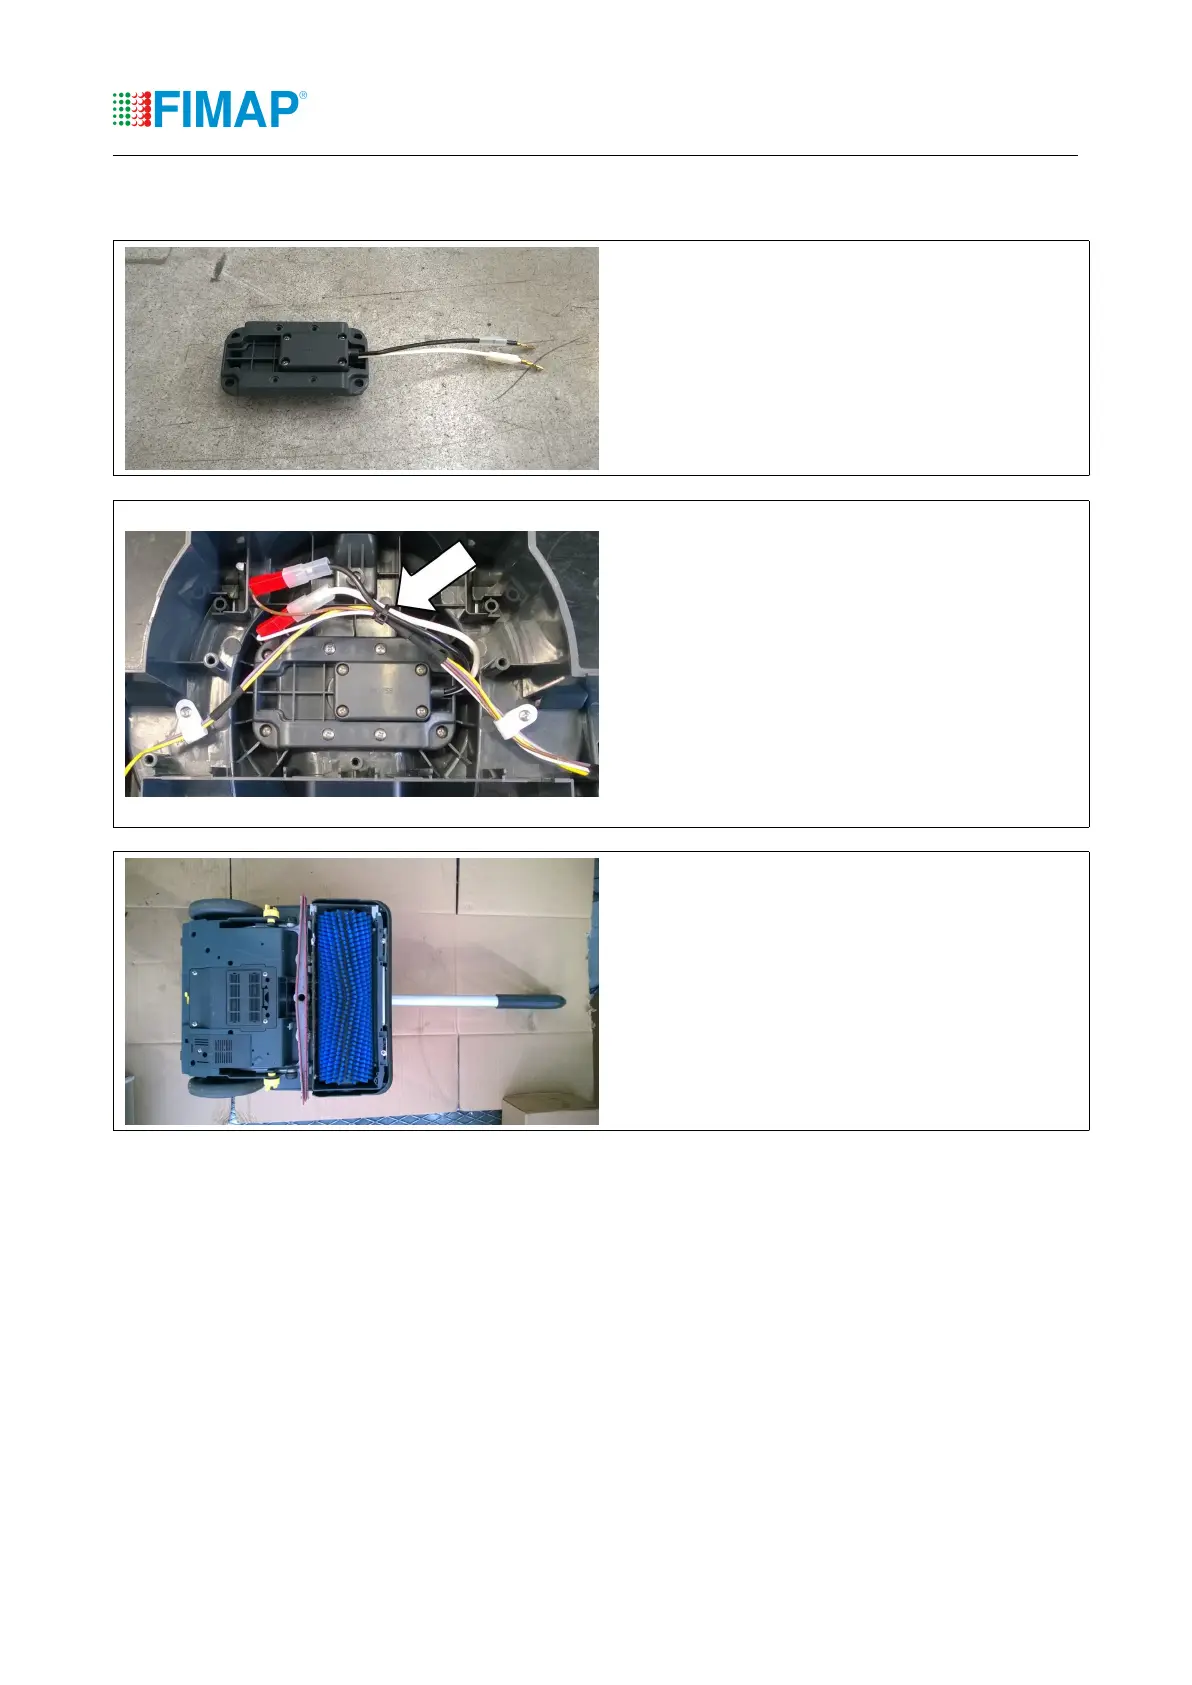
• Alloggiare il microinterruttore come indicato in fi-
gura e fissarlo con le stesse viti di fissaggio della
piastra precedente.
Collegare i cavi e assicurarli con una fascetta.
• Fit the microswitch as shown and secure with the
same screws that hold the previous plate.
Connect the cables and secure them with a
plastic clamp.
• Montar el microinterruptor como se muestra y fi-
jarlo con los mismos tornillos que sujetan la pla-
ca anterior. Conecte los cables y asegure en una
abrazadera de plástico.
• Richiudere il carter, adagiare la macchina su un
fianco, e riavvitare le viti di fissaggio.
Eseguire una prova funzionale.
• Close the cover, place the machine on its side,
and tighten the screws.
Perform a functional test.
• Cierre el carter, coloque la máquina sobre su la-
do y apriete los tornillos.
Realizar una prueba de funcionamiento.
Nota: La modifica è applicabile a tutte le Fimop con numero di serie precedente
Note: The modification is applicable to all Fimop with previous serial number
Anotación: La modificación es aplicable a todas las Fimop con numero de serie anterior
 Loading...