Page 3
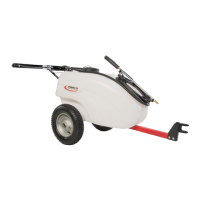
Assembly Procedure (TR-20 EX - 5301549)
Step 1
Remove the hitch brackets, both at (5038518) and formed (5038517) from the
parts bag. The at one is to be placed under the frame and the formed one gets
placed on top of the frame.
Bolt them together, ‘sandwiching’ the frame between both of the brackets.
Using a 1/2” socket or wrench, ghten the 1” long bolts (5117300) securely.
Use the 5/16” whiz nuts (5006307) with the bolts.
They should grab ghtly against the frame as you ghten the bolts down.
Remove the axle (5024105) and (2) wheels (5021092) from the carton. Remove the (2) wheel spacers (5127219) and (2) coer pins
(5101077) from the parts bag. Slide the axle through the hole in one side of the frame and through the corresponding hole on the
other side of the frame. You may need to maneuver (squeeze) the frame slightly while doing this to get the axle through both
holes. Center the axle about the frame as best as possible. Slide the wheel spacers onto the axle. Now slide the wheels over the
axle and up against the wheel spacer. Make sure the valve stems of the wheels are facing outward. Retain the wheel on the axle
with coer pins. Place the pins through the holes at the end of the axle. Using a needle nose pliers or similar tool, bend the pins so
theyat they will not slip out and the wheel will be retained on the axle.
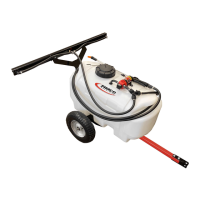
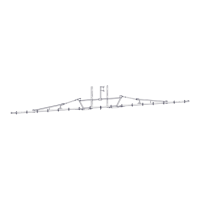
Locate the (2) boom mounng brackets (5095198). These two
brackets mount to the rear of the frame with (2) bolts (5117323)
and (2) whiz nuts (5006307). (Each Bracket)
Using a 1/2” socket or wrench, ghten the hardware securely.
The whiz nuts will grab ghtly against the frame as you ghten
the bolts down.
Step 3
Step 2