4
The circuit board has been programmed with installation steps in the memory. These steps include audible
clock and hardness setting as well as basic installation instructions. If the basic installation steps are not clear,
or there are any questions regarding the installation process, the detailed installation process should be
followed.
These installation steps may be accessed from the Home Screen by pressing and releasing the ‘CHECKLIST’
button. To repeat the previous instructions, press the ‘↓’ button. To advance to the next step press the ‘↑’
button. When finished with all instructions press the ‘DONE’ button to return to the Home Screen.
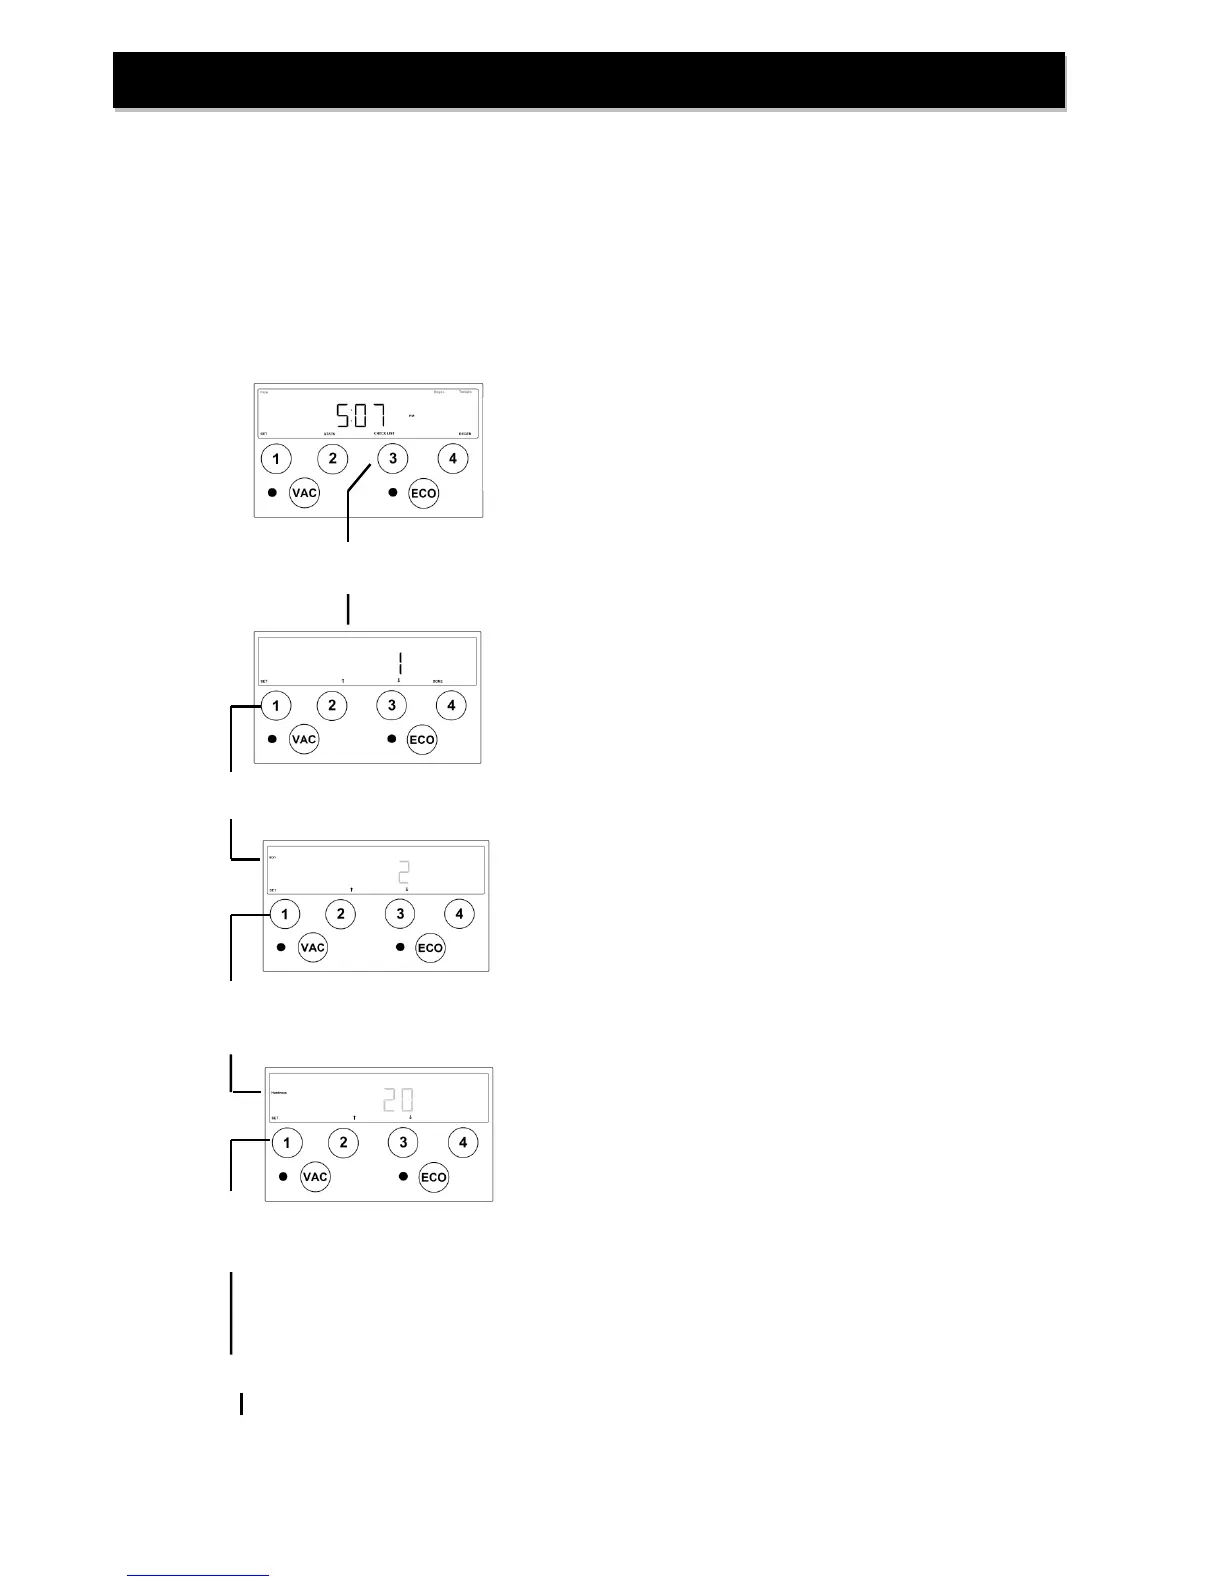
Press and release ‘CHECKLIST’ button to access a list of time-saving installation steps.
“Step 1: Be sure to set both iron and hardness.”
These settings may be accessed immediately by pressing the
SET button.
“Home” screen displays current time-of-day.
Prerecorded Basic Installation
Press ‘SET’ button to set incoming iron concentration.
Ensure the Iron indicator is illuminated on the left side of the
display and using the ‘↑’ and ‘↓’ buttons set the incoming iron
concentration.
NOTE: While a water softener can be reasonably
expected to remove small amounts of clear water iron,
for best performance an iron filter should be
considered.
Press ‘SET’ button to set incoming hardness level.
Ensure the Hardness indicator is illuminated on the left side of
the display and using the ‘↑’ and ‘↓’ buttons set the incoming
hardness level.
NOTE: This softener is set to calculate hardness as
grains per gallon (gpg). If your water hardness is
reported in milligrams per liter (mg/l) or parts per
million (ppm) divide these results by 17.1 to convert to
grains per gallon.
Press ‘SET’ button to return to CHECKLIST.
“Step 2: The time of day must be set.”
If not set previously, the time may be set by pressing the SET
button. (refer to setting time)