23
E
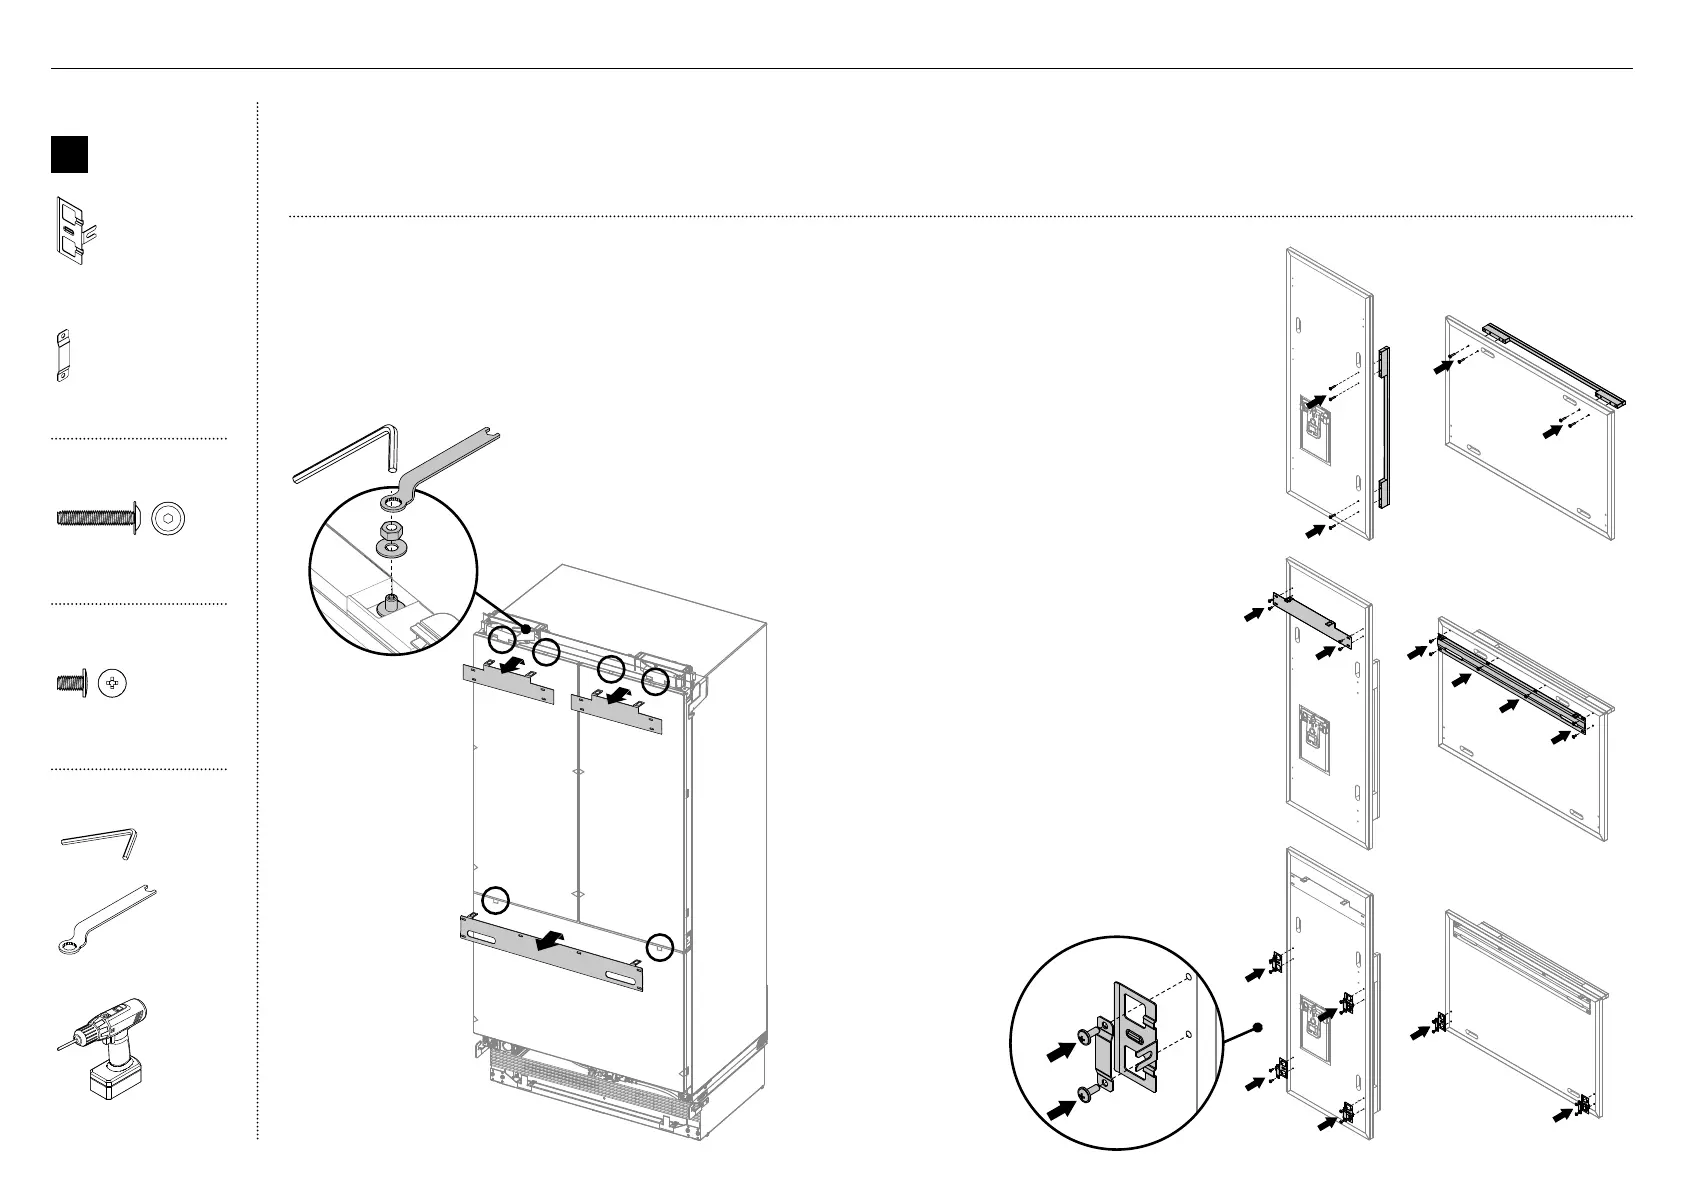
IMPORTANT!
●
Follow these steps to avoid difficulties in door panel adjustment and cosmetic cap fitment.
●
Ensure to protect the finish of the Stainless steel door panels.
●
For non-water dispensing door panels: Leave the protective film on the panels when hanging and remove the film only when installation is complete.
Remove hanging brackets
1
Remove the M8 washers and M8 nuts fromthe
M8 studs at the top the door (A). Keep the
washers and nuts to reuse later.
2
Remove the hanging bracket from the top of
each door and set aside (B) for later installation.
Attach the door and drawer handles (C)
3
Remove the plastic plugs from the handle holes
(4 per each door panel).
4
Align the handle holes with the door panel
holes and secure with M5x25 pan head socket
screws (4 per each door panel).
Note: Door handle kit available and must be
purchased separately. Refer to 'Components'
for more details.
B
C
C
D
D
Attach side brackets and straps (E)
6
Align the brackets and straps to the holes on
the side of the panel and secure with M5x14
mush cross-head SS screws (20).
Attach the hanging brackets (D)
5
Align the bracket to the holes and secure
with M5x14 mush cross-head SS screws (14).
Internal box
B
Door panel
attachment kit
Side bracket
(10)
Side strap
(10)
Door handle kit
M5 x 25
Pan Head
Socket Screw
M5 x 25
Pan Head
Socket Screw
M5x25 pan head socket
screw (12x)
Door panel set
M5 x 14
Mush Head
SS
Philips Screw
M5 x 14
Mush Head
SS
Philips Screw
M5x14 mush cross-head
(SS) screw (34)
Tools
Hex key
FPA spanner
Powered driver
A
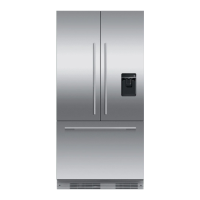
DOOR PANEL INSTALLATION - STAINLESS STEEL
 Loading...