13
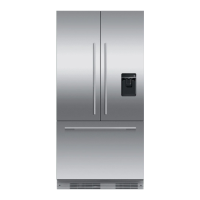
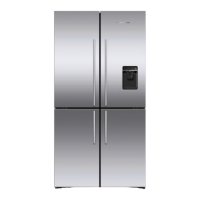
!1 CONNECTING WATER SUPPLY (ICE & WATER MODELS ONLY)
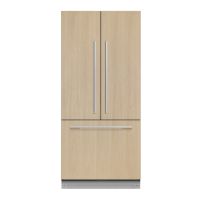
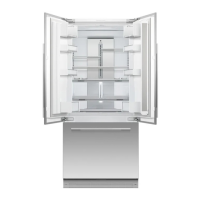
!2 INSTALLING YOUR APPLIANCE
Your product is fitted with front and rear rollers designed for moving the product in the forwards and backwards direction.
Avoid moving the product in a sideways direction as this may damage the rollers or the floor covering/surface.
ImpORTANT!
The water connection to your Ice & Water refrigerator must be installed by an authorized plumber or Fisher & Paykel Authorised Repairer.
The water connection instructions below are intended only for the professional installer.
Use only the new tubings supplied with the refrigerator. Old tubings should not be used.
DO NOT use with water that is microbiologically unsafe or of unknown quality without adequate disinfection before or after the system.
WARNING – connect to potable water supply only.
DO NOT install on line pressure above 120 psi (827 kPa) or below 22 psi (150 kPa).
DO NOT use on hot water supply (100°F [38°C max.]).
AVOID contamination of pipes during installation.
1 Ensure the refrigerator is NOT
plugged into a power supply.
Locate isolation tap for water
connection – cold water supply only.
Tee and tap fitting not supplied.
4 Fasten the faucet connection
to the cold water supply tap.
Take care not to over-tighten
the tap connection.
Note: the faucet connection
supplied should fit most
installation situations.
Turn isolating tap on and
check that all connections
are dry and free of drips.
5 Centre the appliance within the alcove,
using the adjacent walls as a guide.
1 Adhere power
cord clip to the
appliance rear.
Connect the
appliance to a
power supply
and turn on.
2 Ensure excess
power cord
length is secured
onto the clip.
4 Ensure a firm contact is
observed as the appliance
engages the anti-tip bracket
(60 mm min. overlap).
3 Gently push the appliance into
the enclosure. Take care not
to roll over or damage power
cord and/or water tubing.
ImpORTANT!
Ensure water tubing is routed
away from any sharp objects,
sharp corners (beware of
kinking the tube as this will
stop water flow), and not in
a location where it can be
kinked or squashed.
2 Uncoil the tubing from the back
of the product. Firmly insert
tubing to faucet connection.
The tube should push in at least
16mm before reaching the stop.
Pull gently on tubing to ensure
it is locked in.
3 Secure connection by attaching the
locking key in between the faucet
connection and locking collet.
 Loading...