15
!5 ASSEMBLING ALL DOOR PANELS
Ensure door panel dimensions are correct for your appliance.
The assembly of standard Fisher & Paykel kits (EZKleen stainless steel door panels) and custom door panels are outlined below. For standard Fisher & Paykel kits, only remove the protective film
for handle installation. This will protect the finish of the door panels until installation is complete.
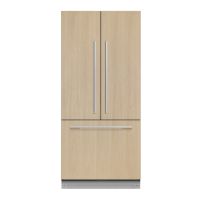
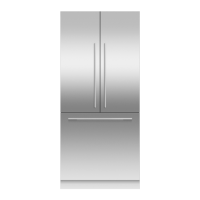
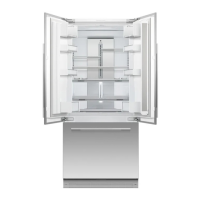
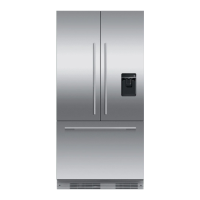
French door panel
1 Mounting handle
For Fisher & Paykel kits,
remove plastic plugs
from handle pilot holes
on panel x4. Align handle
to holes and secure with
screw handle x4
For custom panels,
ensure handle is
mounted 65.03 mm from
inner edge of panel to
the centre – this will
avoid interference with
brackets.
2 Hanging bracket
For Fisher & Paykel
kits, align bracket to
pilot holes and secure
with M5 x 14 Mush
Phillips SS x4.
For custom panels,
secure bracket with
screw washer x4.
3 Side brackets and straps
For Fisher & Paykel
kits, align bracket and
strap to pilot holes on
the sides of the panel.
Secure with M5 x 14
Mush Phillips SS x2.
For custom panels,
secure bracket with
screw washer x2.
Repeat this process for
the remaining brackets
and straps x4 French
door panel.
Repeat this process for
the next French door
panel.
Drawer panel
4 Mounting handle
For Fisher & Paykel kits, remove plastic plugs
from handle pilot holes on panel x4. Align handle
to holes and secure with screw handle x4
For custom panels, ensure handle screw heads
are counter sunk into back of panel to avoid
interfering with hanging bracket.
5 Hanging bracket
For Fisher & Paykel kits, align bracket to pilot
holes and secure with M5 x 14 Mush Phillips SS x6.
For custom panels, secure bracket with screw
washer x6.
6 Side brackets and straps
For Fisher & Paykel kits, align bracket and strap to pilot holes on
the sides of the panel. Secure with M5 x 14 Mush Phillips SS x2.
For custom panels, secure bracket with screw washer x2.
Repeat this process for the remaining brackets and straps.
 Loading...