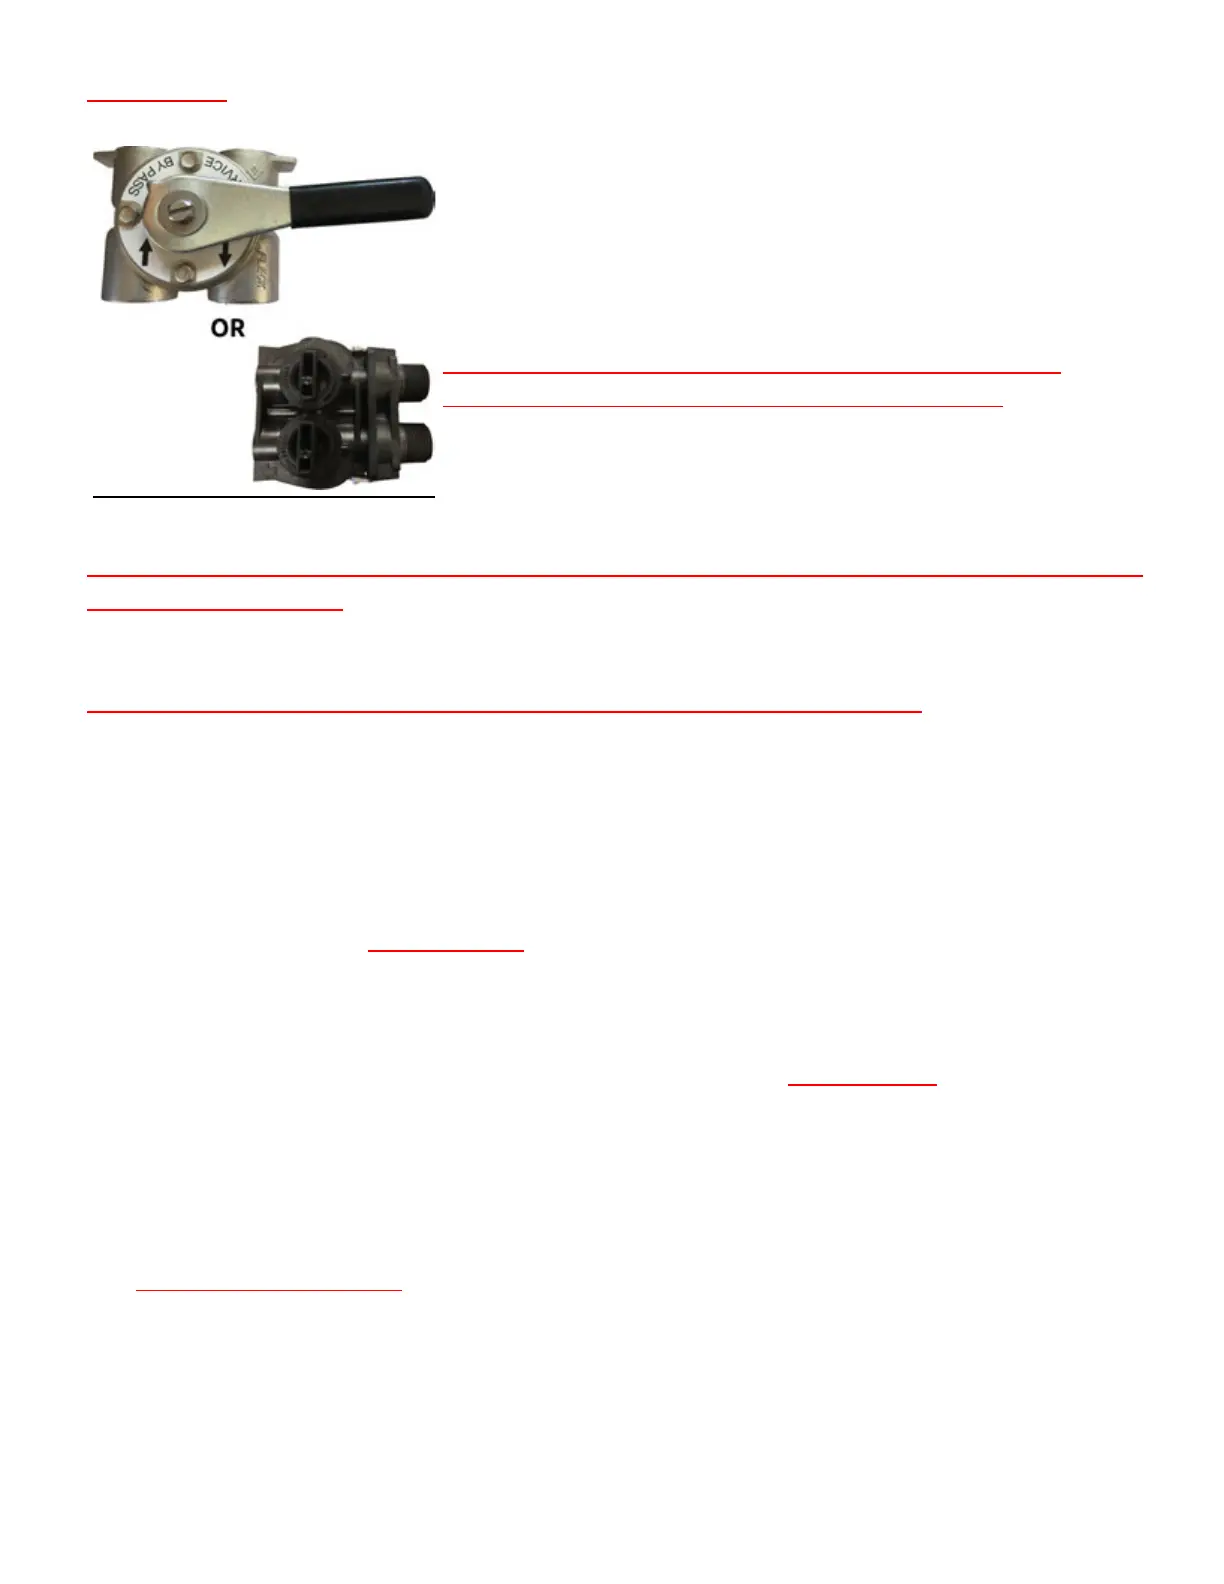
BB y y pp a a s s s s PP oo s s i i t t i i oo nn
Turning the bypass upside down will not change the direction of the water $ow.
II tt i iss rr ee cc oo mm mm ee nn dd ee dd ttoo kkee ee pp tt hh ee bb yy pp aass ss i inn tt hh ee ss ee rr vv i icc ee pp oo ss ii tt i ioo nn
ww h h e e n n mm a a k k i i n n g g p p l l u u mm b b i i n n g g c c o o n n n n e e c c t t i i o o n n s s a a n n d d t t u u r r n n i i t t t t o o b b y y p p a a s s s s ww h h e e n n
## r r s s t t t t uu r r nn i i nn gg t t hh ee ww a a t t ee r r bb a a c c k k oo nn . .
position. In service position the handles will be turned 90-degrees
and be perpendicular to the inlet and outlet #ttings.
WW h h e e n n s s o o l l d d e e r r i i n n g g d d o o n n o o t t s s o o l l d d e e r r d d i i r r e e c c t t l l y y t t o o t t h h e e i i n n c c l l u u d d e e d d
cc o o nn nn ee cc tt i i oo nn o o rr cc l l oo ss ee tt oo tt hh ee cc o o nn tt rr oo l l cc oo nn tt rr oo l l hh ee aa dd . .
short (min 3-inch [7.6-cm]) piece of copper pipe onto the adapters,
away from the valve, before connecting the adapter to the bypass or
FF oo r r t t hh r r ee aa dd ee dd cc oo nn nn ee cc t t i i oo nn ss , , dd oo NN O O TT t t i i gg hh t t ee nn t t hh ee aa dd aa pp t t ee r r ss i i nn t t oo ## t t t t i i nn gg ss w w hh i i l l ee t t hh ee yy aa r r ee cc oo nn nn ee cc t t ee dd
tt oo tt hh ee c c oo nn tt rr oo l l hh ee aa dd . .
Disconnect the bypass or yoke #tting, and connect the adapter using a high
quality thread sealant (pipe joint compound or Te$on/PTFE tape), and replace.
WW h h e e n n i i n n s s t t a a l l l l e e d d t t h h e e b b y y p p a a s s s s v v a a l l v v e e c c a a n n mm o o v v e e u u p p a a n n d d d d o o w w n n , , t t h h i i s s i i s s n n o o r r mm a a l l . .
PP LL AA CC EE SS YY SS TT EE MM II NN SS EE RR VV I I CC EE
Once all plumbing is done and plumbing connections have been checked for leaks you can place the
OO p p e e n n b b y y p p a a s s s s v v a a l l v v e e
If you have more than one system, enure the other systems are bypassed to prevent any possible
problems. Open a faucet that is near the system, a laundry sink or outside faucet (if it will be treated by
the system) is ideal, this will allow the air to bleed out of the system.
valve just to the point of allowing water to enter the system at a trickle, and leave it like that until the
tank is full of water. If you pre#lled the system it should only take a minute or two. Once the tank is full,
slowly open the bypass valve the rest of the way. Allow water to run out of the faucet for 15-20 minutes
to ensure all the air is worked out of the tank and o! of the , then close the faucet.
CC hh ee c c kk f f oo r r l l ee aa kk s s
Check the system for any leaks, paying attention to the seal between the tank and control head as well
as the connections between the bypass valve and control head. Open a nearby faucet and check to
ensure there is no leaks that show up when water is running.
FF l l uu ss hh t t hh ee ss yy ss t t ee mm
16 of 19
 Loading...