Open a nearby faucet. The water may be discolored at #rst, this is normal. Let water run out of the
faucet for at least 10 minutes, or until any discoloration clears up. Depending on the system this may be
almost immediate, or it may take a couple of hours. Once the water is cleared up a manual regeneration
II nn ii tt ii aa tt ee mm aa nn uu aa ll rr ee gg ee nn ee rr aa tt i i oo nn
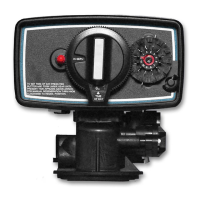
It is a good idea to allow the system to run through a manual cycle. On mechanical valves, turn the main
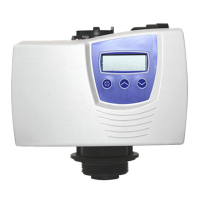
knob until it clicks into the #rst position. On digital systems, hold the extra cycle button for 5-10 second
until the backwash starts.
VV ee r r i i f f y y pp r r oo pp ee r r oo pp ee r r a a t t i i oo nn
Watch the system as it steps through each cycle, make sure it moves to each position, that water is not
leaking from any other #ttings, and that water is $owing down the drain line. The brine line will have
water $owing through it during the appropriate cycles as well.
PP l l ee aa s s ee NN oo t t ee : :
empty the system will not draw water out of the brine tank during the brine draw cycle. This cycle can
be skipped during the initial startup by pressing the extra cycle button after the
counting down. The resin is precharged and the brine water is not needed for the #rst cycle, the initial
cycle is run to ensure the brine tank has the correct amount of water for the #rst automatic cycle.
BB ee s s uu r r ee t t oo r r ee t t uu r r nn aa nn y y oo t t hh ee r r s s y y s s t t ee mm s s t t oo t t hh ee s s ee r r v v i i c c ee pp oo s s i i t t i i oo nn . .
FF r r ee qq uu ee nn t t l l yy AA ss kk ee dd Q Q uu ee ss t t i i oo nn ss
II NN VV E E NN T T OO RR Y Y AA NN DD SS EE TT UU PP
WW h h a a t t i i s s t t h h e e p p r r o o p p e e r r o o r r d d e e r r t t o o a a r r r r a a n n g g e e mm u u l l t t i i p p l l e e s s y y s s t t e e mm s s ? ?
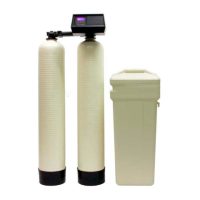
If you are installing more than one tank system the typical order for installation is:
ss e e d d i i mm e e n n tt ## l l tt ee rr > > p p HH ## l l tt e e rr >> i i rr oo n n ## l l tt ee rr > > cc aa rr b b oo n n ## l l tt e e rr > > ww aa tt ee rr ss o o ff tt e e n n e e rr >> aa rr ss e e n n i i cc ## l l tt e e rr
Whole house cartridge systems are typically installed after any tank systems, the Scale Sentry system
after the cartridge system(s), and any UV systems will be last.
DD o o I I n n e e e e d d a a p p r r e e ## l l t t e e r r ? ?
In most cases a pre#lter is not necessary. Since the system cleans itself most particulate in the water will
be trapped and rinsed o! by the regeneration cycle, eliminating the need for a sediment pre#lter. If you
have a lot of sand in the water a spin down #lter (part #SDF-100) is recommended to protect the control
. For water supplies with high levels of chlorine a carbon pre#lter is recommended to extend resin
MM y y p p o o l l y y g g l l a a s s s s t t a a n n k k a a r r r r i i v v e e d d a a n n d d s s i i t t s s c c r r o o o o k k e e d d , , ww h h a a t t d d o o I I d d o o ? ?
17 of 19
 Loading...