EasyManua.ls Logo

Flexispot F3B User Manual

Flexispot F3B
4 pages
To Next Page IconTo Next Page
Page #1 background imageLoading...
Page #1 background image
ModelF3B
Installation Guide
08 01
Keyboard Tray Weight Capacity
≤4.4 Ibs (2 KG)
Height Adjustable Range
6.7" - 17" (170 - 430mm)
33 Ibs (15 KG)
Desktop Weight Capacity
Specifications
Please do not place your hand near the scissor lift.
The scissor lift angle will change when lifting or lowering
the desktop and it may hurt your hands.
Warning!
Please make sure to install all equipment
on a level surface.
Cable management tie is included to help organize
your cables. When organizing cables, make sure you
have sufficient cord length to reach the top height
when the desktop unit is fully extended upwards.
Failure to do so may result in damage to corded device.
If the device placed on your desktop weighs less
than 6.6 lbs, press the handle grips and force down
the desktop to prevent the workstation from bouncing
up. Failure to do so may result in damage to the
device of physical injury.
Warning!
Warning!
Warning!
Warning!
Website: www.flexispot.com
Tel: 1-855-421-2808
Hand Pinching
Do not place your hands near the "scissor" part of
the desk. The lifting mechanism will change when
raising or lowering the desktop. Please be aware
of all moving parts to avoid hurting your hands.
Warnin g!
Warning!
No Climbing
No Climbing
Question and Answer IconNeed help?

Do you have a question about the Flexispot F3B and is the answer not in the manual?

Flexispot F3B Specifications

General IconGeneral
BrandFlexispot
ModelF3B
CategoryIndoor Furnishing
LanguageEnglish

Summary

Safety and General Warnings

General Safety Precautions

Covers choking hazards, installation requirements, proper tool usage, and maintenance checks.

Operational Safety Instructions

Warns against hand pinching, climbing, and advises on correct surface, cable management, and load limits.

Parts and Initial Setup

Included Parts List

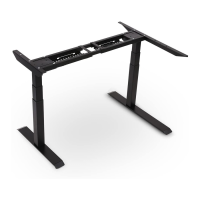
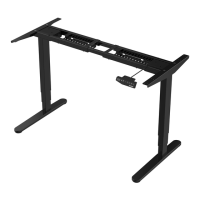
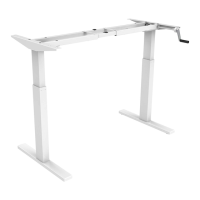
Details all components provided with the workstation, including the body, tray, and hardware.

Step 1: Desktop Body Placement

Instructions for positioning the main desktop body on an even surface before proceeding with assembly.

Installation Steps

Step 2: Unlock Main Body Handle

Guide on releasing the main body part by unlocking the handle mechanism.

Step 3: Connect Keyboard Tray

Procedure for attaching the keyboard tray to the desktop plate using provided components.

Step 4: Place Devices and Adjust Height

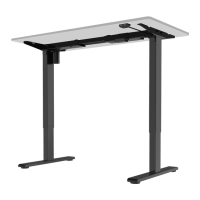
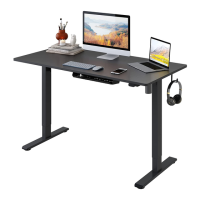
Instructions for placing devices and adjusting the workstation height within its adjustable range.

Step 5: Attach Monitor with Stickers

Guidance on using stickers to secure a monitor to the desktop unit.
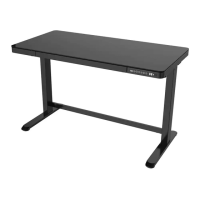
Related product manuals