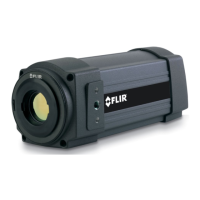
Verifying camera operation
8
Prior to installing the camera, use a bench test to verify camera operation and to config-
ure the camera for the local network.
8.1 Power and analog video
Follow this procedure:
1. Connect the power and video cables to the camera.
2. Connect the video cable from the camera to a display/monitor, and connect the
power cable to a power supply. The camera operates on 12/24 VDC, 9 W max. (al-
lowed range: 10–30 VDC) and heaters on 24 VDC, 25 W max. In total: 34 W. Verify
that video output is displayed on the monitor.
3. Use an Ethernet cable to connect the camera either directly to a computer or to a
router that is connected to the same network as the computer.
4. Close down all applications on the computer.
5. Insert the CD-ROM into the CD drive on the computer. The installation should start
automatically.
Should the installation not start automatically, start Windows Explorer and double-
click SETUP.HTM on the CD-ROM.
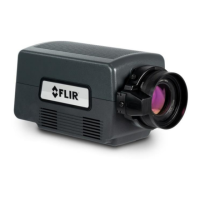
6. Click one of the following:
• Install (for all FLIR A3xx f series cameras).
• Install ( for series cameras).
• Install (for and series cameras).
Note For series cameras, you can use to set up and control the camera. For more
information, see section , page . Use to identify the unit in the network and set the IP
address if necessary.
7. Follow the on-screen instructions.
8.2 IP Communications
It is assumed that a FLIR A3xx f system will be set up on an existing network and be as-
signed an IP address from the DHCP server.
#T559794; r. AJ/35709/35709; en-US
13