4. Operation
4.1 Meter Power and APO
1. Two (2) 1.5V ‘AA’ batteries (rear compartment) power the meter.
2. Long press the power button to switch the meter ON/OFF. When ON, the
meter display will appear as shown in the meter description section above. If
the meter display does not switch ON, please check the batteries.
3. The meter’s APO feature automatically switches the meter OFF after 20 minutes
of inactivity.
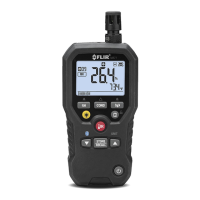
4.2 Measuring Temperature and Relative Humidity
The ambient temperature and relative humidity sensors are located at the top of the
meter (item 1 in the Meter Description section).
Moisture measurements are automatically temperature compensated. The meter
calculates the compensation using the ambient temperature measurements.
1. The temperature or humidity reading appears on the bottom left of the LCD.
2. Long press the button to step through
o
F,
o
C, and Relative Humidity readings.
3. Remove the protective cap when taking ambient measurements.
4. Replace the cap when finished.
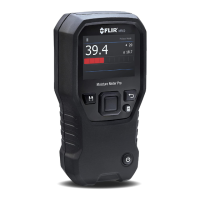
4.3 Moisture Measurements
1. Power the meter and select the appropriate material group using the button
(short presses). See the Material Group Reference sections for details.
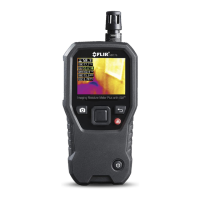
2. The meter detects moisture through the electrode pins positioned at the top of
the meter. Carefully remove the protective cap and push the pins firmly into the
material under test. For wood applications, insert the pins perpendicular to the
wood’s fiber structure.
3. View the readings on the LCD. Take a number of readings in a variety of
locations for the best representation of the moisture present.
4. The measurement range for wood is 7 to 99%. The measurement range for
other building materials is 1 to 99% (Group 10) and 1 to 35% (Group 11).
Readings are automatically temperature compensated.
5. Replace the protective cap after each use.