FLEX User Instruction – 21TEM14546 EN
Page 22 of 43
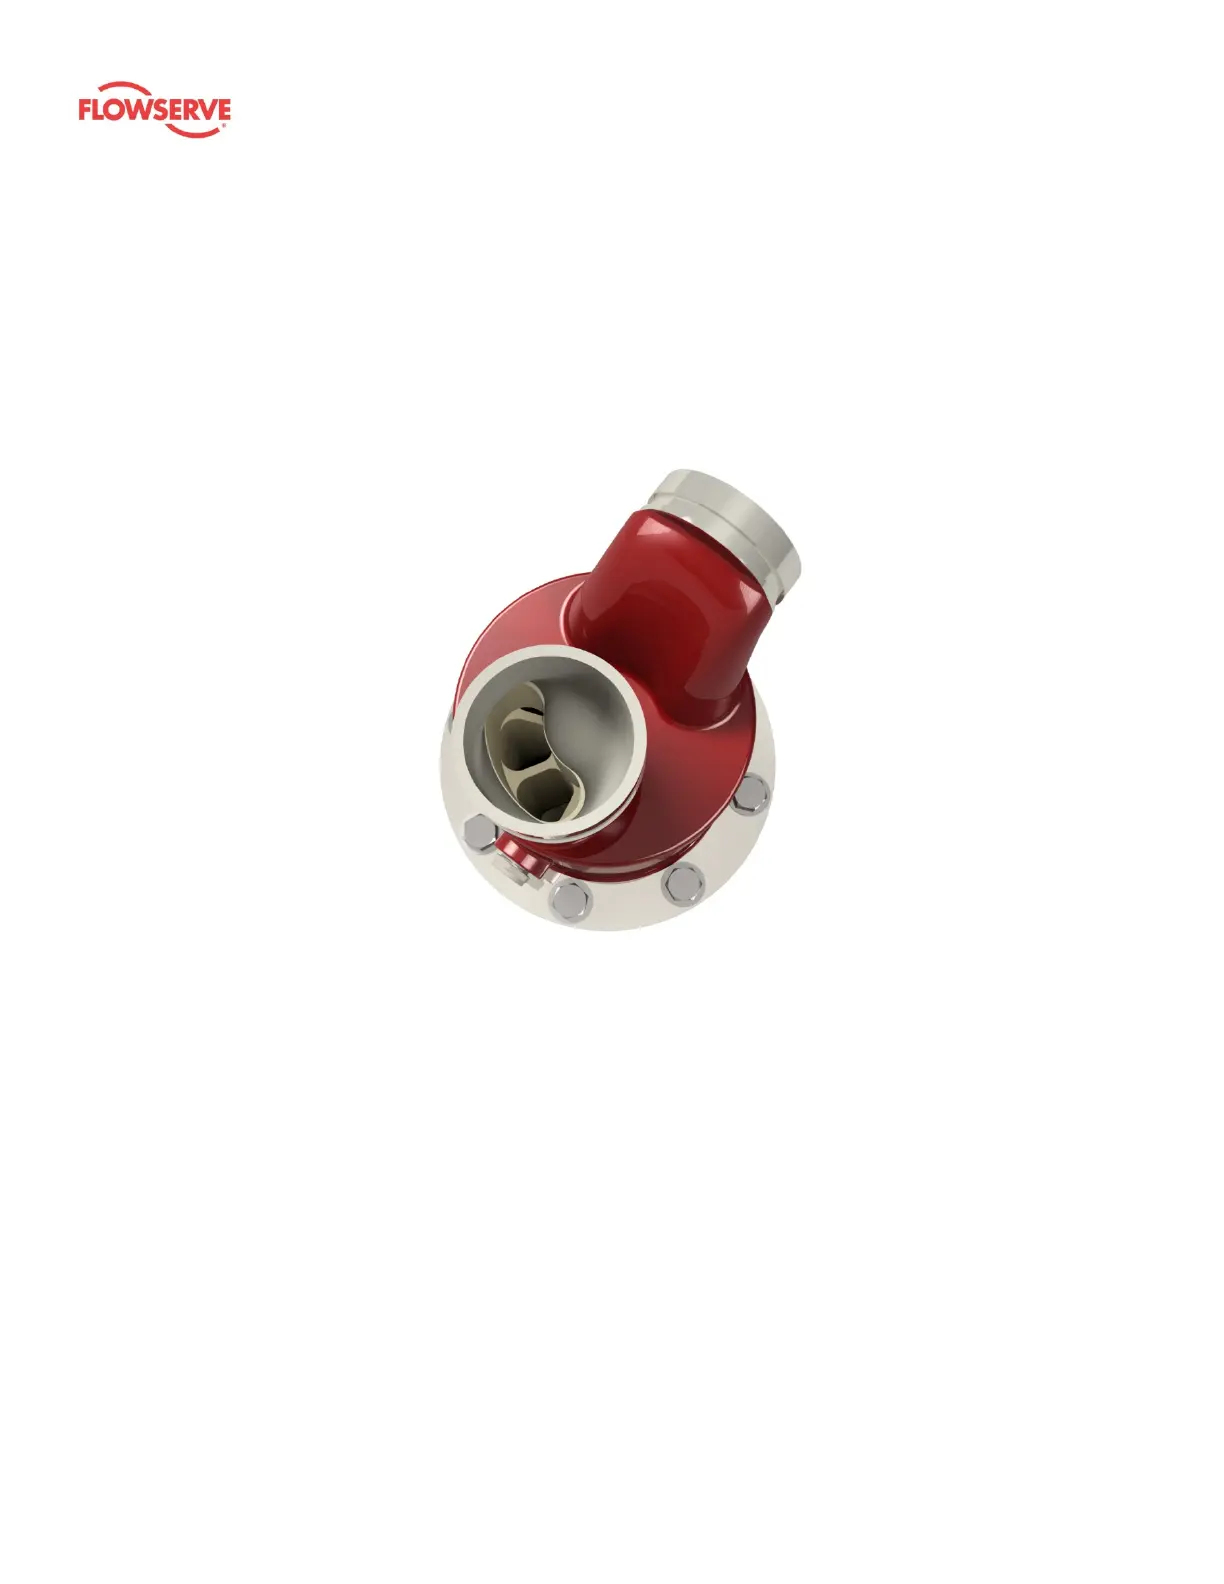
Prior to installing a FLEX, a check can be performed to verify that the rotor is able to spin freely
inside the device. There are two ways to perform this verification:
1. Rock the FLEX back and forth while looking into one of the low-pressure ports to see that
the rotor spins freely from the rest of the device.
2. Reach a plastic or wooden rod (ensure it is in good condition and will not leave any
debris inside the FLEX) into one of the low-pressure ports and gently push the rotor while
watching to see that the rotor spins freely.
Figure 11: View of rotor ducts through LP port
5.2 Mounting and installation
The following steps are instructions to install the FLEX unit.
1. The FLEX should be located with adequate space for workers to install, operate, and
maintain the device.
2. The foundation should be sufficient to absorb any vibration and should provide a rigid
support for the unit.
3. Mount the FLEX on a bracket that supports the weight of the device by the vessel body
or vessel flange. Do not use pipe couplings to support the weight of the device.
4. Ensure the FLEX is in the proper orientation with flow direction (IN/OUT) and pressure
rating (HP/LP) on each nozzle matching the system piping. There is a label on each pipe
nozzle of the FLEX to indicate proper flow direction and pressure.
5. If necessary, place shims between the vessel and the support bracket to align the FLEX
pipe nozzles with system pipe connections.