14
If the removed tank lever is bent, proceed to Step A1 below. If the
lever is not bent then proceed to Step A2 below.
STEP 9: INSTALL LEVER & FLAPPER CHAIN
A1: FOR SIDE OR ANGLE MOUNT:
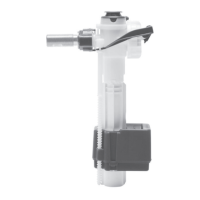
BEND NEW LEVER ARM
To bend lever, start bend 2” after 90
degree elbow until bend matches the old
lever. Do not bend arm quickly or back
and forth repeatedly.
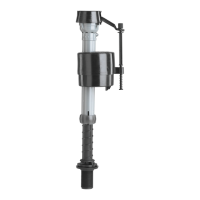
A2: FOR FRONT MOUNT:
MEASURE LEVER ARM
Measure length of old lever
arm next to new lever arm. If
necessary, trim new arm (with
a hacksaw) at the cut line.
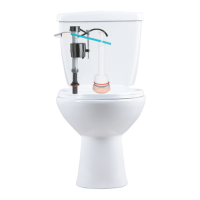
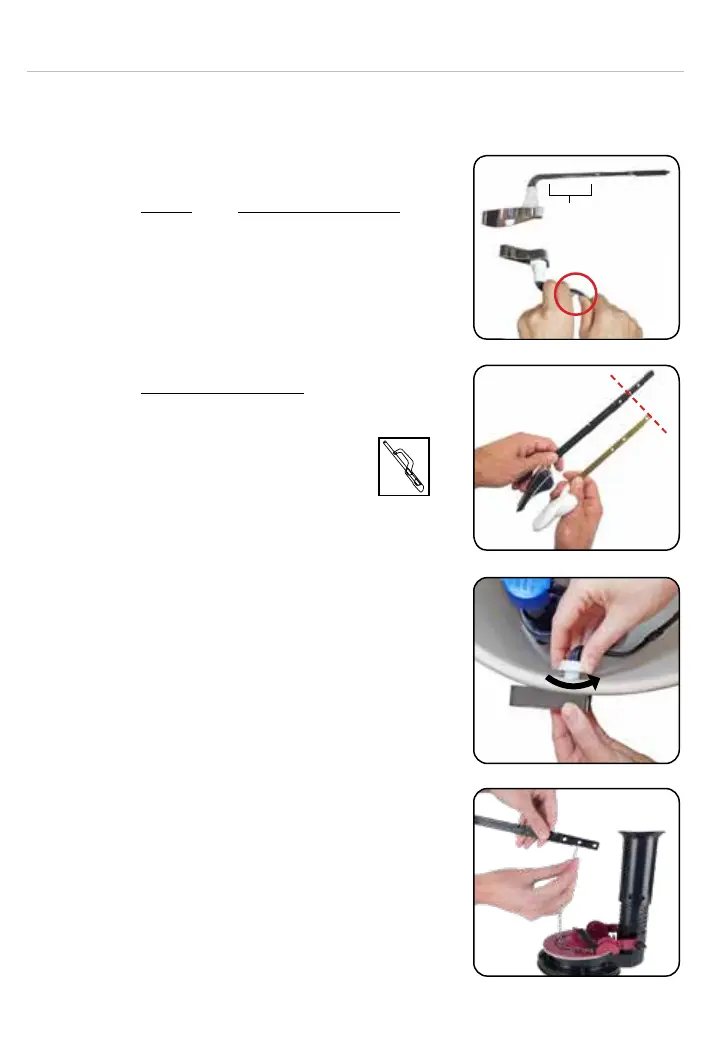
B: INSTALL LEVER
Slide lever through tank hole. Slip
locknut over lever arm (at side of nut
facing handle). Hand-tighten locknut
clockwise (reverse thread).
*Do not overtighten.
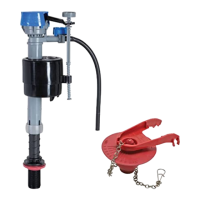
C: CONNECT FLAPPER CHAIN
Attach clip to the tank lever directly
above the apper. Leave roughly ½”
of slack (small ‘J’ shape) in the chain.
Mini Hack Saw
(Optional)
ONLY BEND
LEVER HERE