110/113/114/115/116/117
Calibration Information
4
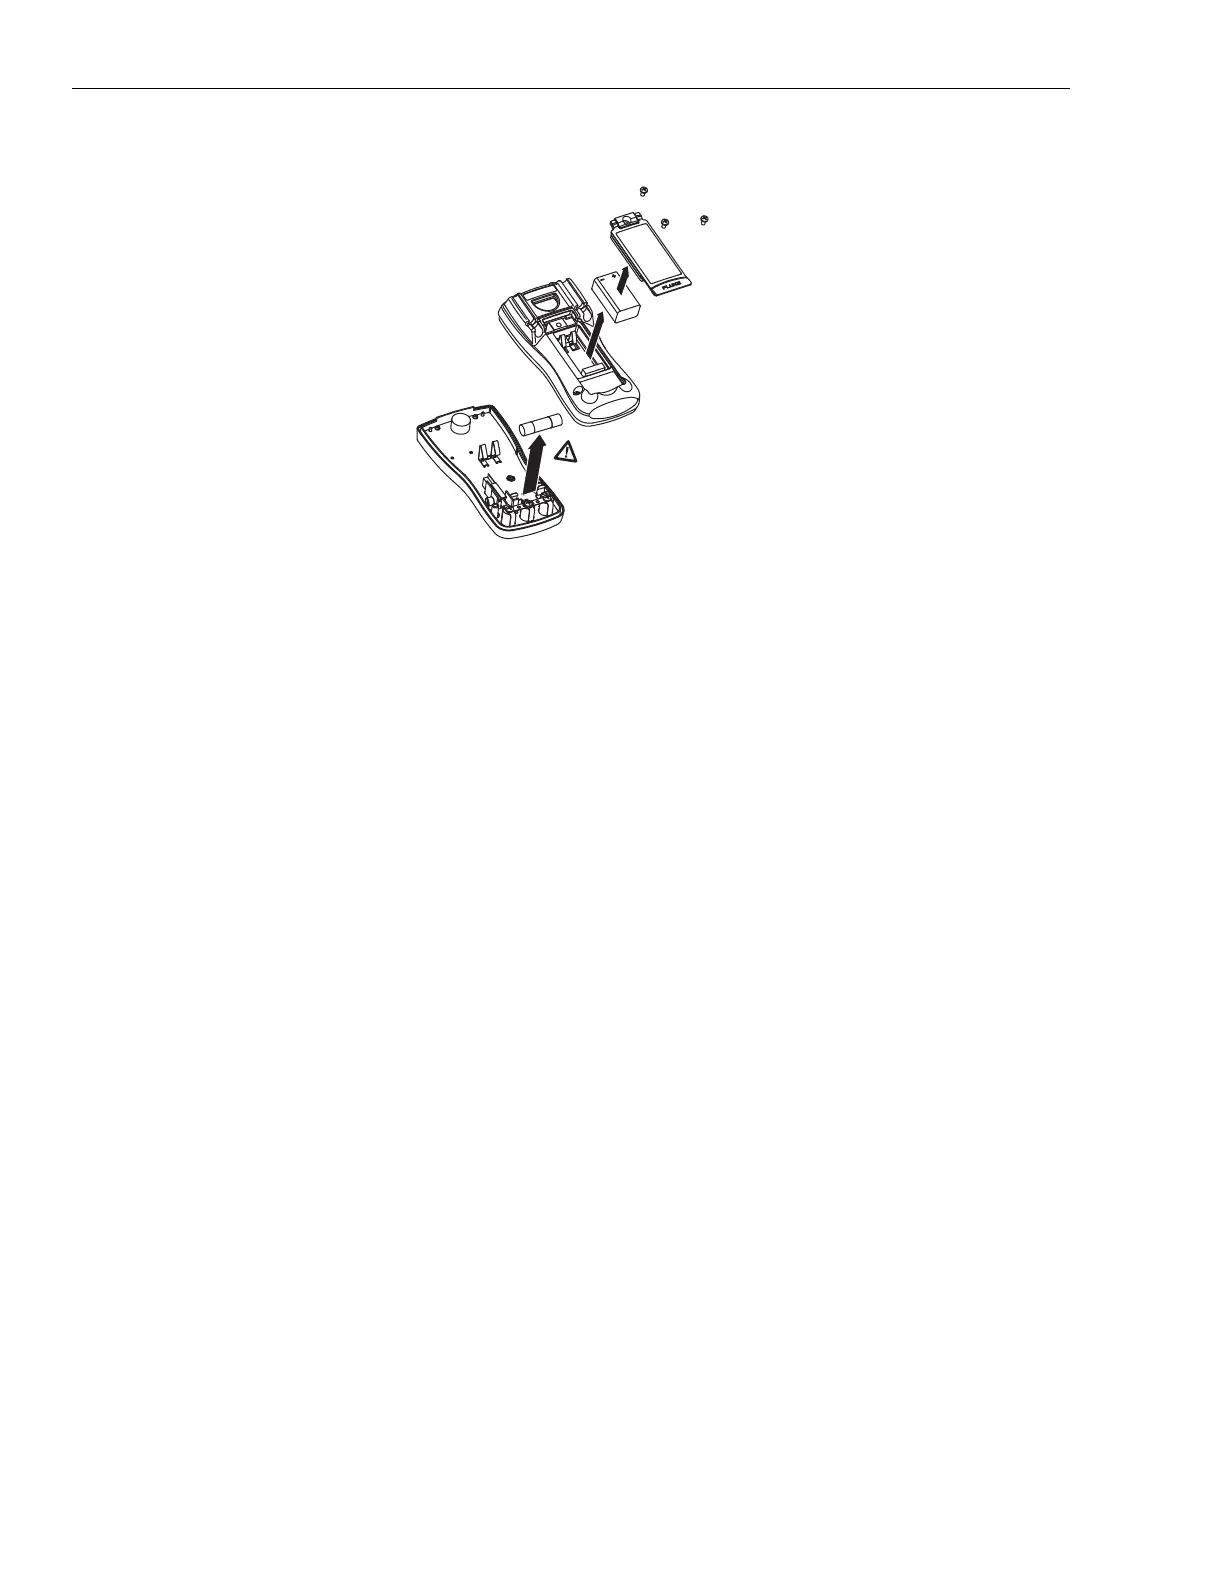
See Figure 2 for disassembly.
Figure 2. Disassembly
To remove the battery door for battery replacement:
1. Remove the test leads from the Meter.
2. Remove the battery door screw.
3. Use the finger recess to lift the door slightly.
4. Lift the door straight up to separate it from the case.
5. The battery fits inside the battery door, which is then inserted into the case, bottom edge first, until it is fully
seated. Do not attempt to install the battery directly into the case.
6. Install and tighten battery door screw.
To open the case for fuse replacement:
1. Remove the test leads from the Meter.
2. Remove the Meter from its holster.
3. Remove two screws from the case bottom.
4. Separate the case bottom from the case top.
5. Remove the fuse from its holder and replace it with an 11 A, 1000 V, FAST fuse having a minimum interrupt
rating of 17 000 A. Use only Fluke PN 803293.
6. To re-assemble the Meter, first attach the case bottom to the case top, then install the two screws. Finally,
insert the Meter into its holster.
Cleaning
Wipe the case with a damp cloth and mild detergent. Dirt or moisture in the terminals can affect readings.