Insulation Testers
Basic Maintenance
7
Remove the Holster
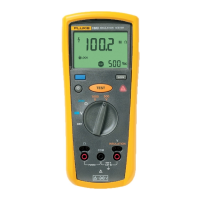
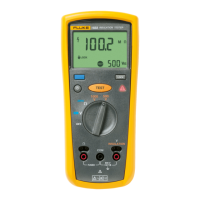
The standard Tester comes with a snug-fitting yellow rubber holster. The holster protects the
Tester from rough handling and normally remains on the Tester. The first step to disassemble
the Tester is to remove the holster.
To remove the holster:
1. With the Tester face up, place your thumbs on the top corners of the holster and firmly
grasp the Tester.
2. Use both thumbs to push the holster up and over both corners of the Tester.
3. Continue to push on the holster until both of its inside corners rest on top of the Tester.
4. Rest the heel of one hand behind the display and place all four fingers of the same hand
along the upper front edge of the holster.
5. Firmly grasp the Tester with the other hand, and use your fingers to peel the holster over
the top of the Tester.
6. Slide the Tester up and out of the holster.
Note
To install the holster, position the bottom of the Tester in the bottom of the holster,
and press the top of the Product firmly into the holster.
Remove the Battery Door
XWWarning
To prevent possible electrical shock, personal injury, or damage to the Tester,
when you replace the fuse or battery, turn the rotary switch to OFF and remove
the test leads from the terminals.
With the holster removed, the next step to disassemble the Tester is to remove the battery
door. To remove the door:
1. Locate the black slotted lock on the lower rear of the Tester.
2. Use a standard screwdriver to turn the battery-door lock until the unlock symbol aligns with
the arrow. The door is now unlocked.
3. Lift the bottom of the battery door away from the Tester, this provides access to the fuse
and battery compartment.
4. If necessary, remove and replace the batteries and/or fuse as shown in Figure 1.
Note
To install the battery door, slide the top of the door into position and turn the battery
door lock until the lock symbol (L) aligns with the arrow to secure the door.

 Loading...