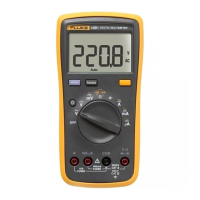
Digital Multimeter
Meter Adjustment
15
Meter Adjustment
If the Meter fails the performance tests, adjustment may be necessary. Use the steps listed
below and refer to Table 5 or 6 to adjust the Meter.
1. Remove the yellow holster by slipping it off of the Meter.
2. Remove the screws on the bottom of the Meter.
3. Lift off the bottom case to gain access to the potentiometers used for Meter
adjustment. Refer to Figure 6.
4. Observing correct polarity, connect a 3 V dc lab supply to the meter’s battery
contacts to power the meter during calibration. Refer to Figure 5 for proper
connections.
5. Apply the values listed in Table 5 or 6 and adjust the designated potentiometer as
needed.
6. When finished, replace the bottom case.
7. Replace the case screws.
8. Replace the yellow holster.
9. Verify the meter adjustment by going through the performance test procedures. If the
Meter still does not meet the performance test specifications, service is required.
Refer to “Contacting Fluke” to locate a service center.

 Loading...