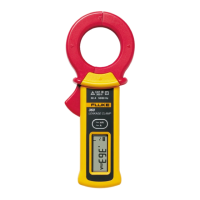
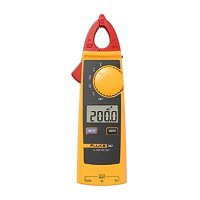
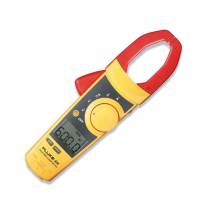
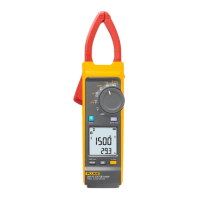
Measuring Instructions
W Caution
Do not subject the jaw to unreasonably strong
shock, vibration, or force.
If dust gets into the top of the jaws, remove it
immediately. Do not close the jaws when dust is
trapped in its joints as the sensor may be damaged.
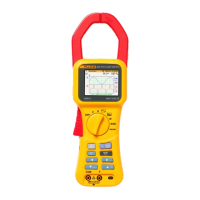
1. Turn the Clamp Meter on by pressing the power button.
2. Open the jaws and insert the conductor under test through
the jaws, making sure the tops of the jaws are tightly shut.
3. Once the reading stabilizes, read the value. Use the DATA
HOLD function if the reading is difficult to read.
4. Make sure the jaws are perpendicular to the conductor.
5. For optimal readings, make sure the conductor is positioned
between the alignment marks on the jaws of the Clamp
Meter. Refer to Figure 2.
Load
Load
Single-Phase
Two-Wire Circuit
Load
Grounding Wire
(1) (3)
(2)
Load
Insert only one of the wires through the jaws.
• Example of Load Current
Measurement
Single-Phase Three-
Wire or Three-Phase
Three-Wire Circuit
epq002.eps
Figure 2. Measurements
Auto Power Off
The instrument automatically turns off 10 minutes after the last
switch operation. A beeper sounds 15 seconds before the
automatic power off.
Maintenance
If the Clamp Meter does not work or perform properly, use the
following steps to help isolate the problem:
1. Inspect the jaw mating surface for cleanliness. If any foreign
material is present, the jaw will not close properly and
measurement errors will result.
2. Verify that the range on the Clamp Meter is correct.
Cleaning
Periodically wipe the case with a damp cloth and mild detergent.
W Caution
To avoid damaging the Clamp Meter, do not use
abrasives or solvents to clean the clamp.
Open the jaws and blow air to remove dust or debris at the jaw
mating surfaces.