373
Calibration Manual
8
Calibration Adjustment
Required Equipment
The equipment listed in Table 3 is required for calibration adjustment.
Table 3. Required Equipment
Equipment Required Characteristics Recommended Model
Calibrator 4.5 digit resolution Fluke 5520A Calibrator or
equivalent
Wired coil 50 turns Fluke 5500A/COIL
Calibration Adjustment
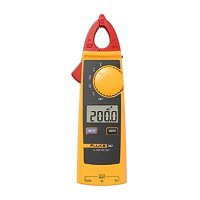
Each Product function can be calibrated separately or in any sequence. To adjust Product
calibration:
1. Turn the Product over to access the battery compartment door screw.
2. Use a flat-head screwdriver to loosen the battery compartment door screw and lift off
the battery compartment door. See Figure 2.
3. Remove the batteries.
4. Remove the calibration sticker.
5. Place a jumper (short) across the calibration pins located under the calibration sticker.
Once the Product is turned on, this will put the Product into calibration mode.
6. Reinstall the batteries.
7. Turn the Product ON.
8. Turn the rotary switch to select the function to be calibrated.
9. Apply the required output from the source to the Product. See “Adjustment
Procedure” below. The calibration adjustment is complete.
When the adjustment is complete:
1. Remove the batteries.
2. Remove the jumper.
3. Replace calibration sticker.
4. Reinstall batteries.
5. Reattach the battery compartment door.
6. Tighten the battery compartment door screw.

 Loading...