8
3R, 3G, 5R, 5G
Users Manual
Use the Product
Use the Product to layout reference points and to make sure conditions are level and plumb.
W*
Warning
To prevent eye damage and personal injury, do not look into the optical windows when the Laser
indicator LED shows green.
New Horizontal or Diagonal Alignment
Note
To nd diagonal alignment, use the lock feature.
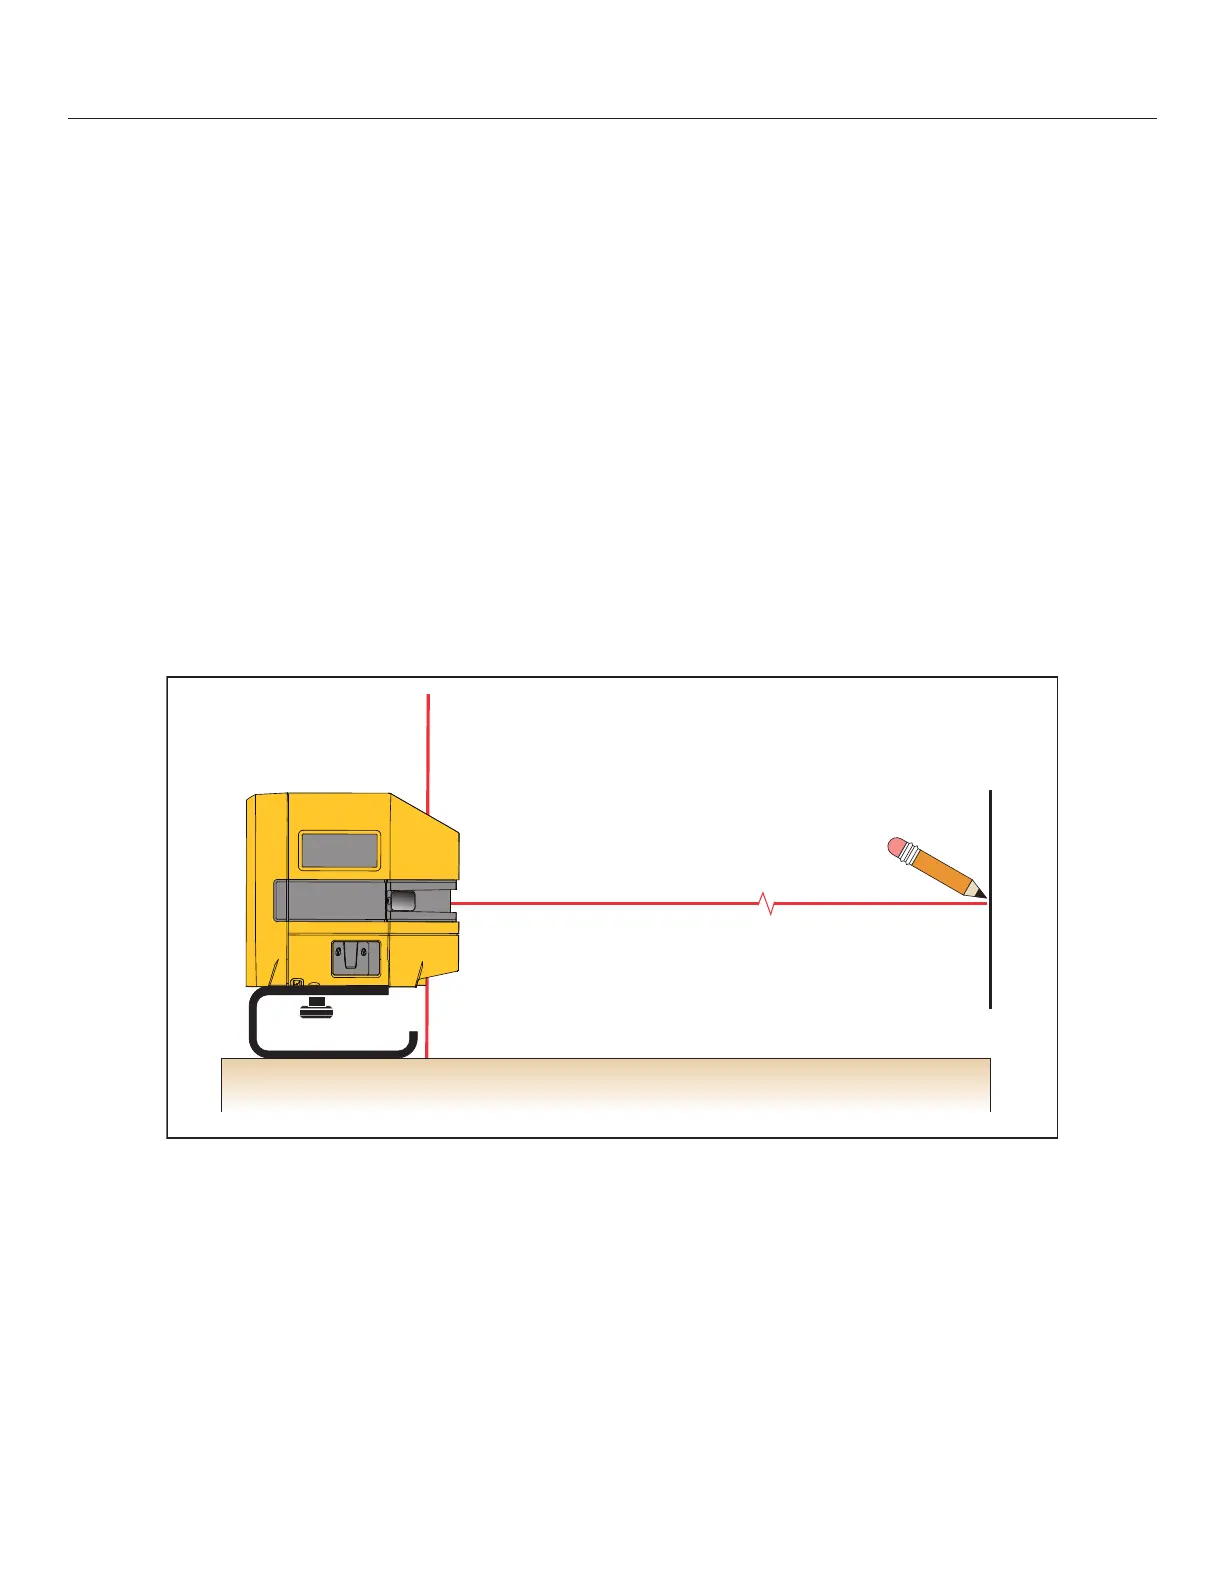
To identify new level or grade marks:
1. Put the bottom of the Product on a stable surface.
2. Turn on the Product and aim the forward laser at the target area. See Figure 2.
3. Place a mark at the level or grade point on the target area.
4. Repeat for each point as needed.
Note
When the Product is mounted on a tripod, make sure the tripod head is perfectly level. Errors in marks can
result if a tripod is out of level.
Figure 2. New Horizontal or Diagonal Alignment