EasyManuals Logo

Focusrite iTrack Solo Getting Started Guide

Focusrite iTrack Solo
12 pages
To Next Page IconTo Next Page
To Previous Page IconTo Previous Page
Page #11 background imageLoading...
Page #11 background image
Recording Guitar and Vocals into Garageband
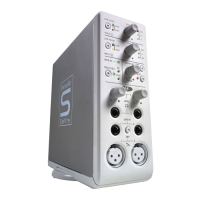
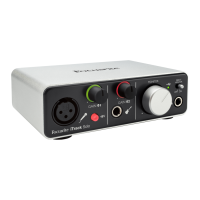
1) Plug in microphone to the iTrack Solo
• Turn 48V phantom power on if required
(please see your microphone’s user manual for more info)
2) Sing / play the instrument you are recording and turn the gain knob until
the gain halo is green and not flashing red when you are singing / playing
as loud as you will when you record. This will ensure that your audio will
be correctly recorded.
3) In Garageband create a new “Audio Recorder”/ “Guitar Amp” track
Use the audio settings panel on the audio recorder to select:
left channel” (this will record the mic input) or
right channel” (this will record the guitar input)
Congratulations!
You’re ready to make music with your iTrack Solo!
Note: The iTrack Solo will also work with your Mac or PC.
Please go to www.focusrite.com to download the
iTrack Solo Driver for your computer.

Other manuals for Focusrite iTrack Solo

Questions and Answers:

Question and Answer IconNeed help?

Do you have a question about the Focusrite iTrack Solo and is the answer not in the manual?

Focusrite iTrack Solo Specifications

General IconGeneral
Sample rate98 kHz
Audio quality24 bit
Frequency range20 - 20000 Hz
Microphone maximum input1
Microphone Total Harmonic Distortion (THD)0.002 %
XLR inYes
I/O ports2x XLR In, 6.35mm In, USB2.0 B, TRS Out, 2x RCA Out
USB 2.0 ports quantityUSB 2.0 ports have a data transmission speed of 480 Mbps, and are backwards compatible with USB 1.1 ports. You can connect all kinds of peripheral devices to them.
Product colorBlack
Compatible operating systems- Windows 7 / 8\\r - Mac OS X 10.7 / 10.8
Weight and Dimensions IconWeight and Dimensions
Weight500 g
Dimensions (WxDxH)150 x 100 x 45 mm

Related product manuals