18
OPERATION WITH REDNET CONTROL
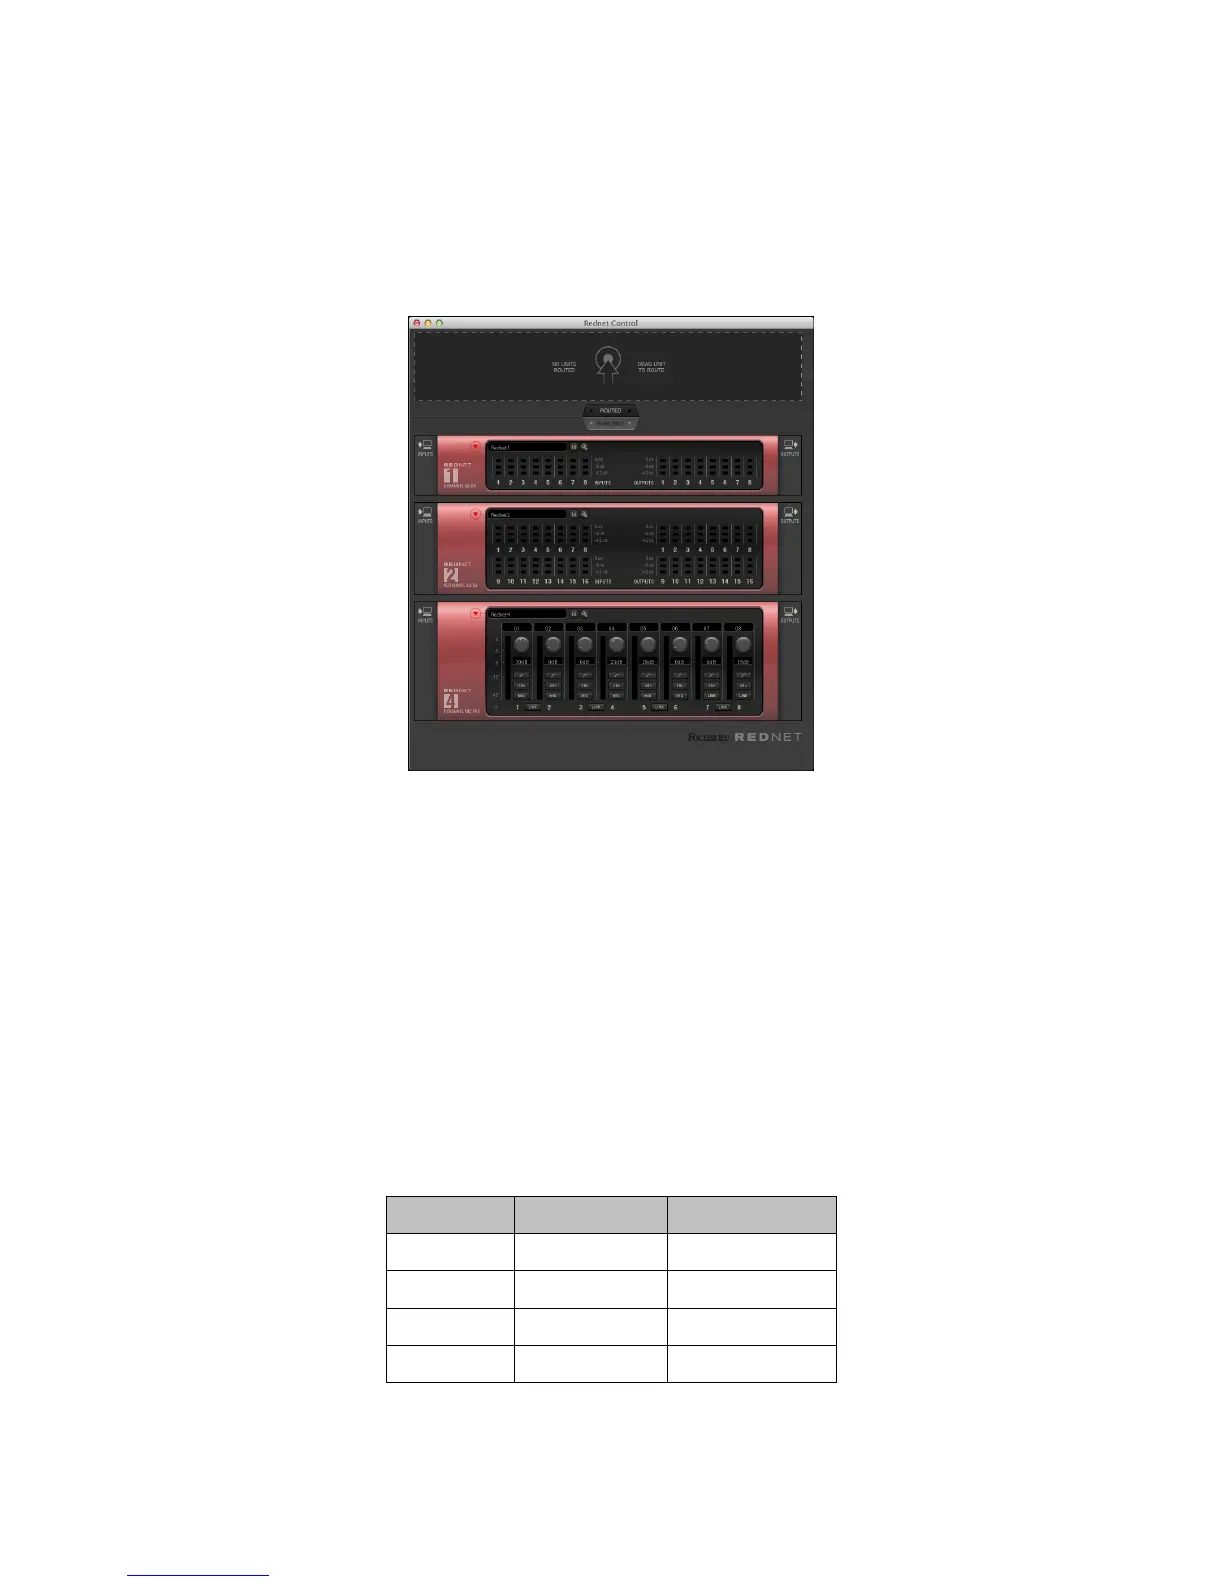
When RedNet Control is launched, it interrogates the network to discover which RedNet units are
connected. This may take a few moments, after which a set of virtual front panels is displayed. When
RedNet Control is launched for the first time, the screen display should be similar to that shown
below.
Each RedNet unit on the network will have a corresponding virtual front panel on-screen, so the
display on your system will probably differ from that above, where the example system has one each
of RedNets 1, 2 and 4.
Audio routing
Note that the “virtual rack” is divided into two areas; the upper is labelled “
ROUTED” and the lower
is labelled “AVAILABLE”. Initially, all RedNet units on the network will be AVAILABLE, because no
routings have yet been established. Note that the left-hand (inputs) and right-hand (outputs) grey
panes of each panel are un-numbered at this stage.
To route audio to or from a RedNet unit, left-click on the unit’s panel and drag it upwards into the
ROUTED area. After a few seconds, the side panes will indicate that the first available block of audio
inputs and outputs have been assigned to that unit, starting at Input 1 and Output 1. The number of
inputs and outputs assigned in this way will depend on the RedNet unit type, as shown below:
Inputs Outputs
RedNet 1 Inputs 1 to 8 Outputs 1 to 8
RedNet 2 Inputs 1 to 16 Outputs 1 to 16
RedNet 3 Inputs 1 to 32 Outputs 1 to 32
RedNet 4 Inputs 1 to 8 n/a