25
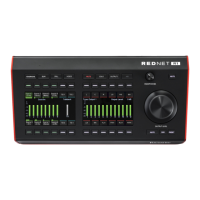
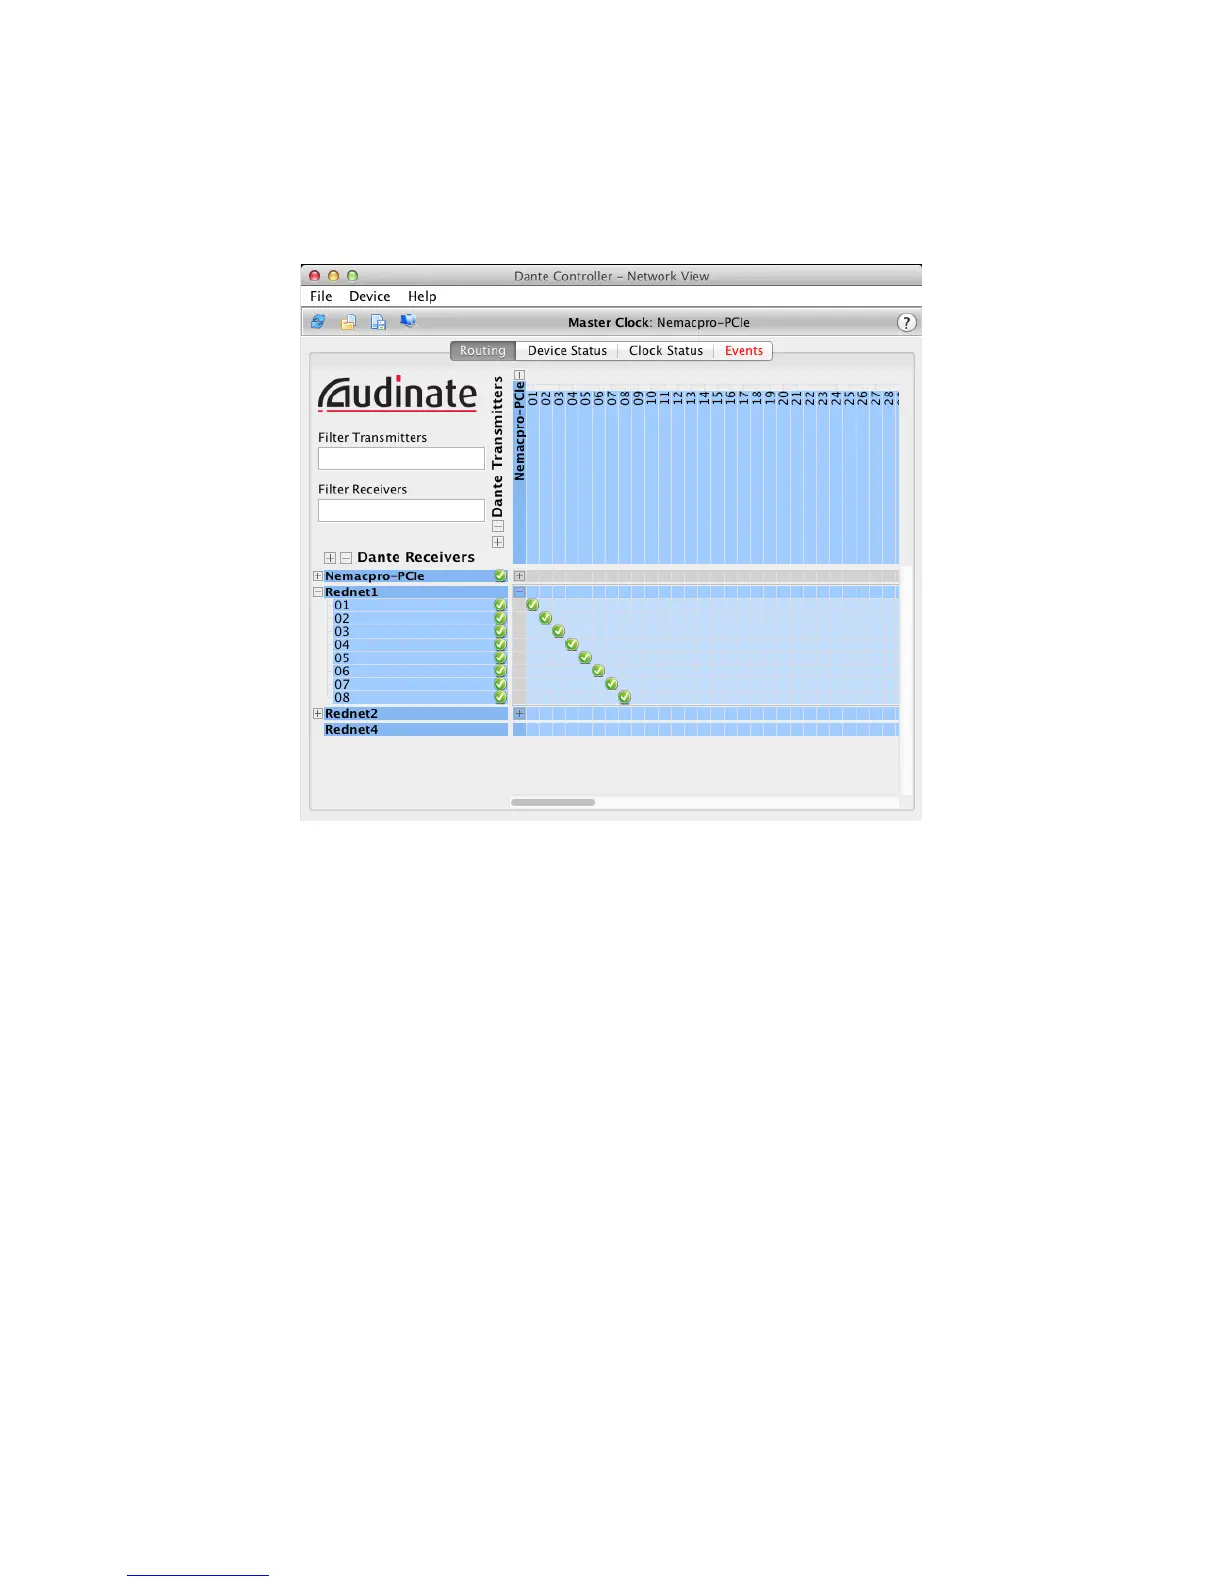
You can see that the Dante Controller confirms that each of the RedNet 1’s Inputs 1 to 8 is mapped
to Inputs 1 – 8 on the RedNet PCIe card, by a green tick. Similarly, expanding the RedNet PCIe card
outputs (horizontal axis –
Dante Transmitters) and the RedNet 1 audio outputs (vertical axis –
Dante Receivers) gives a display like this:
Again, the Dante Controller confirms that each of the RedNet 1’s Outputs 1 to 8 is mapped to Outputs
1 – 8 on the RedNet PCIe card.
This basic graphic principle extends to all RedNet units on the network; if you have more than one
RedNet unit in your system, you will see that moving units from AVAILABLE to ROUTED in RedNet
Control (and/or rearranging their order in ROUTED) gives a channel-by-channel confirmation in Dante
Controller of the routing thus established.
Custom routings
The simple default routings established from RedNet Control will probably suffice for most recording
situations. However, you can alter the routing setup at any time by clicking at any of the intersections
in the Dante Controller matrix. When you do so, the default one-to-one channel routings made in
RedNet Control are lost, and the side panes of all routed units in RedNet Control will no longer
display any channel numbers.
Other Dante Controller options
Various other facilities are available in Dante Controller, which are not specific to its use as the
transmission platform for RedNet. A full set of Help files is installed with the application; Click
Help
> Contents for further information.