4.2.9 Connect the Camera Cables to the Monitor
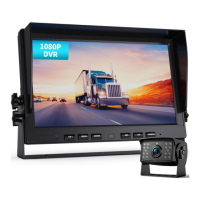
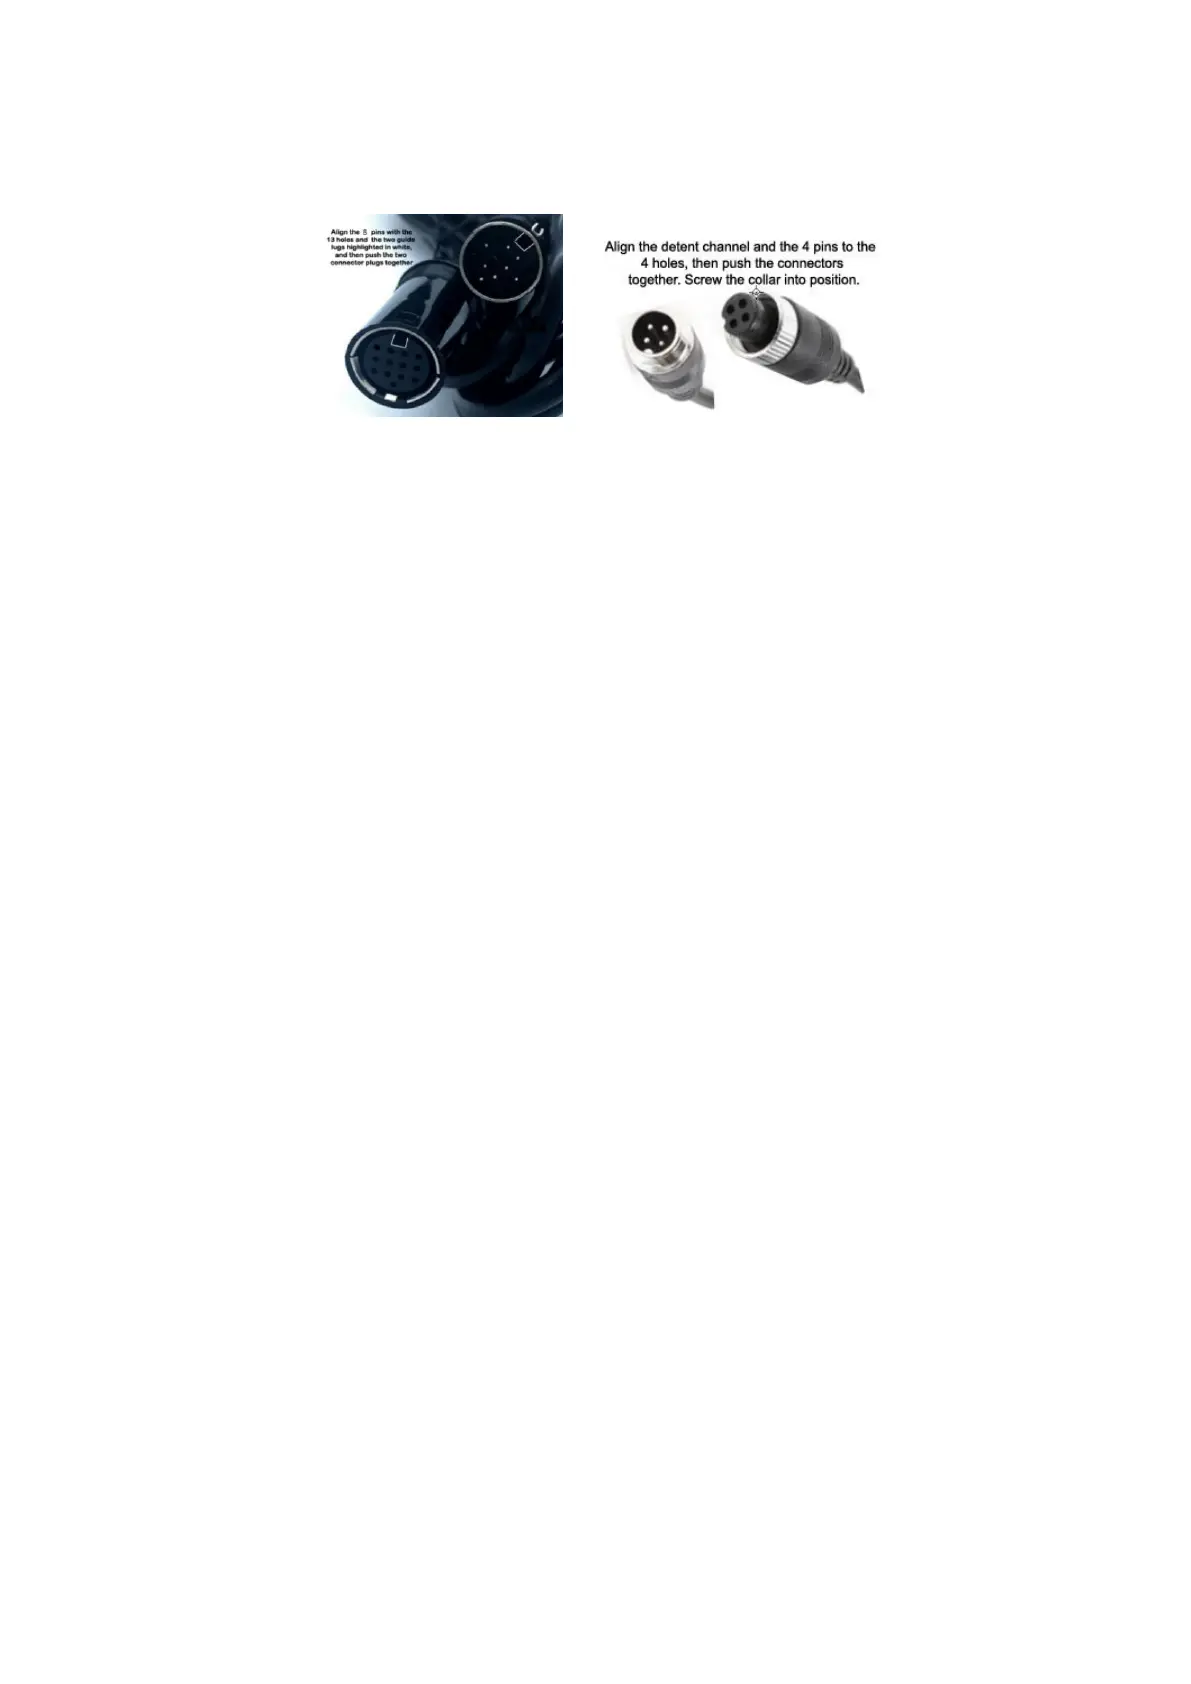
Please exercise care when you connect the cables together. Both the 8-pin
harness cable and the 4-pin aviation video cables have pins one end that
line up with holes on the other end. In addition, there is an obvious guide
channel that orients to the connectors before they are pushed together.
When all of the cameras are installed, connect the cables for each
camera from the camera to the monitor. Please take care when
aligning the connectors to ensure that the pins are aligned to the holes
before making the connection.
Turn on the monitor.
Cycle the “CH-” button on the monitor to verify that each of the
cameras is working properly and that all of the screen views or
functioning properly.
4.2.10 Adjust the Camera View
Cycle through the “CH-” button on the monitor to select a full-screen
view of each camera.
It may be necessary to have a friend assist you to adjust the view of
each camera so that the optimal observation is set for the system.
When the preferred view for each camera is obtained, screw the
retaining screws in snugly.
4.2.11 Calibrate the Monitor Settings
Using the “Menu” button on the monitor, cycle through each of the Menu
options to set the optimal camera brightness, color, contrast, horizontal
position, vertical position, auto, zoom, and language.
4-Pin Aviation Video Cable
Connectors
8-pin connector to Monitor