4.2.7 Install the Camera Cable
Your plan will define the routing of each of the camera cables. When the
cables are being installed, please observe the following procedures:
Use light color tape to label each end of the camera cable to mark its
designated CH number so that there is no confusion when you
connect the cameras and their cables to their respective harness CH
sockets. In addition, mark the end of the short cable attached to each
camera with its designated CH number.
Do not pull aggressively on the connector head of the cable when you
are routing the cables though channels or tight spaces as this may
damage the fine wires in the cable. Use a fish tape to thread the cables
though these areas. Tape the cable securely to the fish tape to
distribute the load when the tape is pulling the cable though the tight
spots.
Install all camera cables so that they cover the distance from the
monitor harness to the position where each camera will be installed.
4.2.8 Install the Camera
Using the appropriate tools install each of the camera in the locations
defined in your layout plan.
The rear-view camera can be installed with screws or bolts using
either the rear mount or ceiling mount units.
Cameras offer the option to drill through the mounting base to pass
the camera cable through in order to have a concealed mount. If this
option is chosen, then you should use sealing compound and/or
rubber grommets to secure the pass-through hole.
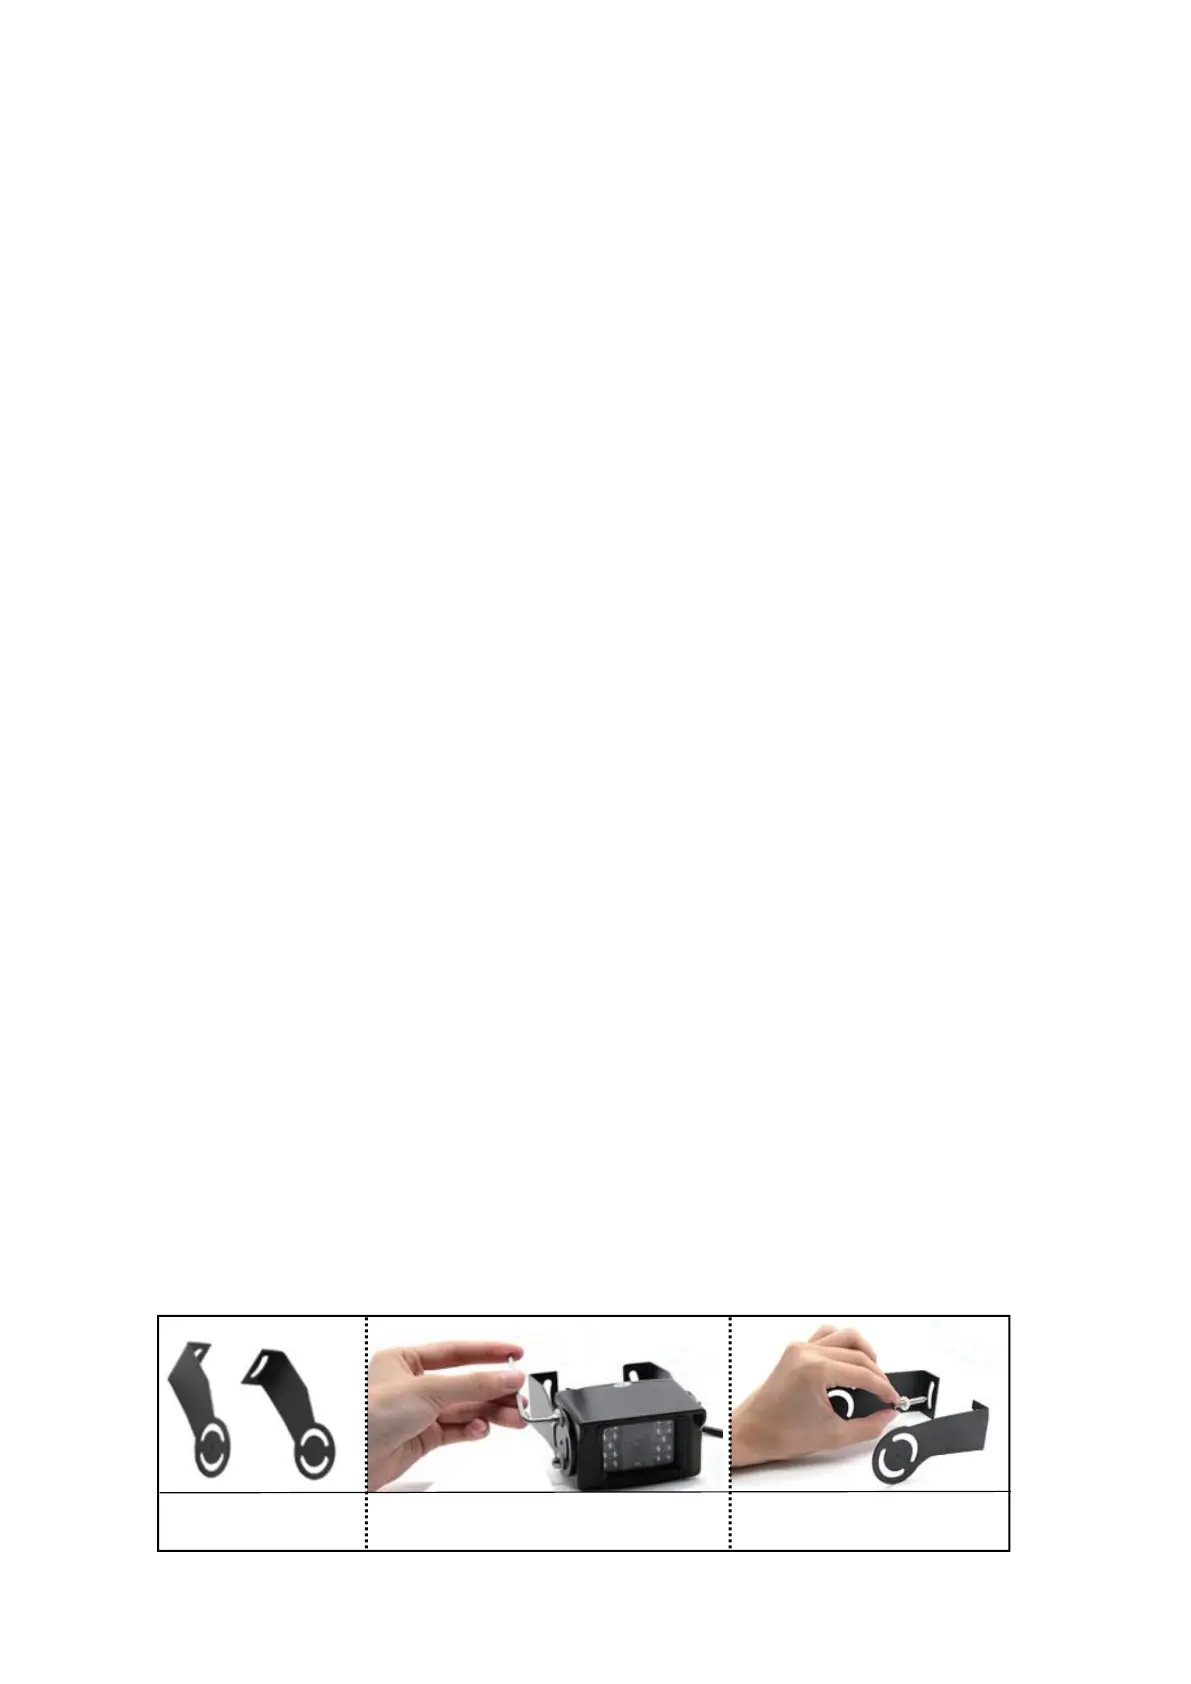
The Upgrade Bracket for rear camera included in the package is
optional.
Use the screws to install