(3)DOWN-: Function Decrease Button
No effect on the main interface.
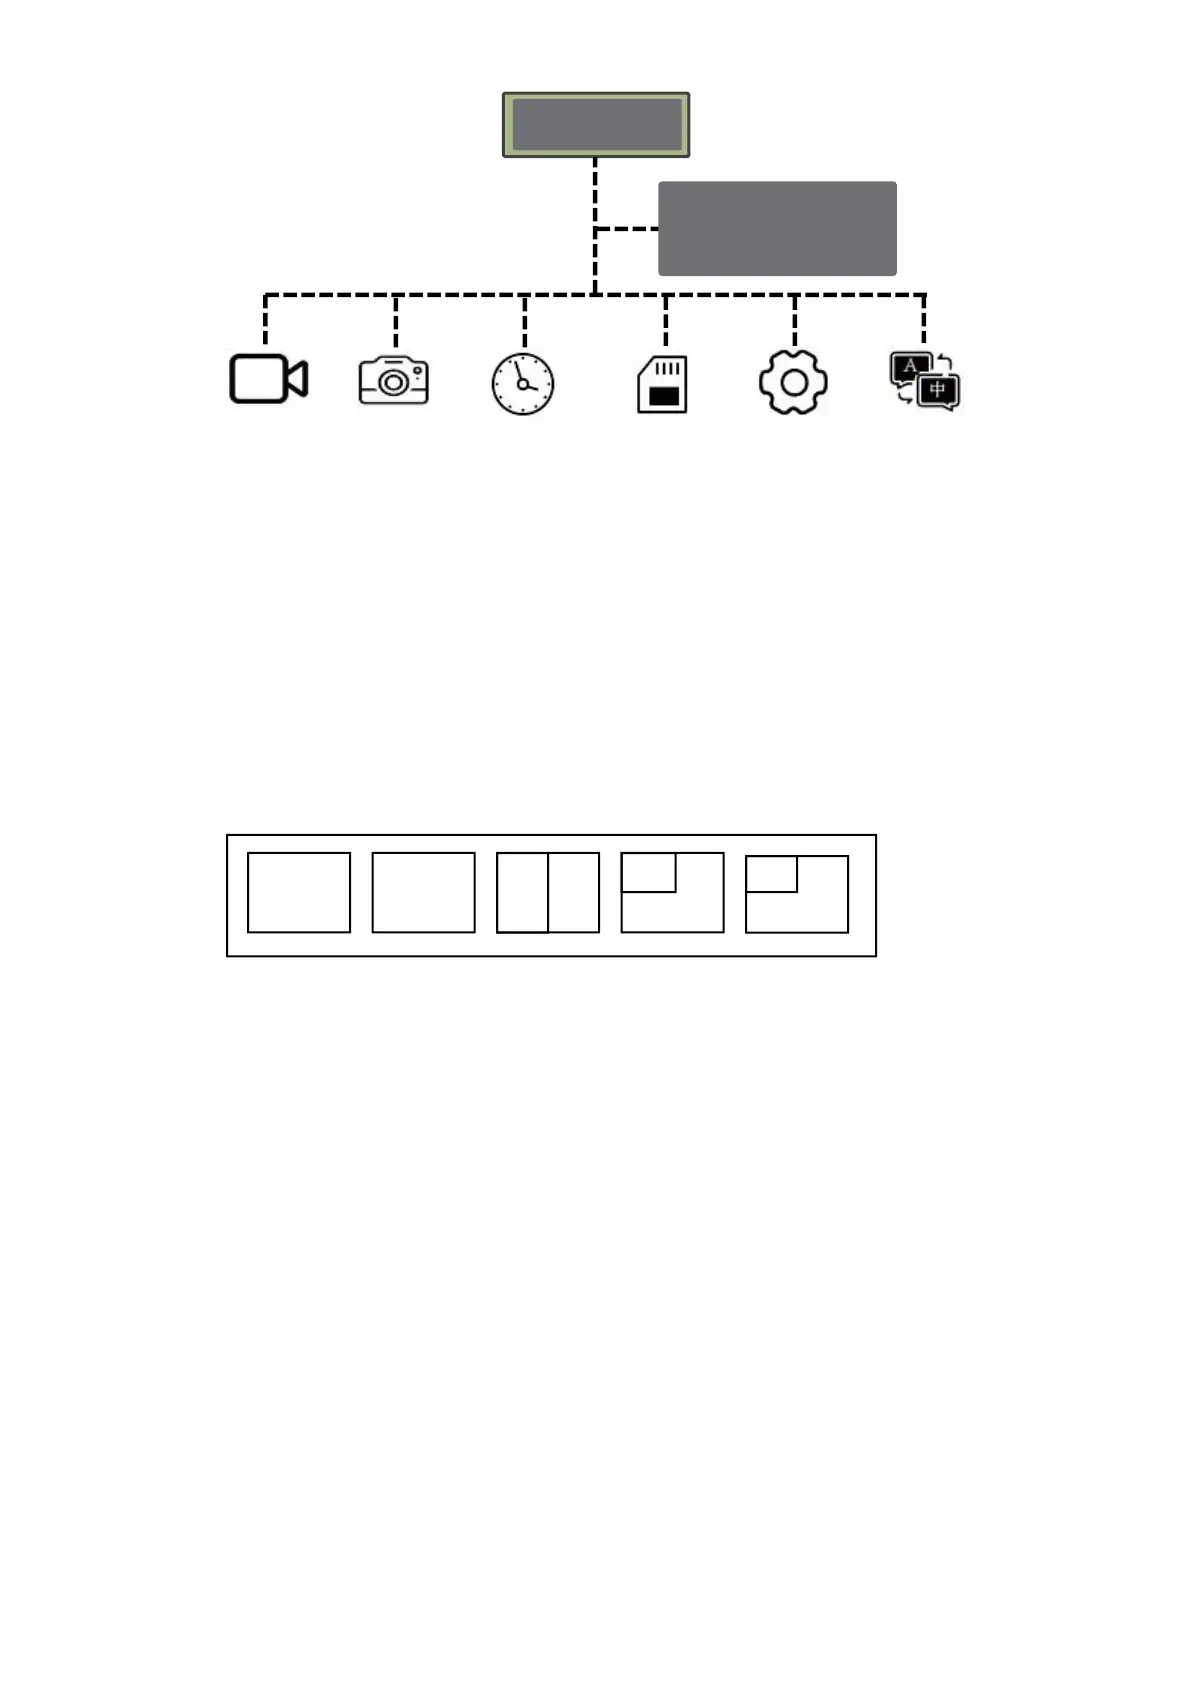
In the menu state, press it to select between these 6 menu options.
In the parameter, press it to discrease, for example, if the “Brightness”
control is selected, press this button can decrease the brightness of the
screen. To indicate this decrease, a series of bars light up at the bottom of
the screen.
(4)CH-: Monitor Channel Selection Button
As illustrated above, this button allows the user to select various camera
screen displays.
Pressing the button repeatedly cycles each camera channel display
one-by-one, and then it begins to display a series of two camera channels
grouped on the screen. These single and multiple display options provide
the user with great viewing flexibility.
Before installing the cameras, it is important to decide which cameras
will be connected to which channel numbers, so that when the channel
selections are made, the screen will display the ideal grouping of channels.
The individual channel numbers are marked on each of the camera
connectors on the harness cables.
*The split mode can be changed via the Split Setting of menu. You can
choose other mode according to your need.
(5)SEL Button
Press it to enter menu
panel; press it one more
can exit the panel.