61
EN
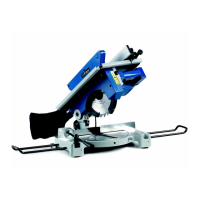
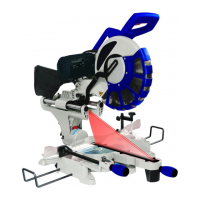
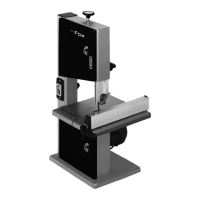
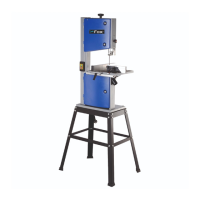
USE OF THE MILLER
The workbench’s extension of this table saw is provided with a hole which can be used to fix, on the lower side,
an electrical miller (not supplied), this way transforming the table saw in a multifunction machine by adding the
toupie function. Your machine thus becomes multipurpose, and you can keep on using your usual miller,
without buying new accessories.
To this aim, you have only to adapt the accessories kit (optional) to transform the surface of your table saw in a
useful bench for miller.
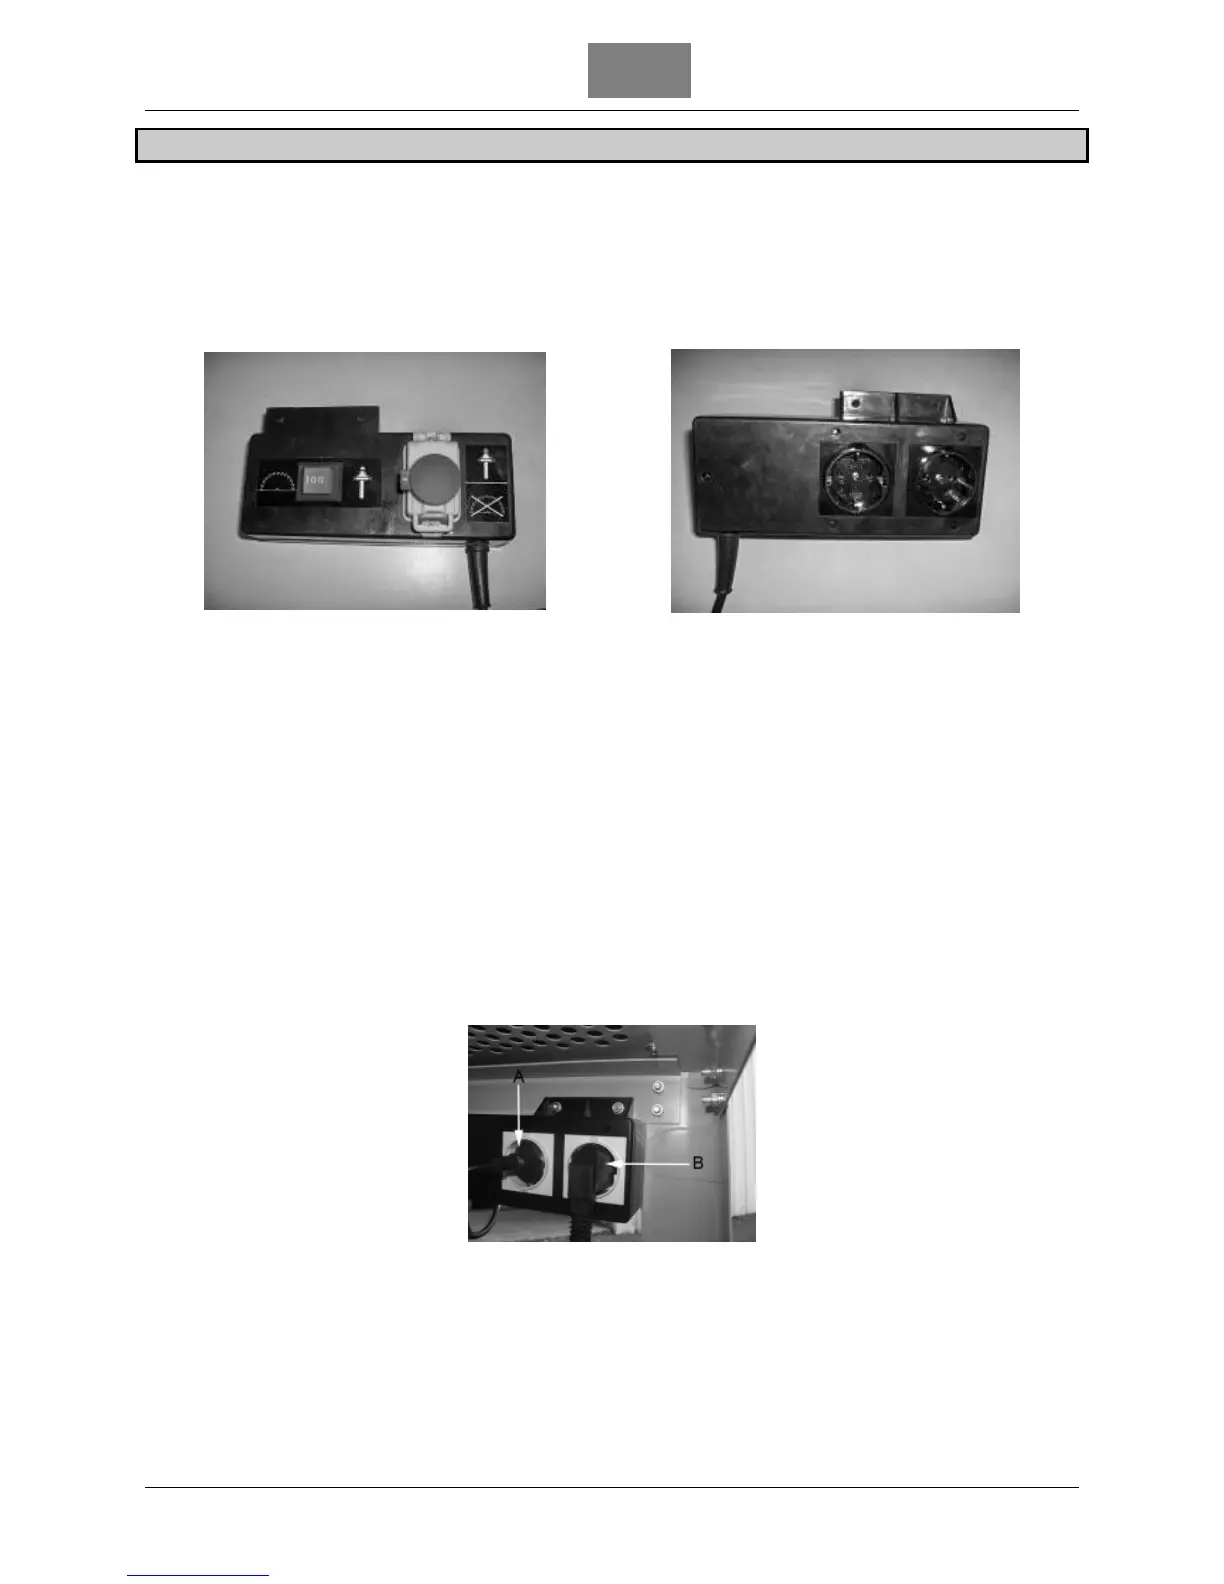
For your safety the machine included a safety switch on the workbench’s support.
You must connect your table saw and your miller to these safety sockets. The rocker button switch allows
you to select the tool you want to use by choosing position
I
or
II
corresponding to one of the two tools: the
position I corresponds to the table saw, the position II corresponds to the miller.
This rocker button switch
prevents the accidental start and the functioning of the table saw and the miller at the same time:
this would in fact entail a risk of injury.
Behind the box you can find two sockets: the one on the right corresponds to the connection of the table
saw, while the one on the left to the connection of the miller.
By placing the rocker button switch on the miller position, the undervoltage switch located on the front side
of the box (with yellow cover and red head) is operative. To give tension to the socket to which you have to
connect the miller raise the yellow cover and press the green button of the switch, to stop the tension press
the red button.
This undervoltage switch prevents the machine from starting accidentally in case of an interruption of the
electrical current. To switch on and off the miller with this switch, you have to put in ON position the miller
switch.
Use two screws and nuts to fix the box of the safety sockets (see fig. below). The cable of the table saw
must be connected to the socket marked
A
and the miller to the one marked
B
. This way the
A
socket is
connected to the
I
position and the
B
one to the
II
position of the safety switch.