605-01-414 REV A 8
REAR SHOCK INSTALLATION
NOTICE: Medium-strength thread-lock is
recommended on all bolts.
1. Please read the installation guidelines on page 4
for instructions on how to properly lift and secure
the vehicle.
2. Remove both rear wheels from the vehicle.
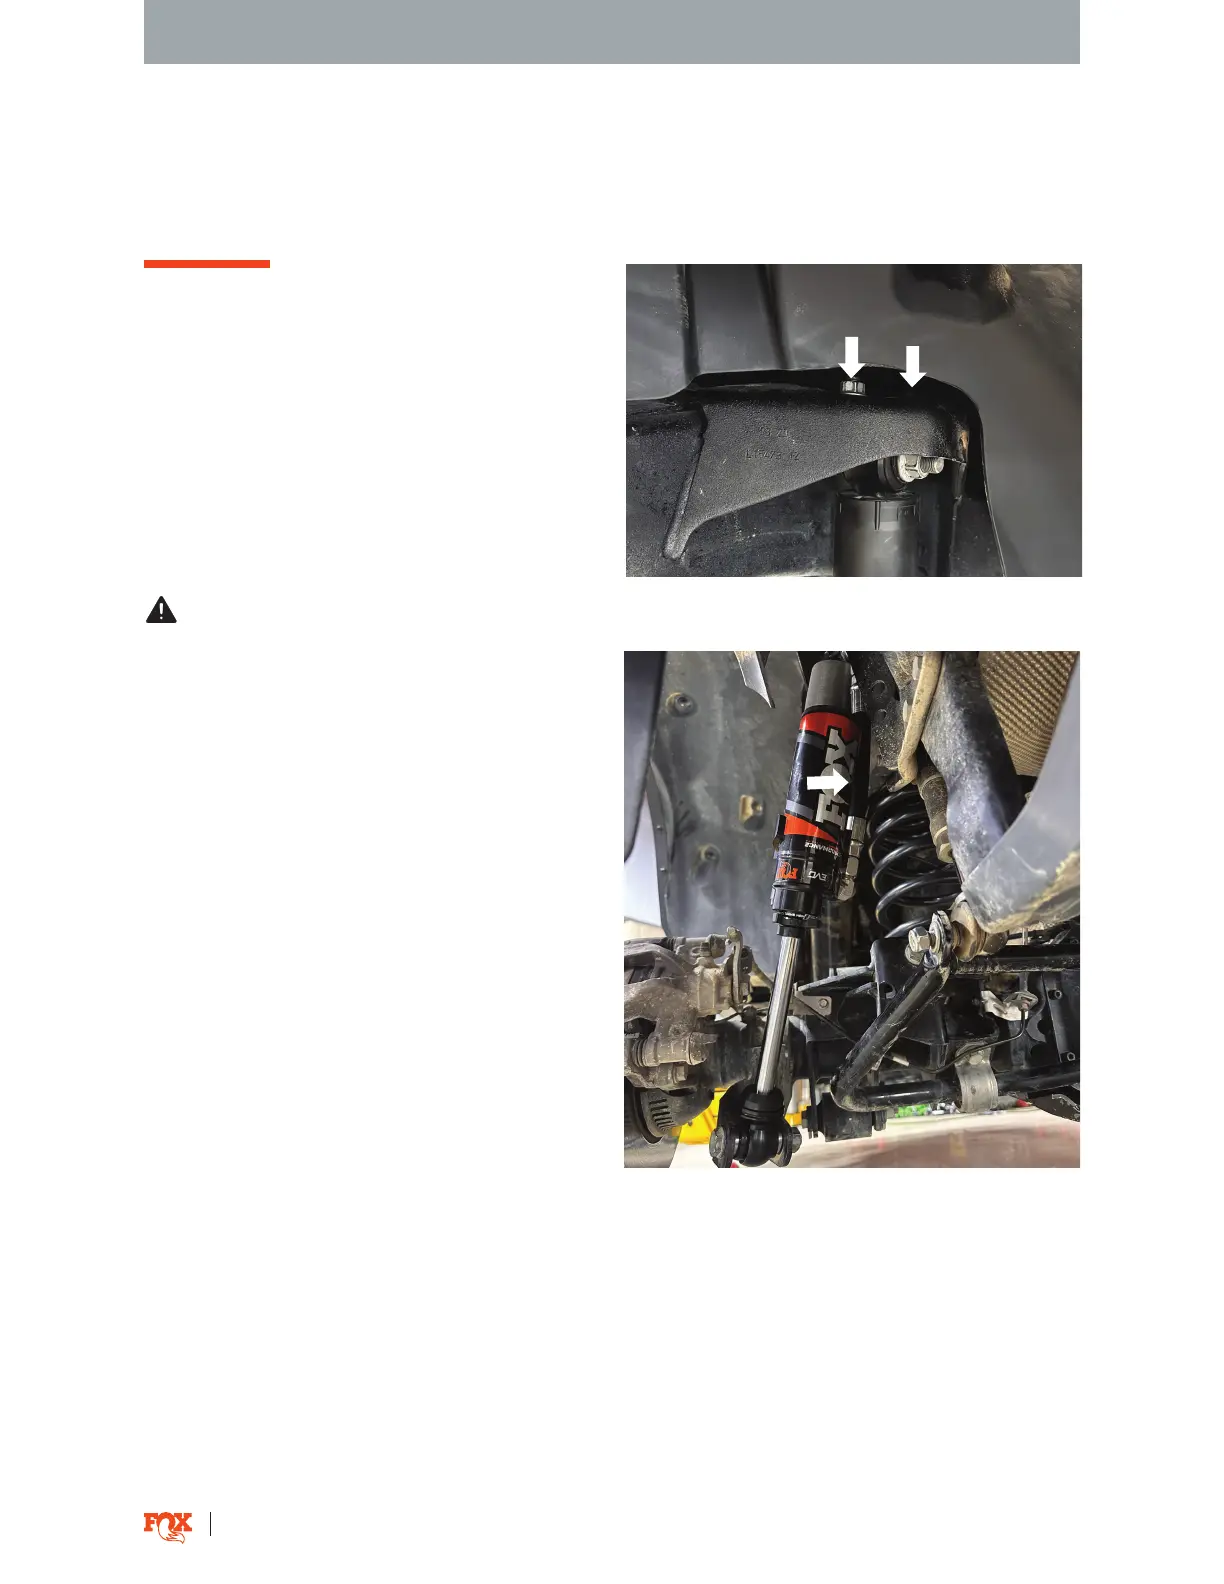
Fig. 10: OEM mounting nuts.
Fig. 11: Shock mounted with reservoir rearward and
hose inboard (see arrow).
STOCK SHOCK REMOVAL
WARNING: It may be necessary to support or
raise the vehicle axle in order to remove bolts and
for installation of new FOX shock. Do not discard
bolts and nuts, as they will be used with the FOX
shock installation.
1. To remove rear stock shocks, first, remove
the bolt securing the shock to the axle. Next,
remove the 2 bolts securing the shock mount to
the frame (Fig. 10). Once the shock and mount
are o the vehicle, remove the shock from the
mount. Retain the OEM mount.
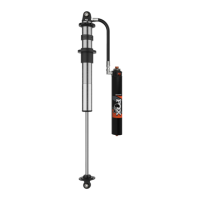
FOX SHOCK INSTALL
1. Connect the FOX shock to the vehicle mounts
using the OEM hardware. The shock must be
mounted with the reservoir pointing rearward
and the hose on the inboard side of the vehicle
(Fig. 11). Torque to OEM specifications.
FINAL CHECK AND DETAILS
1. Check that the suspension has proper clearance.
2. Reinstall the wheels and torque to OEM specifications.
3. Set the vehicle back on the ground and drive back and forth several feet to allow the suspension to
settle. Now measure ride height and adjust if necessary. READ INSTALLATION GUIDELINES ON HOW TO
PROPERLY ADJUST PRELOAD.
4. It is highly recommended that you have your wheel alignment checked.